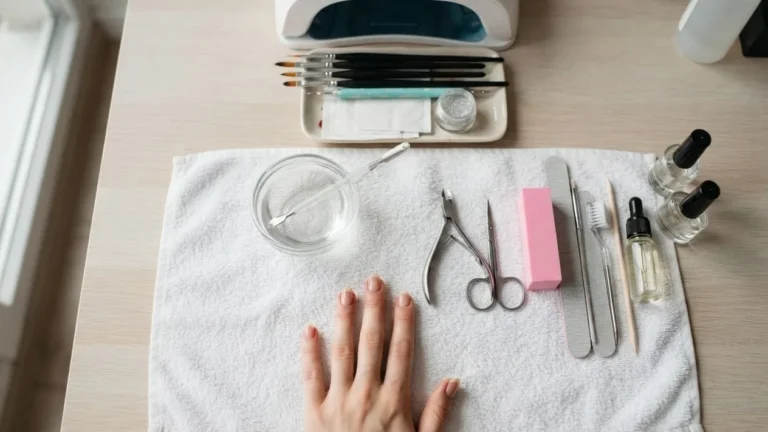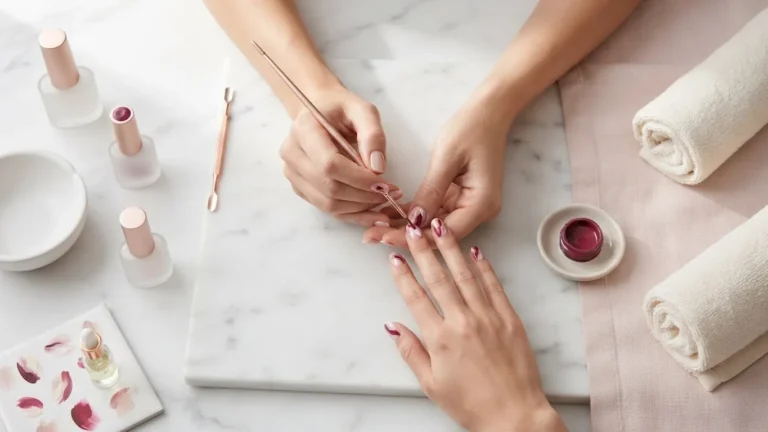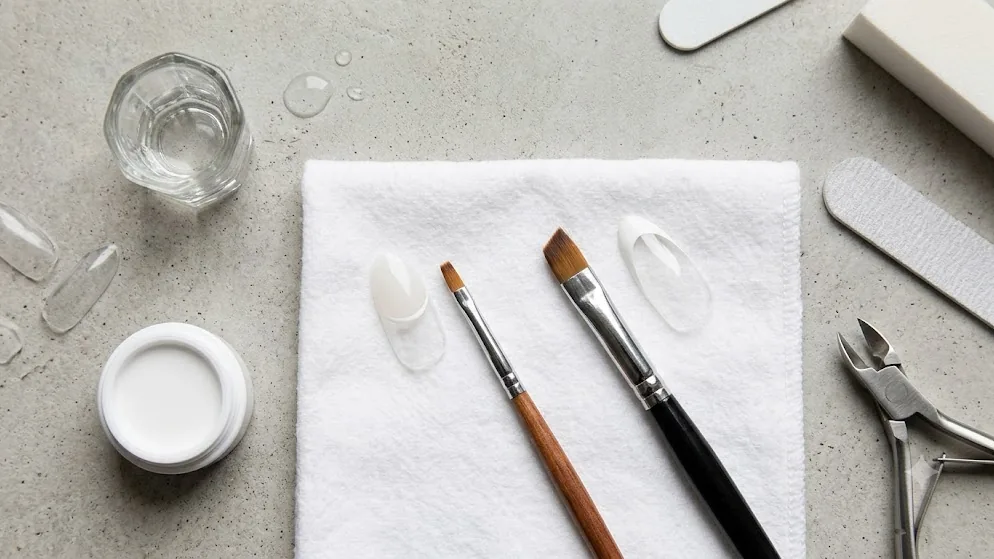
Nail art brush for french tips choices come down to three physical jobs, and the smile line is the one that decides everything. A liner brush draws and deepens that curved edge, an angled flat brush shapes and sweeps color in one stroke, and a short firm clean-up brush cuts razor edges along the cuticle. Get the shape wrong and the arc drags or smears no matter how steady your hand is. This guide maps every brush to a nail length, a product type, and a result, then layers in the chemical and skin-safety details that a buyer’s list usually skips.
Most guides stop at the product. That leaves you buying a brush without knowing whether you even need one, or how the acetone in your clean-up cup quietly destroys the bristles you just paid for. The right nail art brush for french tips depends on whether you work in polish, gel, or acrylic, and on how deep you want the smile line to sit. The sections below build a decision matrix, a failure-recovery table, and a sourced safety block so you can commit to a purchase and a routine with confidence.
Quick answer: For most people, a thin liner brush with a tip around 5 to 9 mm handles the smile line, and an angled flat brush shapes the white edge in a single sweep. Add a short firm clean-up brush dipped in remover for sharp cuticle edges. Beginners who want one tool should start with the liner; it is the piece that actually draws the french tip. If you use gel, the cure-before-cleanup rule matters more than the brush you choose.
Which brush draws the smile line and which one shapes the white edge
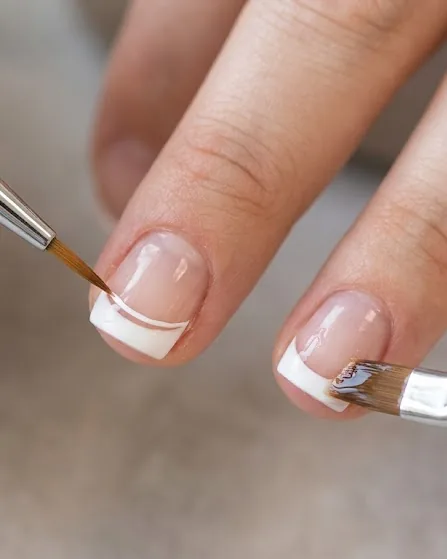
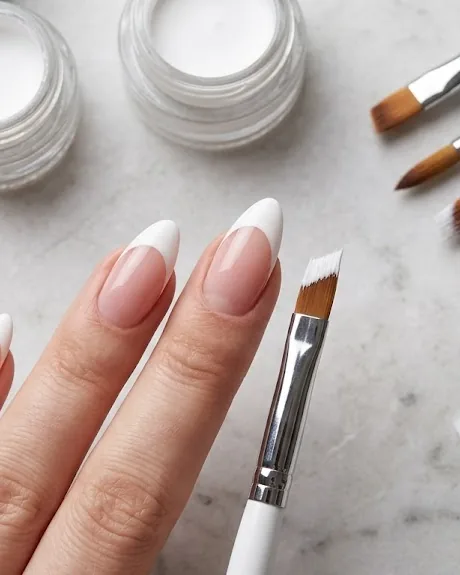
The smile line is the curved boundary between the white tip and the natural nail, and it is the single feature that reads as a french manicure. A thin liner or detail brush draws and deepens that curve because its narrow point lets you place the arc precisely and pull it clean. An angled or oblique flat brush does a different job: it shapes and lays down the white edge in one stroke that follows the natural curve of the free edge. A curved smile brush carves the whole arc in a single press-and-swipe for people who want the shape built in. A short firm clean-up brush handles none of the drawing and all of the cutting, riding along the cuticle and sidewalls to sharpen edges.
Think of it as drawing versus shaping versus cleaning. Trying to draw a crisp smile line with a wide flat brush is the most common reason beginner french tips look thick and uneven.
- Liner / detail brush: thin bristles, draws and deepens the smile line, best for precision and deep arcs.
- Angled flat brush: oblique tip, one-stroke shaping of the white edge following the nail curve.
- Curved smile brush: carves the arc in a single press-and-swipe, less freehand control needed.
- Clean-up brush: short firm bristles dipped in remover or slip solution for razor-sharp cuticle edges.
Matching bristle length to nail length and smile-line depth
Bristle length controls how much of the arc you can lay down in one motion, so match it to your nail length and to how deep you want the smile line. A detail or liner brush for french tips typically has a tip about 5 to 9 mm long, which suits deep smile lines and shorter nails where the arc curves sharply. On longer nails or shallower, wider smiles, a liner sized roughly 7 to 12 mm gives you enough length to pull the full curve without lifting and restarting, which is where wobble creeps in. The overlap between those ranges, around 7 to 9 mm, is the safe first buy if you are unsure. In shorthand, that is a 9mm liner for tight, deep arcs and a 12mm liner for wider, shallower ones.
Two numbers frame the choice. The shorter 5 to 9 mm tip carves tight, deep arcs; the longer 7 to 12 mm tip covers wide, shallow ones across more nail in a single stroke.
Firmness matters as much as length. A brush that is too soft flops at the tip and smears the line, while a firm-but-flexible bristle snaps back and holds the arc. Bristles that are too stiff, by contrast, skip and leave streaks in thicker product. For a deeper look at how nail shape changes the arc you are drawing, see Nail Shapes: How to Choose and File the Right One for Your Hands, because a smile line on an almond nail sits differently than one on a square, and that shape is also part of why beginners often size down to the shorter liner tip mentioned above.
Synthetic vs natural bristles and why solvent tolerance decides it
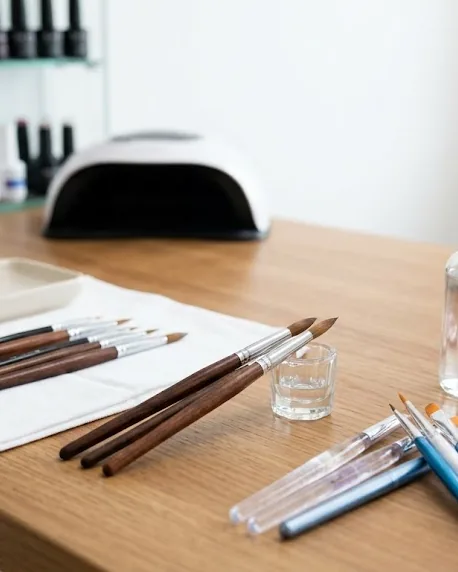
Bristle material determines product pickup, softness, and how long the brush survives contact with acetone. Synthetic bristles made from nylon or taklon are cheaper, hold their shape in solvents, and tolerate the remover you use for clean-up passes without falling apart. Natural bristles such as Kolinsky sable pick up and release product more smoothly and feel softer under control, which is why acrylic and gel artists reach for them, but they degrade fast when soaked in harsh solvents. If your workflow involves dipping the brush in acetone or aggressive remover, a natural-hair brush is the wrong tool because the solvent breaks down the hair structure and the tip loses its point.
The practical rule is simple: match the material to the product and to the cleanup chemical, not to the price tag.
- Synthetic (nylon/taklon): lower cost, solvent-tolerant, good for polish work and clean-up brushes that touch remover.
- Natural (Kolinsky/sable): smoother product control, softer, preferred for gel and acrylic, but ruined by acetone.
This is also why the clean-up brush is almost always synthetic. Its whole purpose is to ride in remover, and a natural-hair brush would not last a month in that cup.
The step order for a clean smile line in polish versus gel
Technique order is the real driver of a clean french tip, and it changes between polish and gel because one air-dries and the other cures under light. In both, you prep the same way: shape the nail, lay a thin base coat, and resist overloading the brush, since a heavy bead of product is what drags the smile line out of shape. Sketch a light guide arc first, then fill it, rather than committing to a full line in one nervous pass. The difference comes at the correction stage. Gel gives you unlimited time to fix edges before you cure, so you clean up the arc, then cure. Polish sets on its own clock, so you work in thin layers and respect the set time to avoid drag.
The single rule that saves the most french sets: with gel, correct before you cure; with polish, correct before it sets.
Here is the order that holds up across both:
- Prep: file to shape, apply thin base coat, cure or dry fully before the tip.
- Guide line: sketch the smile arc lightly with the liner before committing.
- Fill: lay the white edge with the angled or liner brush in thin passes.
- Correct: gel users fix edges now; polish users keep layers thin to avoid drag.
- Clean-up pass: run a remover-dipped clean-up brush along cuticle and sidewalls for sharp edges.
- Seal: cure the gel or let polish set, then top coat.
The clean-up pass is what separates a home french tip from a salon one. A short firm brush dipped in remover erases the fuzzy overspill along the cuticle and creates the crisp border your eye reads as professional. Do this after correction and, for gel, only once you have cured the color layer, or the remover will lift uncured product and smear the whole tip.
When a stencil, stamper, or half-cover tip beats freehanding a brush
A brush is not always the right tool, and knowing when to skip it is part of choosing well. Guide stickers and stencils give a repeatable arc when your hand is not steady yet, which is the fastest path to a symmetric smile line for a beginner. Silicone stampers let you press a pre-inked french edge onto the nail and sweep, removing freehand skill from the equation entirely. Half-cover french tips skip painting altogether by gluing a pre-shaped white edge, and magnet or cat-eye french effects need a magnet, not a brush, because the look comes from moving pigment under a magnetic field. The brush wins when you want a custom depth, a specific arc, or full control over placement.
Use this quick logic to decide what to reach for:
- Guide stickers / stencils: best when you cannot yet draw a symmetric arc by hand.
- Silicone stamper: best for fast, repeatable tips with zero freehand skill.
- Half-cover french tips: best when you want speed and skip painting entirely.
- Magnet / cat-eye french: best for the pigment effect, which no brush produces.
- Brush (liner + angled): best for custom depth, precise placement, and full control.
If you are torn between a starter brush set and a sticker pack, the honest answer for a first-timer is often stickers first, then graduate to the liner once the arc shape lives in your muscle memory. The brush is the tool you grow into.
Nail cosmetic regulation, acetone handling, and ventilation you should not skip
The safety layer is where most french-tip guides go silent, and it is the part that protects your nails and your lungs over years of repeated sets. The U.S. Food and Drug Administration regulates the nail cosmetic products and ingredients you handle, from acetone removers to monomers, primers, and polishes. Its nail-care products page documents ingredient concentrations that matter for anyone doing this at home. Toluene, for example, was reviewed as safe for use in nail products at concentrations up to 50 percent, described as the highest concentration observed in nail products. Phthalates, used as plasticizers to reduce cracking by making nails less brittle, appear in nail polishes primarily at concentrations of less than 10 percent. That ceiling, under 10%, is the threshold regulators watch for plasticizer content in polish formulas.
Packaging law reflects how hazardous some of these liquids are. Child-resistant packaging is federally required for liquid glue and artificial-nail removers containing more than 500 milligrams of acetonitrile in a single container, under 16 CFR 1700.14(18). You can read the ingredient and packaging details straight from the agency on the FDA nail care products page.
Acetone and monomer handling is a ventilation problem before it is anything else. The FDA references the Occupational Safety and Health Administration on workplace chemical and ventilation safety for nail-salon workers, and the same logic applies to your kitchen table: work near an open window or a fan, cap solvent containers between passes, and never leave an open acetone cup evaporating in a closed room. The clean-up brush cup is a small source, but repeated daily exposure adds up.
For general nail health, the American Academy of Dermatology treats the nail as a protective barrier and advises keeping it clean and dry and not removing the cuticle, which is easy to overdo when you are cutting sharp french edges near the base. Their healthy nail tips from the American Academy of Dermatology are worth reading before you start doing weekly sets, because the repeated filing and cuticle work that french tips invite is exactly what damages the barrier over time.
Gel French tips: the UV cure step, brittleness risk, and the TPO ban
Doing your french tip in gel adds a curing step and a specific set of health considerations that polish does not carry. The American Academy of Dermatology reports that gel manicures can cause nail brittleness, peeling, and cracking, and that repeated use can increase the risk of skin cancer and premature skin aging on the hands from the curing light. That risk is directly relevant to a french tip done in gel, because the arc placement often means multiple cure cycles per set as you build and correct the white edge. Mitigation is straightforward: limit how often you do full gel sets, and shield the skin around the nail where you can. As a rough exposure benchmark, some dermatology guidance points to keeping UV lamp time to around 10 min per hand per session, with total daily exposure staying near 36 min when you are correcting and re-curing several french tips in one sitting.
The chemistry itself is changing. The European Union prohibited the gel-polish photoinitiator TPO, trimethylbenzoyl diphenylphosphine oxide, as of September 1, 2025, classifying it as hazardous. That affects the gel products used for gel french tips, so if you are buying gel now, the formulation matters as much as the brush.
The dermatologist guidance on gel manicures is specific and practical. You can read it in the American Academy of Dermatology gel manicure release, which frames how to keep nails healthy through repeated gel use. Two habits carry most of the benefit: give your natural nails recovery breaks between gel sets, and never peel a gel french tip off, because peeling takes layers of the natural nail with it and undoes the barrier the AAD warns you to protect.
One more practical note on gel brushes: keep them out of UV and sunlight when not in use. A gel brush left near a window slowly cures the residual product in its bristles, and a stiffened gel brush is a dead brush. This is a maintenance rule as much as a safety one.
Cleaning, reshaping, and storing your brush so it survives the acetone
Brush maintenance is bristle chemistry, and getting it wrong is why a good brush dies in weeks. Acetone and harsh solvents degrade natural-hair bristles by breaking down the hair structure, which is why a Kolinsky liner should never be cleaned in acetone even though it is the fastest solvent on hand. Clean natural-hair brushes with mild soap and lukewarm water, work the product out gently from base to tip, then reshape the point with your fingers while the bristles are damp. Store the brush upright or capped so the tip is not crushed, and keep any gel brush away from light so ambient UV does not harden the residual product inside it.
The maintenance routine is short but non-negotiable if you want a brush to last:
- Clean: mild soap and lukewarm water for natural hair; solvent only for synthetic clean-up brushes.
- Reshape: pull the tip back to a point while damp, never let it dry splayed.
- Store: upright or capped so the bristles keep their shape.
- Protect gel brushes: keep out of UV and sunlight to stop residual gel curing in the bristles.
The synthetic-versus-natural choice pays off here again. A nylon or taklon clean-up brush shrugs off the remover it lives in, while a natural-hair drawing brush stays in the mild-soap lane. Mixing those routines, cleaning your liner in the acetone cup because it was closer, is the fastest way to ruin the exact brush that draws your smile line.
Fixing uneven, dragging, or asymmetric smile lines
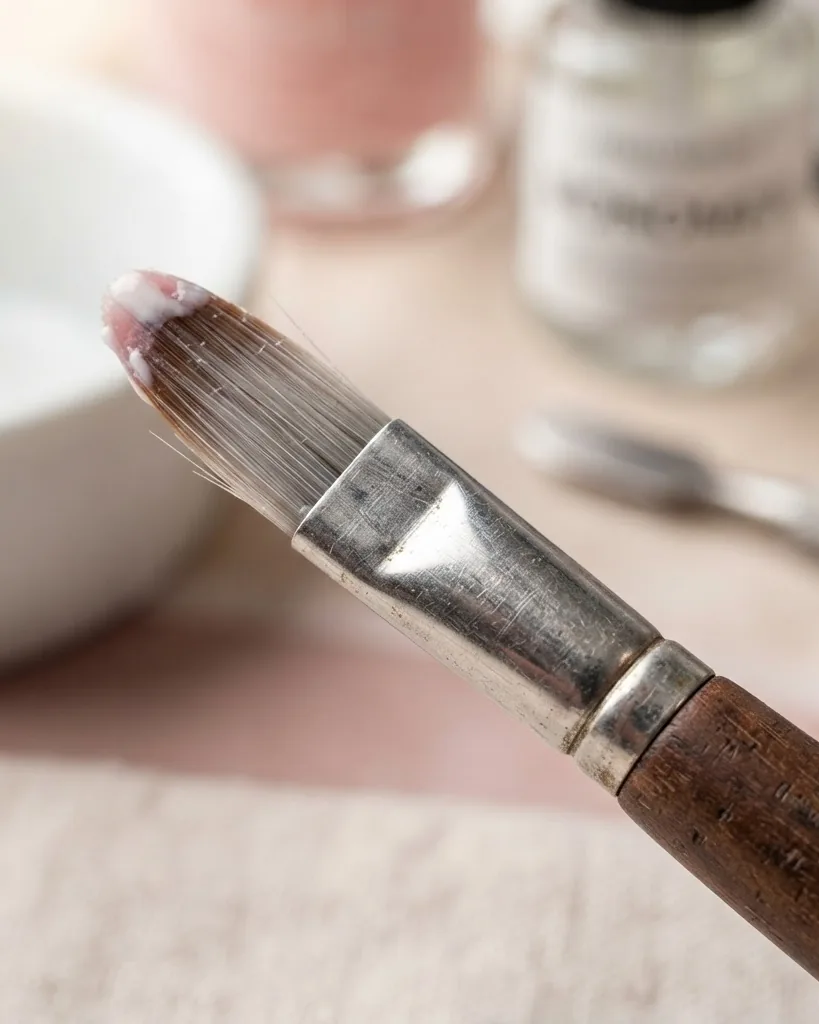
Most french-tip failures trace back to one of five causes, and each has a concrete fix. An uneven smile line usually means the brush was overloaded, so the fix is to wipe the brush to a thin edge before drawing. A dragging line in polish means you painted over a layer that had not set, so respect the set time and work in thinner passes. An asymmetric arc, one side higher than the other, comes from lifting and restarting mid-stroke, so use a longer liner tip that lets you pull the full curve in one motion. A fuzzy cuticle edge means you skipped or rushed the clean-up pass. A smeared line in gel means you tried to correct after curing instead of before.
The pattern across all five is timing and load. Fix those two and the arc follows.
- Uneven line: overloaded brush. Wipe to a thin edge first.
- Dragging line: layer not set. Respect set time, use thinner passes.
- Asymmetric arc: mid-stroke restart. Use a 7 to 12 mm liner to pull the curve in one motion.
- Fuzzy cuticle edge: weak clean-up pass. Redo with a remover-dipped firm brush.
- Smeared gel line: corrected after curing. Correct before you cure, every time.
Beginner vs pro: which brush to buy first and when to add more
Skill level should drive the purchase, not the fullest kit on the shelf. A beginner needs one brush and one skill, and that brush is the liner, because it is the piece that actually draws the french tip. Start with a synthetic liner around 7 to 9 mm, which sits in the overlap of the two common sizing ranges and forgives an unsteady hand better than a specialized shape. Add an angled flat brush once you want faster one-stroke shaping, and add a dedicated clean-up brush once your arcs are clean enough that the border is the last thing standing between you and a salon finish. A curved smile brush is a convenience purchase for people who repeat the same arc constantly.
The progression is worth spelling out so you do not overbuy:
- First buy: one synthetic liner, 7 to 9 mm, for drawing the smile line.
- Second buy: angled flat brush for one-stroke shaping.
- Third buy: synthetic clean-up brush for sharp cuticle edges.
- Optional: curved smile brush for repeating an identical arc quickly.
If you only ever buy one brush, buy the liner. Everything else refines a line the liner already made possible. And since the arc you are chasing sits differently on every shape, it is worth checking Nail Shapes: How to Choose and File the Right One for Your Hands before you settle on a liner size, so the brush you buy first actually matches the nails you are working on.
What is the best single brush for a beginner french tip?
A thin synthetic liner around 7 to 9 mm is the best single brush for a beginner. It draws the smile line, the feature that defines a french tip, and its solvent tolerance means it survives cleaning. An angled flat brush is faster once you improve, but the liner is the piece that makes the arc possible, so start there before adding shaping or clean-up brushes.
What is the difference between a gel brush and an acrylic brush?
The difference is firmness and product load. Acrylic brushes are usually natural Kolinsky hair, softer with high pickup for wet acrylic beads. Gel brushes are firmer and often synthetic to push thicker gel and hold an edge. Keep gel brushes out of UV and sunlight so residual gel does not cure in the bristles and stiffen the tip.
How do I clean a french tip nail art brush safely?
Clean natural-hair brushes with mild soap and lukewarm water, working product out from base to tip, then reshape the point while damp and store it upright. Avoid acetone on natural hair, since harsh solvents degrade the bristle structure. Only synthetic clean-up brushes belong in remover, because that is the job they are built to survive.
Do I really need more than one brush?
No, not to start. A single liner draws the smile line and gets you a real french tip. You add an angled brush for faster shaping and a clean-up brush for sharper cuticle edges as your control improves. Buying a full set before your arcs are steady mostly means owning brushes you are not ready to use yet.
Is a brush or a stencil better for a first french manicure?
For a genuine first attempt, guide stickers or stencils often win because they enforce a symmetric arc your hand cannot yet draw. The brush gives custom depth and full control, which matters once the shape lives in muscle memory. Many people use stencils first, then move to a liner brush as their freehand steadiness catches up.
Are gel french tips bad for my nails?
The American Academy of Dermatology reports gel manicures can cause brittleness, peeling, and cracking, and that repeated use can raise skin cancer and skin-aging risk on the hands from the curing light. That does not ban them, but it argues for recovery breaks between sets and never peeling gel off, since peeling strips layers of the natural nail barrier.