Six of eight nail lamps in one 2021 device study crossed 50°C after 30 minutes of continuous running, a heat level that carries a thermal-burn risk few tutorials mention. That single measurement reframes the whole subject: abstract nail art is as much about how you cure and remove the product as it is about the swirls, lines, and color blocks on the surface. Abstract nail art means non-representational design – random shapes, swirls, freehand strokes, layered color, and open negative space rather than a literal picture. This guide separates the two realistic entry points (forgiving polish-and-tape work versus freehand gel), states the wear numbers worth trusting, and marks the exposure limits the design tutorials leave out.
The technique choices below assume no salon training. They assume a home setup, a reader deciding between a lamp-based system and a no-lamp one, and a wear window measured against nail-plate health rather than aesthetics alone.
Abstract nail art covers any design built from shape, line, and negative space instead of a recognizable object. Two routes suit beginners: negative-space polish with striping tape or stencils needs no lamp and tolerates uneven hands; freehand gel needs a curing lamp, a thicker gel body, and controlled brushwork. Gel-polish wear runs 10 to 21 days on average, with a practical ceiling of 2 to 3 weeks before removal protects the nail plate. When curing, the FDA recommends no more than 10 minutes per hand per session. Color bleeding and early chipping are the two failures most likely to spoil a design.
What separates abstract nail art from other painted designs
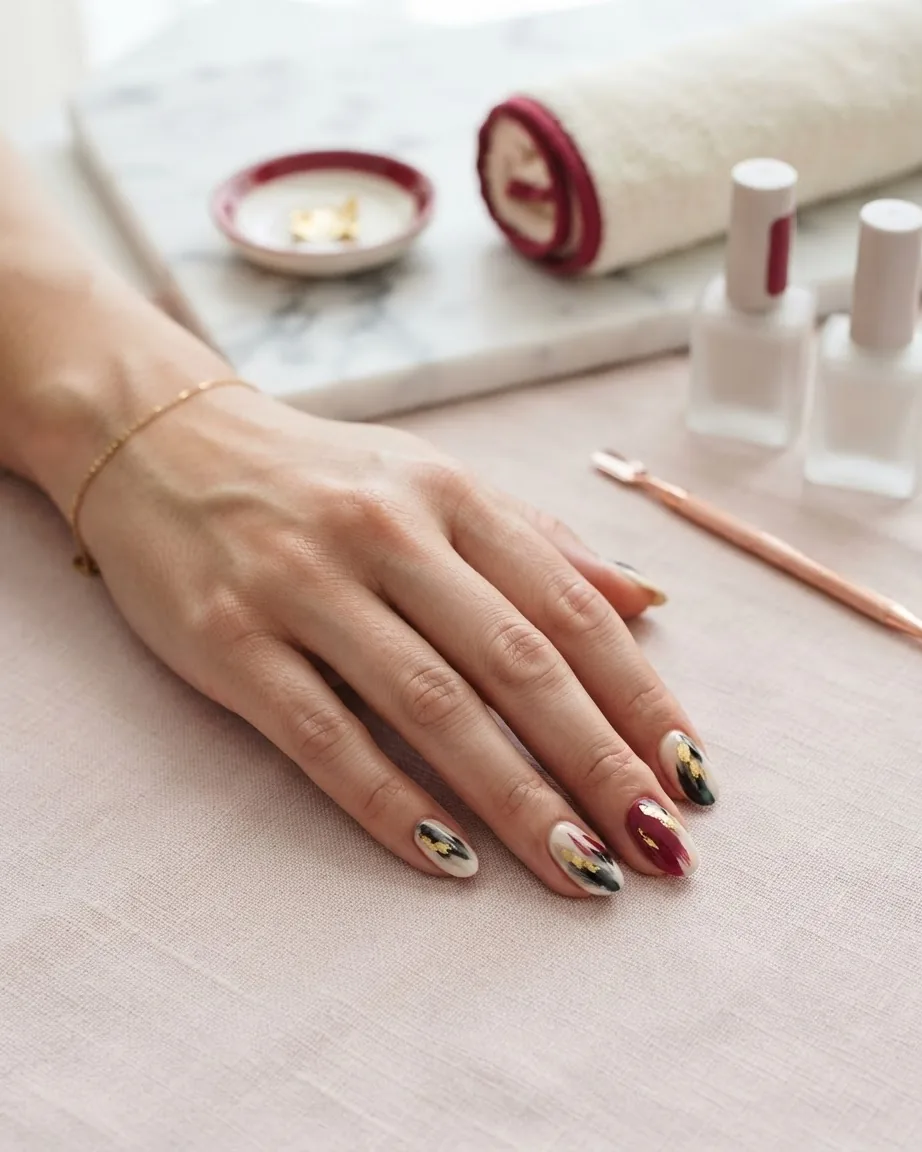
The defining trait is the absence of a subject. A floral or a character design references something outside the nail; an abstract set references only its own composition – the interplay of a curved stroke against a flat field, a color break against bare keratin. That freedom is why it reads as beginner-friendly: there is no “wrong” shape to get wrong. The recurring building blocks are freehand swirls, hard geometric lines, marbled color bleeds, and negative space, where the natural nail (or a clear base) is left deliberately unpainted as part of the pattern.
Negative space does structural work here. Because part of the design is simply the unpainted nail, less product sits on the plate, and a shaky line can be reframed as intentional. That forgiveness is the practical reason it suits a first attempt more than a dense, edge-to-edge pattern. Matching the pattern to your nail’s outline also matters; the geometry of a squoval reads differently from an almond, a point covered in the site’s guide to different nail shapes.
Freehand gel vs. negative-space polish: which route fits your kit
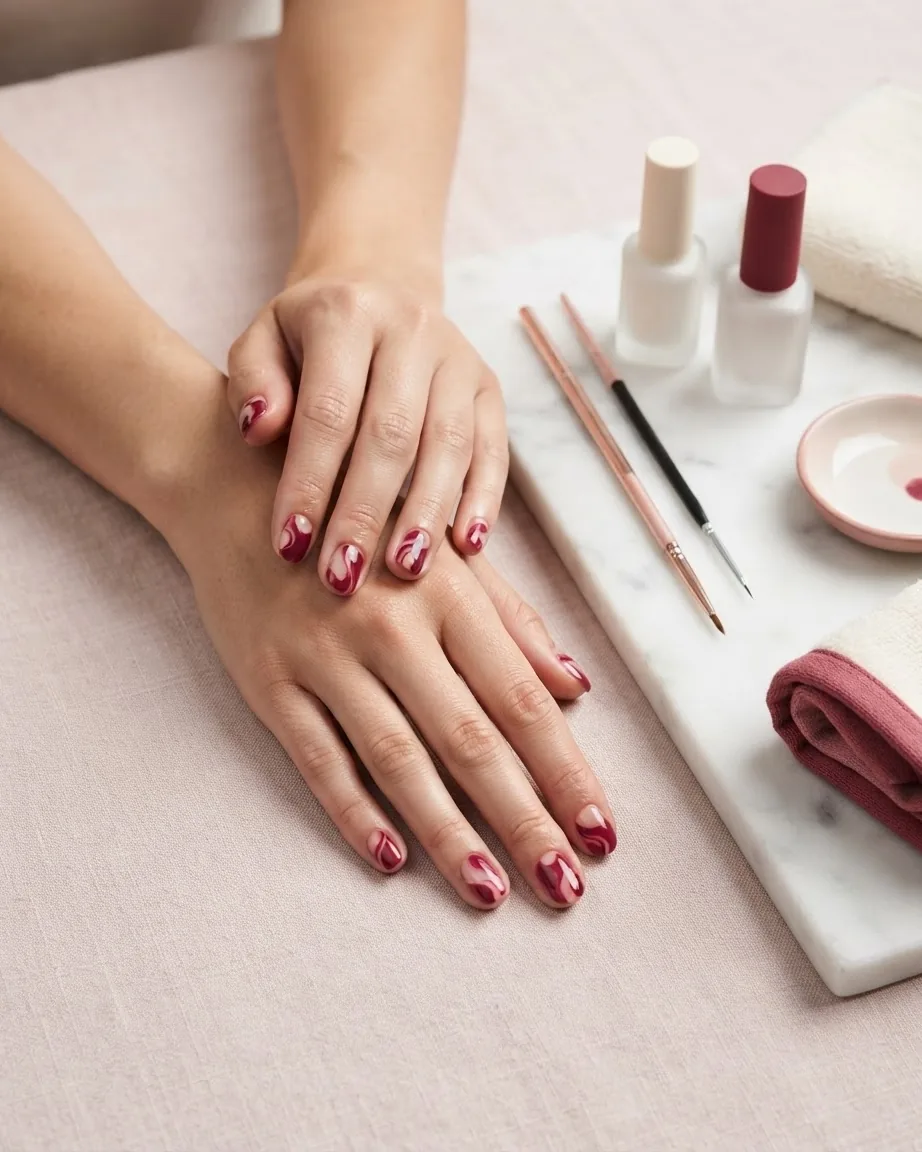
The correct starting technique is decided by two things you already have or don’t: a curing lamp, and steady brush control. Here is the honest split.
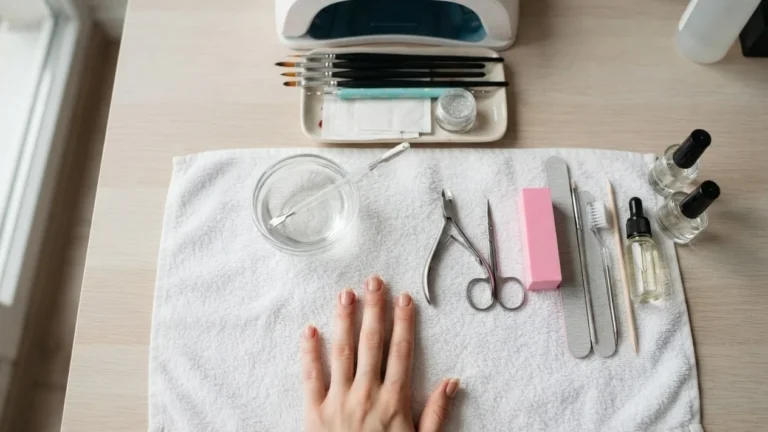
- Negative-space polish (tape/stencil). Tool list: regular or gel base, one or two polish colors, striping tape or adhesive stencils, a top coat, and a cleanup brush with acetone. No lamp required if you use air-dry polish. Difficulty: 2 of 5. The tape does the precision for you; you paint over a masked edge and peel it while the polish is still slightly wet. This is the more forgiving of the two and the one to start on.
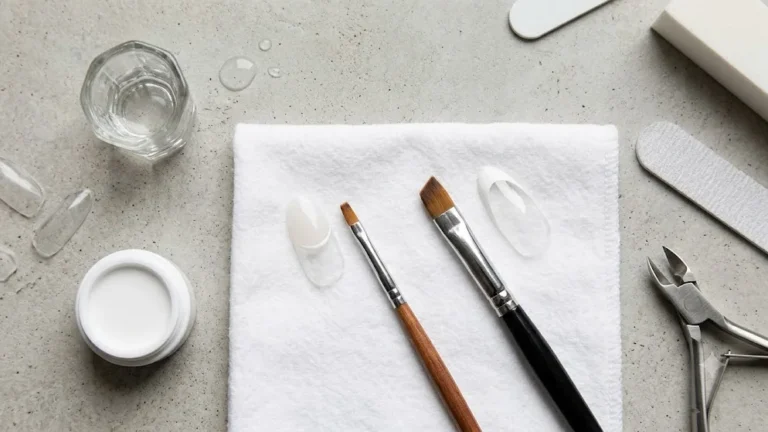
- Freehand gel. Tool list: gel base, a thicker-bodied colored gel that holds a raised line, a fine detail brush, a UV/LED lamp, gel top coat, and a lint-free wipe with cleanser for the tacky layer. Difficulty: 4 of 5. Freehand gel demands a thicker gel so the stroke does not spread, a perpendicular brush angle for a clean edge, and flash-curing – a short partial cure to lock a line before it slumps into the layer beneath.
The tradeoff is control versus permanence. Tape gives you clean lines with almost no skill but ties you to shorter polish wear; freehand gel is harder and slower but survives longer once cured. For brush and tool selection specifically, the nail art instruments guide breaks down what each shape is actually for.
Step-by-step: a negative-space design with striping tape
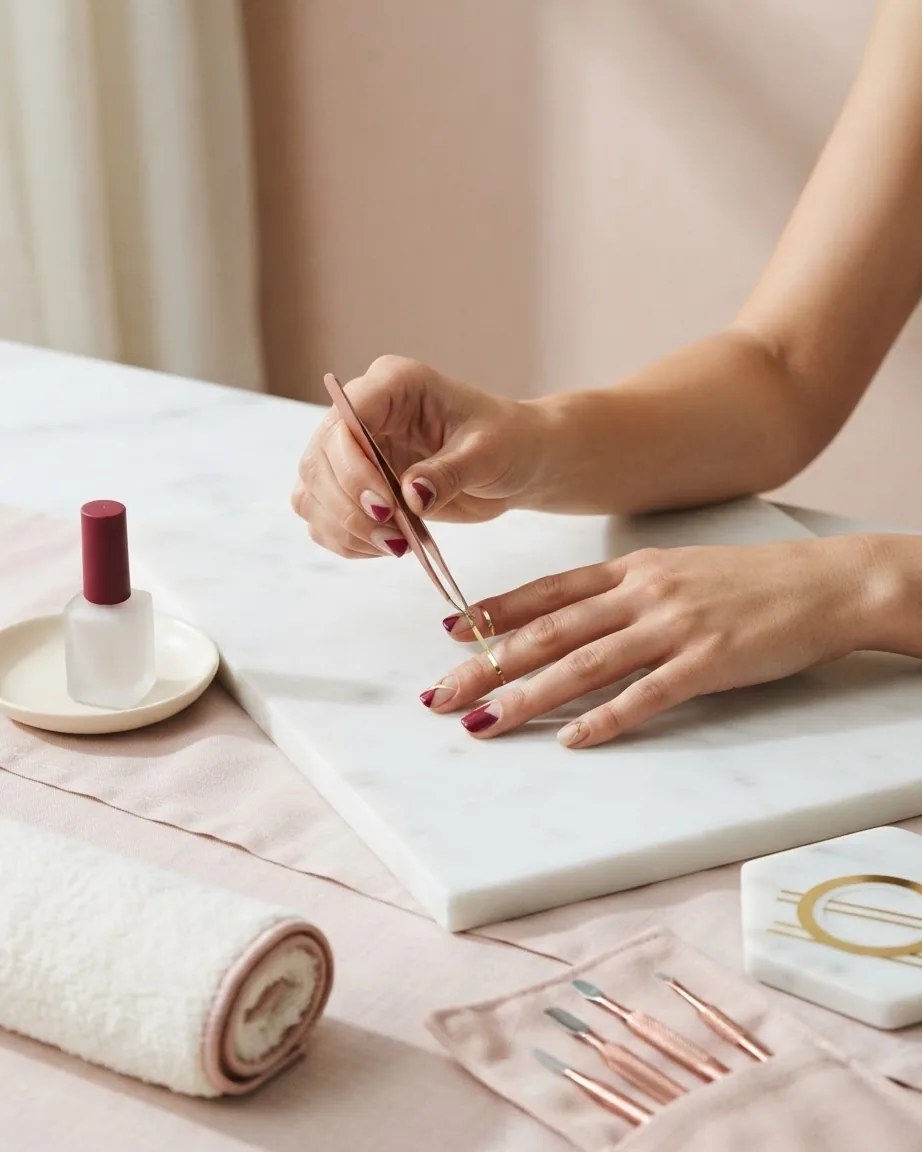
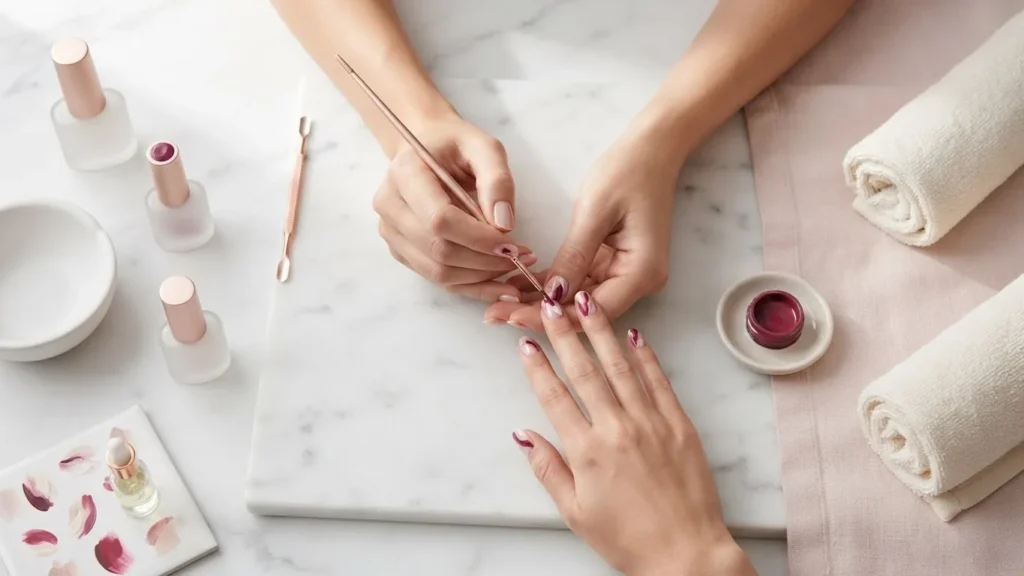
Prep first: push back cuticles, lightly buff the shine off the plate, and wipe clean. Apply a thin base and let it set (or cure, if gel). Paint your first color block over the whole nail or a section, and let that layer dry fully – tape lifted onto a wet layer drags color underneath, which is the most common way these designs bleed.
Lay the striping tape in the lines you want to preserve, pressing the edges down hard so nothing seeps beneath. Paint the second color across the taped nail. Then peel the tape away at a low angle while the second color is still slightly wet, not bone-dry – waiting too long lets the polish film tear at the edge instead of releasing cleanly. Seal with top coat, capping the free edge to slow chipping.
NAILS Magazine and salon educators such as The Crow’s Claw Nails and JW Nail Studio all treat thin, fully-set layers under the tape as the fix for ragged lines. The principle is consistent across sources: bleed is a wet-layer problem, not a tape-quality problem.
Step-by-step: freehand gel swirls without slumping
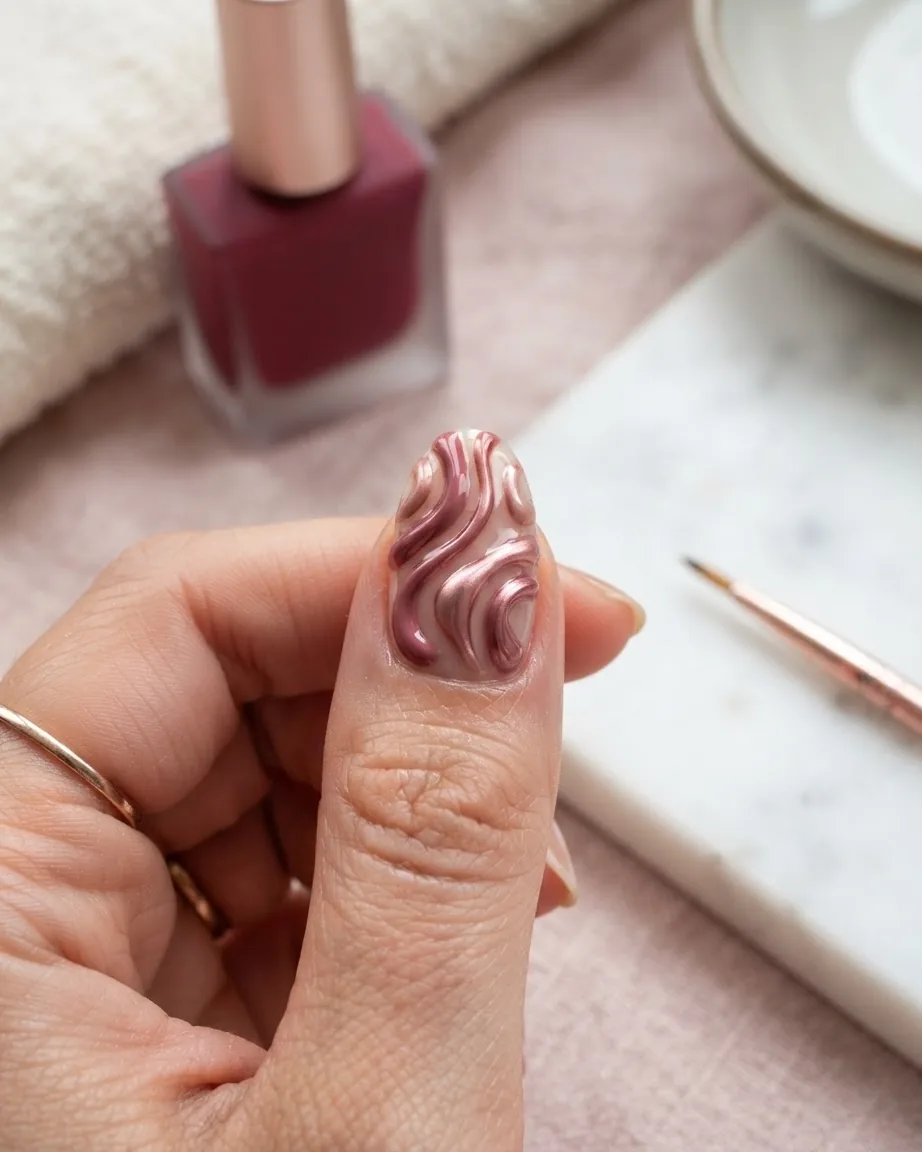
The enemy in freehand gel is the line spreading before it cures. Start with a cured base and a cured color field if your design layers over one. Load a fine detail brush from a thicker colored gel – a runny gel will not hold a raised swirl. Draw the stroke in one motion, keeping the brush close to perpendicular so the tip, not the belly, lays the line.
Flash-cure between elements: a brief partial exposure fixes one swirl before you draw the next, so adjacent lines don’t merge. Cure fully only at the end, then remove the tacky inhibition layer with a lint-free wipe and cleanser. Finish with gel top coat and a final cure. If you’re building any length or thickness beneath the art, the mechanics of body and cure are covered in the guides to builder gel and hard gel.
One thing that does not work: trying to “fix” a slumped line by adding more gel on top. The added layer thickens the whole area, cures unevenly, and raises both the sensitization and the heat-spike risk covered below. Wipe the uncured stroke off before it cures and redraw it instead.
Stopping color bleed and early chipping
These are the two failures that turn a clean concept into a smeared one. They have different causes and different fixes.
Bleeding comes from painting or taping onto a layer that has not fully set, or from flooding the cuticle and sidewalls so color creeps into the skin line. The fix is patience between layers and thin coats – a thick coat stays wet in the middle long after the surface looks dry. Marbled abstract designs deliberately bleed colors into each other, so the skill there is controlling where the bleed stops, not preventing it entirely.
Early chipping usually traces to prep, not product. Oil or residual shine left on the plate weakens adhesion; a top coat that doesn’t cap the free edge lets wear start at the tip. Manucurist notes that gel-polish wear averages 10 to 21 days, but that figure assumes clean prep and edge-capping – skip either and you land at the bottom of the range or below. Dark colors and reds also carry a staining risk on the natural nail once removed, a label-reading issue detailed in the site’s red nail polish guide.
How long gel-polish abstract art should stay on
Wear time and safe wear time are not the same number. A well-applied gel set can physically last three weeks or more, but Manucurist’s guidance sets the practical ceiling differently: gel polish lasts an average of 10 to 21 days, and a maximum of 2 to 3 weeks is the window that keeps the nail plate healthy. Past that, regrowth exposes a lifted edge that invites peeling and moisture underneath.
The decision this settles: don’t chase maximum wear. When the design still looks intact at the 21-day mark, that is the removal cue, not a reason to stretch it. Removal timing protects the plate more than any base coat does. Gel and acrylic come off with a soak method, not by prying – the full sequence, including why force damages the plate, is in the guide to getting acrylic nails off safely.
The acrylate allergy risk most tutorials skip
This is the part of abstract gel art that design pages omit, and it has consequences beyond a ruined manicure. Uncured or under-cured gel acrylates – the result of the wrong lamp, too-thick layers, or skipping the full cure – can sensitize the skin. Once sensitized, a person can react to methacrylates for good.
The scale of exposure is wide. According to work published via PMC, over 93% of salons in a 2014 survey offered gel products containing methacrylates, and about 2.6% of contact-dermatitis patients react on patch testing to hydroxyethyl methacrylate (HEMA), the most commonly sensitizing methacrylate in this group. HEMA cross-reactivity is the concern: once someone is sensitized, guidance is to avoid all methacrylates because of substantial cross-reactivity, and the same compounds appear in materials used in medical procedures – a link between gel-polish allergy and later trouble with treatments such as certain dental fillings and joint replacements that BBC News has covered.
What this changes for the reader: cure fully, keep layers thin, and never let liquid or gel product sit on the skin around the nail. If skin contact happens, wash it off promptly rather than curing over it. If a rash, itching, or lifting skin appears around the nails, that is a matter for a professional – a dermatologist, not a home fix. This desk does not diagnose skin reactions.
UV curing: the 10-minute limit and the heat problem
Two separate hazards live in the lamp, and standard abstract-art tutorials name neither. The first is UVA dose. The ceiling the FDA puts on a UV nail lamp is ten minutes for one hand in a single session, and that figure is written for someone in good health. The same guidance singles out readers who are already UV-sensitive and asks them to be more careful still, naming four causes of that sensitivity: some antibiotics, oral contraceptives, estrogens, and certain dietary supplements.
The device-variability finding sits in tension with the FDA’s “safe as directed” position. In the same body of research, all eight tested nail lamps emitted UVA, with intensity ranging from 39.0 to 184.9 W/m², and price was not a reliable indicator of lower output – a costlier lamp is not automatically a gentler one. The resolution isn’t to abandon the lamp; it’s to respect the time cap and shield the skin, since long-term cumulative UVA effects on the hands remain unstudied.
The second hazard is heat. After 30 minutes of continuous operation, 6 of 8 tested lamps recorded temperatures over 50°C, enough to pose a thermal-burn risk during prolonged sessions. Protective steps drawn from these findings: keep each cure within the labeled time, don’t run the lamp continuously back-to-back beyond what the product requires, and shield the skin with UV-absorbing gloves (fingertips exposed) or broad-spectrum sunscreen on the hands before curing. Warn, don’t gamble – the exposure limit exists precisely because the design tutorials don’t enforce one.
Matching the technique to a first attempt
Put the two routes against a real starting point. If the kit has no lamp and the goal is a clean geometric or negative-space look, striping tape at difficulty 2 of 5 is the route: forgiving, no acrylate curing step, no UV dose. If a lamp is already on hand and the goal is flowing freehand swirls that survive two to three weeks, freehand gel at 4 of 5 is the route – accepting the steeper learning curve and the safety obligations that come with curing.
Whichever route, the same three numbers govern the outcome – 10 minutes per hand per curing session, a 2 to 3 week wear ceiling, and thin coats over clean prep. Those are the values the design-only tutorials leave out, and they decide whether an abstract set is a good manicure or a lasting problem. If you plan to build extensions under the art with an acrylic nail kit, the same cure-and-thickness discipline applies before any color goes on.
Frequently asked questions
Does abstract nail art need a UV lamp?
No. Negative-space and taped geometric designs work with air-dry polish and need no lamp at all, which also sidesteps the acrylate-curing and UVA-dose concerns. A lamp is only required for gel-based freehand work. If you want lasting freehand swirls, gel and a lamp become necessary, along with the 10-minute-per-hand curing limit.
Why does my abstract design bleed at the edges?
Bleeding almost always means a layer underneath was still wet when you taped, painted, or curved a line over it. Thick coats stay wet in the center long after the surface looks dry. Use thinner coats, let each set fully, and peel striping tape at a low angle while the top color is only slightly wet – not fully hardened.
Is it safe to leave a gel abstract set on for a month?
Cosmetically it may still look intact, but 2 to 3 weeks is the recommended upper limit for keeping the nail plate healthy. Beyond that, regrowth lifts the edge and traps moisture, encouraging peeling and weakening. Treat an intact look at three weeks as the removal cue rather than a reason to extend the wear.
Can nail gel really affect future dental or medical work?
The concern is documented: sensitization to methacrylates such as HEMA from under-cured nail products has been linked to later reactions to acrylate-based dental and orthopedic materials. About 2.6% of contact-dermatitis patients patch-test positive to HEMA. If you develop itching or a rash around the nails, stop and see a dermatologist rather than self-treating.