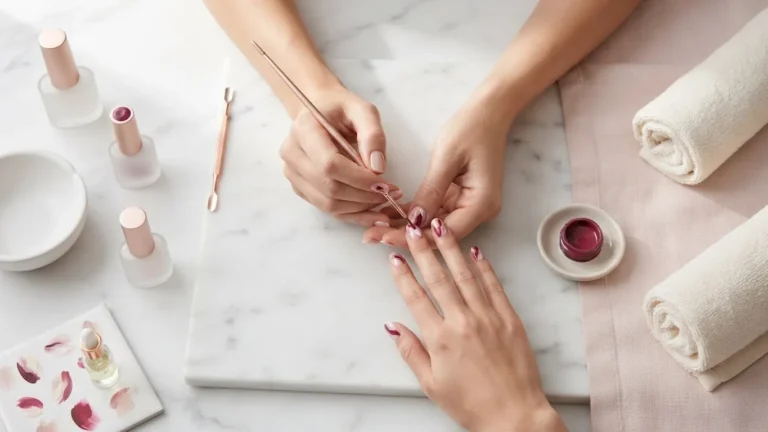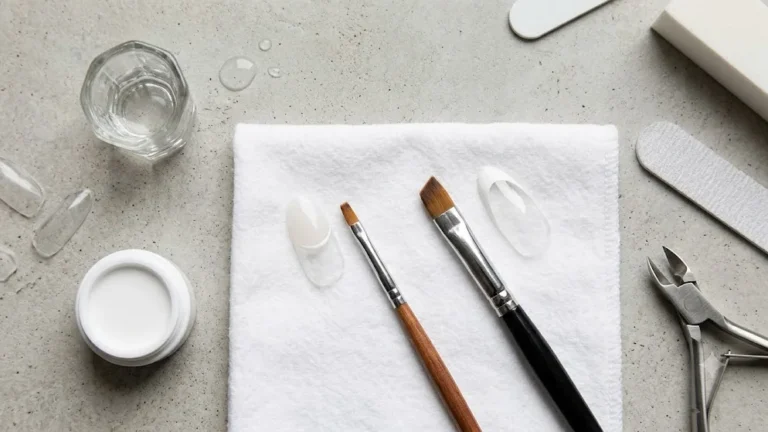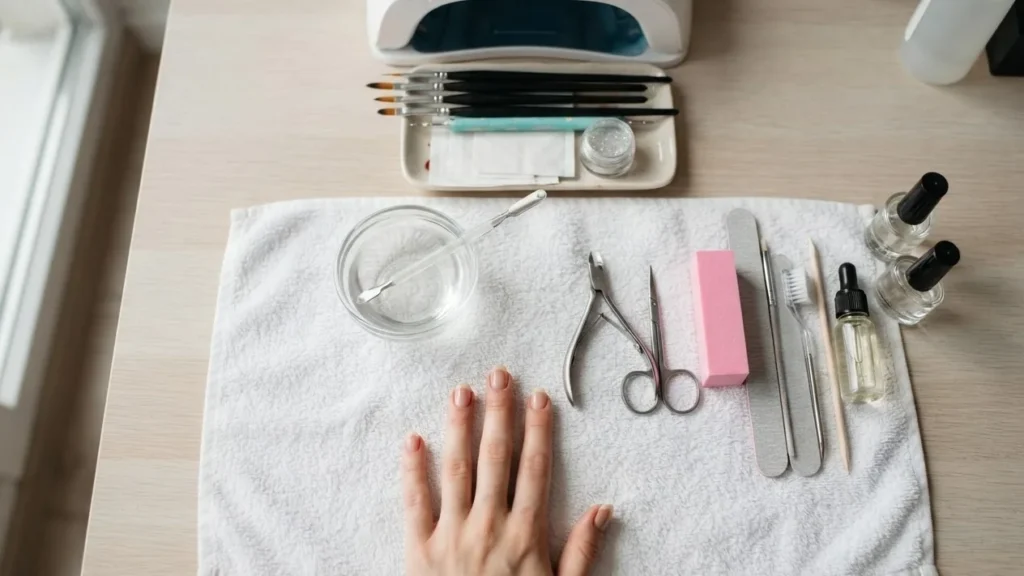
Nail art instruments split into two groups that most buying guides blur together, and the distinction decides whether you ever get sick from your own kit. Reusable metal tools like cuticle pushers, nippers, and dotting styluses touch skin and sometimes blood, so they carry a reprocessing burden. Consumable brushes, files, and buffers wear out and get discarded on a schedule. Confuse the two and you either throw away good steel or reuse something that should have been binned.
This guide treats nail art instruments as a working system: what each does, what it is made of, how to clean it to the level public-health agencies actually specify, and what it costs you to run safely. It also covers accessories that most listicles skip entirely, from airbrush systems to pedicure-specific implements, plus troubleshooting for the problems that show up once you have used a tool for a season.
Getting the sanitation layer right is the whole game, because the Centers for Disease Control and Prevention draws a hard line between cleaning, disinfection, and sterilization, and most consumer advice collapses all three into “wipe it down.” That gap is where infections start, and it is also the gap that separates a hobby blog from a resource you can actually trust with a sharp tool near skin.
Quick answer: Nail art instruments are the reusable and consumable tools used to shape, decorate, and finish nails, grouped by workflow stage: prep, shaping, cuticle work, artistic design, and curing. Reusable metal pieces such as pushers and nippers must be cleaned with detergent first, then disinfected with an EPA-registered product or steam-sterilized at 121C (250F) for 15 to 30 minutes. Consumable brushes and files are replaced, not sterilized. Match each instrument to its correct reprocessing level and its intended skill tier, and you get safe, durable results whether you work at home or in a licensed salon.
How instruments map to the actual manicure workflow
Every tool in a kit earns its place at one point in the service, and mapping instruments to that sequence is faster than memorizing a product grid. The workflow runs in a fixed order: hygiene and hand prep, shaping the free edge, cuticle work, surface deglossing, enhancement or polish application, artistic design, curing or drying, then cleaning and storage. A dotting stylus is useless before the base coat cures; a 100 grit file is wrong on a natural nail. When you know the stage, you know the tool, and you stop buying duplicates that do the same job.
Instruments are reusable and reprocessable. Consumables get discarded. Accessories like nail forms and stencils are single-use guides. Keeping these three buckets separate is what lets you build a maintenance routine that actually holds, and it is also what lets a salon owner budget correctly, since reusable steel is a capital cost while consumables are an ongoing supply cost.
- Prep and hygiene: hand sanitizer, detergent for pre-cleaning, disinfectant soak trays.
- Shaping: manual files, buffers, electric nail files (e-files) with carbide or ceramic bits.
- Cuticle work: metal or plastic pushers, spring-jointed nippers, tweezers.
- Design: dotting tools, striping and liner brushes, stamping plates and stampers, rhinestone pickers.
- Curing and finish: UV or LED lamps, dappen dishes, mixing spatulas.
If you are layering regular lacquer over an existing set, the order changes slightly, and the guide to layering regular lacquer over a gel manicure walks through where each tool fits so you do not lift the base.
The full instrument taxonomy, with the specs that matter
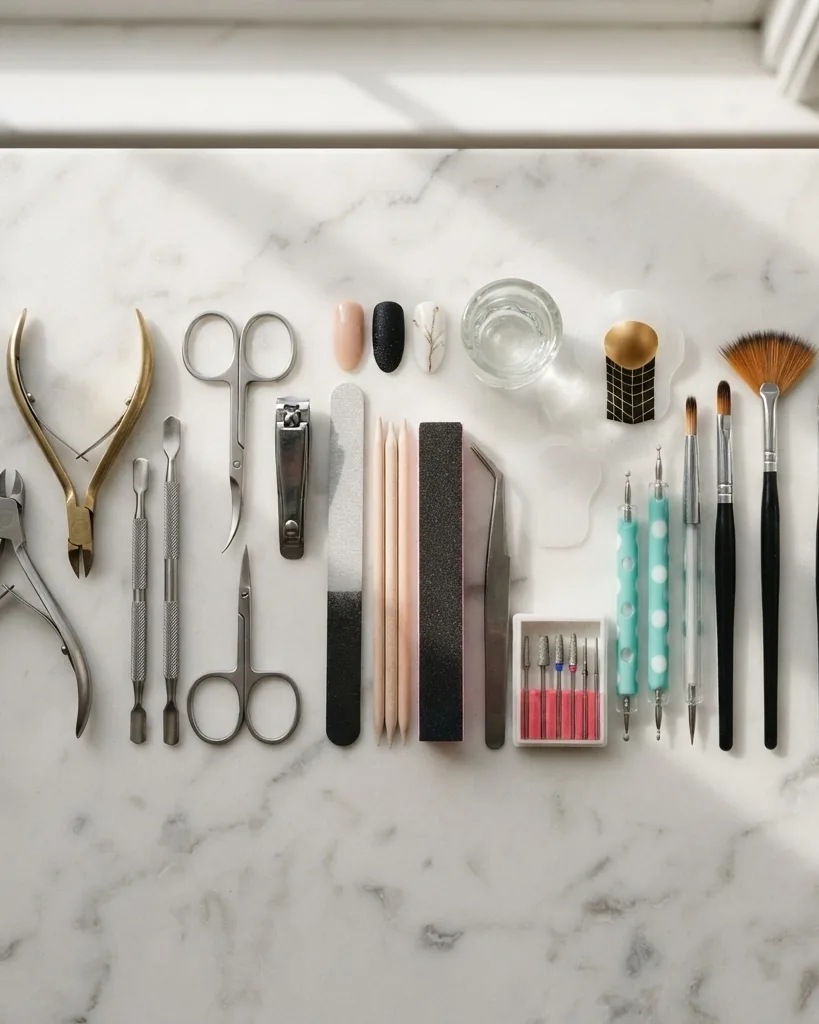
A complete nail kit spans far more than the dotting tool and striping brush that listicles fixate on, and the technical spec of each piece is what separates a smooth result from a torn cuticle. Files carry grit ratings. E-file bits come in distinct materials with different cutting behavior. Brushes are made from natural Kolinsky sable or synthetic filament, and that choice changes how they survive solvents. Below is the working taxonomy, organized so you can see what each category is for and what number or material to check before buying.
Grit is the first spec to learn because using the wrong abrasive is the fastest way to damage a nail plate.
- Files and buffers: coarse grit in the 80 to 100 range shapes acrylic and gel enhancements; finer 180 to 240 grit suits natural nails and light smoothing.
- Cuticle pushers and nippers: metal versions last longer than plastic; spring joint type on nippers controls how cleanly they close and how much strain your hand takes.
- Dotting tools and styluses: double-ended, sized by bead diameter, for dots, marbling, and blending.
- Striping, liner, detail, and fan brushes: Kolinsky sable holds a point and springs back; synthetic bristle resists acetone degradation differently.
- Stamping plates and stampers: silicone heads pick up etched designs; jelly heads offer visibility for placement.
- Electric nail files (e-files): a handpiece, a foot pedal, and interchangeable carbide, ceramic, or diamond bits.
- Curing lamps: UV and LED units, increasingly multi-wavelength, that cure gel systems.
- Dappen dishes and mixing spatulas: small glass or ceramic vessels for liquid monomer or pigment, paired with a metal spatula for controlled mixing.
- Nail forms and tips: disposable guides that let a technician sculpt an extension without touching product directly to skin.
- Tweezers and rhinestone pickers: fine-tipped tools for placing small embellishments without smudging wet product.
Bit material on an e-file is its own decision. Carbide bits cut fast and shed debris well; ceramic runs cooler for heat-sensitive clients; diamond bits handle detail and cuticle work. The long-tail question of carbide versus ceramic comes up constantly, and the answer is task-dependent rather than one being universally better. For fine detail work along the smile line, a dedicated brush beats any general tool, and the complete selection and technique guide for French tip brushes covers exactly which shape and hair type to pick.
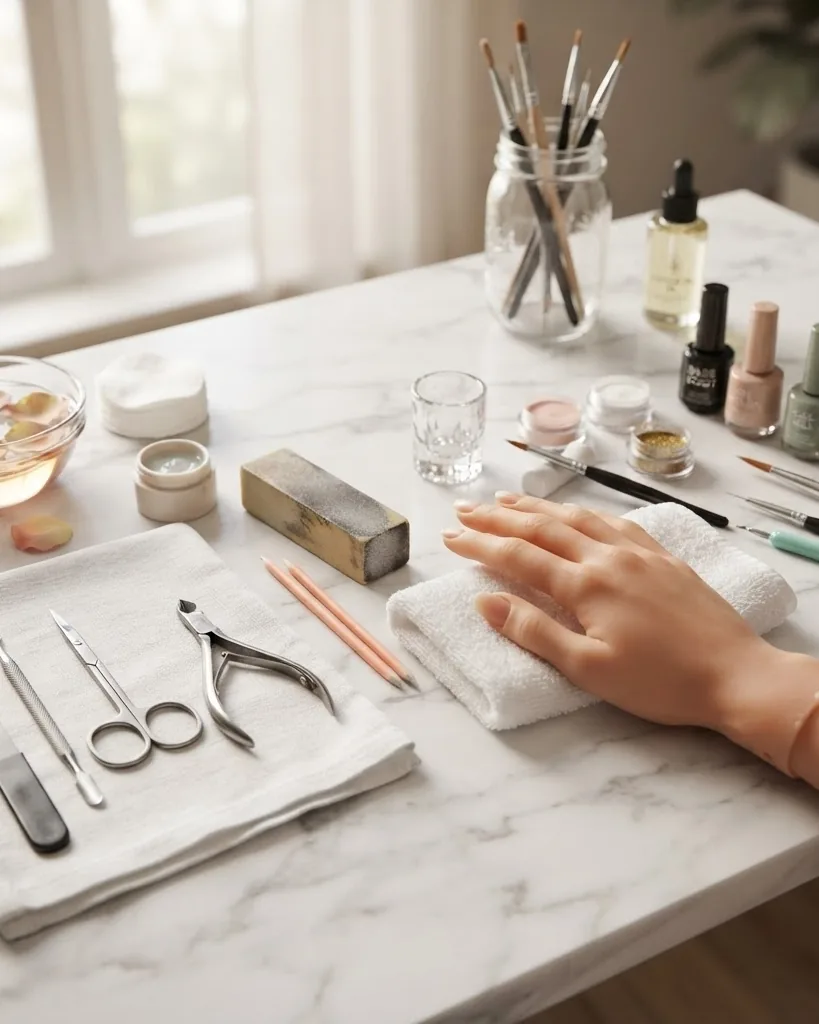
Airbrush systems, tweezers, and pedicure-specific instruments
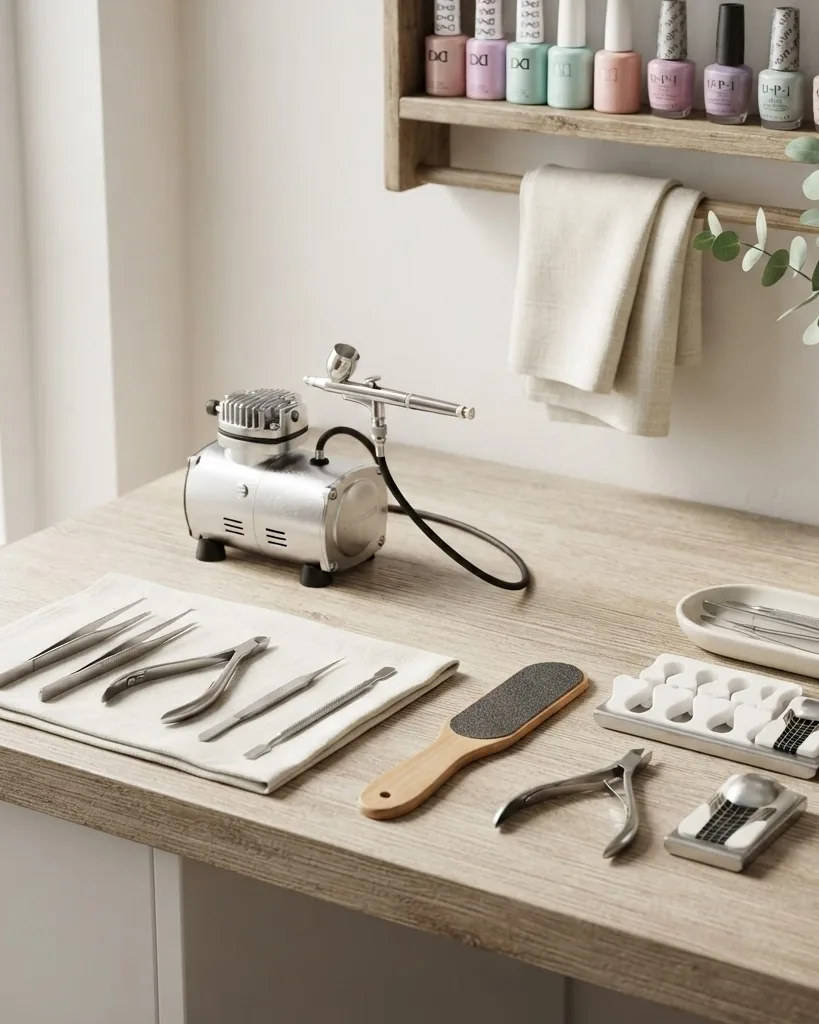
Most consumer articles stop at brushes and files, but a genuinely complete taxonomy also has to cover airbrush systems and the pedicure-specific tools that overlap with, but are not identical to, manicure instruments. An airbrush setup adds a compressor, a hose, and a spray gun to the kit, and it is used for gradient effects, French fades, and stencil work that a brush cannot replicate cleanly. Because it aerosolizes pigment, ventilation matters even more here than with filing dust, and the same reasoning behind OSHA’s dust-collection guidance for filing applies to airbrush overspray.
Tweezers and rhinestone pickers look like an afterthought next to an e-file, but they are the tools that determine whether embellishment placement looks intentional or accidental. A fine-tipped tweezer lets you set a rhinestone precisely into wet gel without disturbing the surrounding surface, and a dedicated picker, often with a slightly sticky or waxed tip, does the same job for very small stones that regular tweezers cannot grip cleanly.
Pedicure work uses a parallel but distinct instrument set. Foot files address thicker, more callused skin and are generally coarser than any hand file. Pedicure nippers are built with a heavier frame and a wider jaw than manicure nippers, because toenails are thicker and the cutting force required is greater. Reprocessing rules do not relax for pedicure tools; if anything, foot work carries a higher risk of nicking skin, which brings the same OSHA Bloodborne Pathogens Standard and the same CDC sterilization guidance back into play.
Why stainless grade, joint type, and bristle material decide durability
Construction science explains why two cuticle nippers at wildly different prices are not the same tool, and it comes down to steel grade, joint design, and how materials react to salon chemicals. Instrument-grade stainless steel resists corrosion under repeated chemical disinfection and steam sterilization, which matters because the reprocessing that keeps a tool safe is also what destroys cheap metal. A nipper that pits and rusts after a few disinfectant soaks was never built for the job, no matter how sharp it arrived. Joint type governs how evenly the blades meet, and a poor joint means ragged cuts that tear rather than trim.
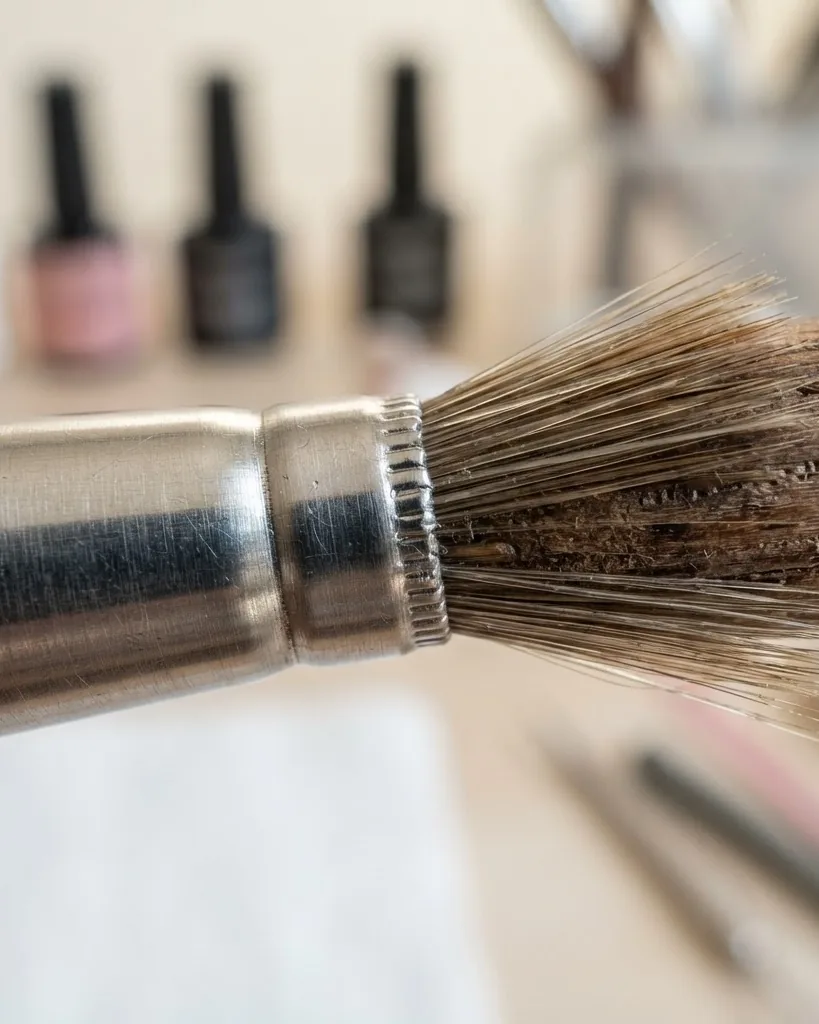
Bristles face a different enemy: solvents. Acetone and other cleaners degrade certain synthetic filaments over time, while natural Kolinsky hair responds differently and holds a point through heavier use. That is why detail brushes get replaced on a schedule even when metal tools are kept for years.
Consider a worked example. A salon buys two batches of cuticle nippers: one instrument-grade stainless, one a lower-grade metal sold at half the price. After three months of daily EPA-registered disinfectant soaks, the cheaper batch shows visible pitting along the blade edge, while the instrument-grade batch shows none. Pitted steel is not just cosmetically worse; it is a hygiene failure, because a pitted surface cannot be reliably disinfected even with a correctly used product, since organic matter and pathogens can lodge in the pits themselves. The cheaper batch effectively becomes unsafe for professional reuse well before it looks visually worn out.
- Corrosion resistance comes from the steel grade, not the polish or coating.
- Joint quality determines cutting cleanliness and how much grip force you burn per hour.
- Bristle survival under acetone drives replacement timing for brushes.
- Handle weight and ergonomics affect strain across long sessions.
Chemical exposure also touches your consumables. If your lacquer thickens and you reach for a solvent to save it, dosing matters, and the breakdown of how nail polish thinner works and when it ruins polish keeps you from wrecking a bottle you meant to rescue.
Cleaning vs disinfection vs sterilization: the rules agencies actually set
The single most ignored fact in consumer nail content is that cleaning, disinfection, and sterilization are three different processes with three different outcomes, and skipping the first one breaks the other two. Per the Centers for Disease Control and Prevention Guideline for Disinfection and Sterilization in Healthcare Facilities, cleaning removes visible debris, disinfection reduces pathogens to a safe level, and sterilization destroys all microbial life. Crucially, instruments must be physically cleaned with water and detergent before any chemical disinfection or sterilization, because residual organic matter shields pathogens and interferes with a disinfectant’s antimicrobial activity. Wipe first, or the strongest product on the market fails.
The reprocessing level depends on the instrument. Reusable metal tools that can contact skin or blood justify the highest level; brushes and files that wear out get discarded instead.
- Cleaning: detergent and water on every tool, first, always. Non-negotiable prerequisite.
- Disinfection: an EPA-registered, hospital-grade product for non-porous reusable metal instruments between clients.
- Sterilization: steam autoclaving for the highest assurance on metal that pierces or nicks skin.
Steam sterilization of reusable metal instruments such as stainless-steel cuticle pushers and dotting tools generally requires a cycle at 121C (250F) for roughly 15 to 30 minutes, depending on whether items are wrapped, according to the same CDC infection-control guidance. You can read the underlying reference in the CDC Guideline for Disinfection and Sterilization in Healthcare Facilities. For product selection, the U.S. Environmental Protection Agency maintains registered-disinfectant lists that spell out which products may legally claim efficacy against specific pathogens.
The relevant EPA resources include the Selected EPA-Registered Disinfectants list and the List D of registered antimicrobial products effective against human HIV-1. Salons and regulators reference these when choosing a soak for non-porous, reusable nail instruments. A disinfectant that is not EPA-registered for the pathogen you care about is a bottle of hope, not a control.
A worked example of a correct disinfection sequence looks like this: after a client leaves, the technician first scrubs each metal tool under running water with detergent to remove visible debris, then fully submerges the cleaned tools in a fresh, correctly diluted EPA-registered disinfectant for the full contact time printed on the label, then air-dries them on a clean surface before storage. Skipping the scrub-first step, or reusing an old disinfectant soak past its labeled lifespan, is the most common way this process silently fails in a busy salon.
Permits, licensing, and what compliance costs an operator
Running nail art instruments professionally pulls in a stack of federal and state bodies, and each one governs a specific hazard that turns into a real operating cost. The Occupational Safety and Health Administration, part of the U.S. Department of Labor, publishes dedicated guidance on workplace safety in nail salons, covering chemical exposure, ventilation, and sanitation hazards specific to this industry. Its Bloodborne Pathogens Standard, codified at 29 CFR 1910.1030, requires employers whose workers may contact blood to maintain a written Exposure Control Plan and to use engineering and work-practice controls to minimize sharps injuries. Since a metal nipper or pusher can nick skin, that standard applies directly to the people wielding these tools.
Dust is the other occupational hazard OSHA flags. Airborne dust from filing, both manual and electric, is identified as a respiratory and eye-irritation hazard, with workstation ventilation and dust-collection systems recommended to reduce exposure. The National Institute for Occupational Safety and Health, a CDC agency, publishes parallel guidance on manicure and nail salon worker safety covering both chemical and physical hazards for manicurists, and readers should confirm the specific page they reach is current since CDC occasionally restructures its site.
UV curing lamps introduce a separate exposure question. Repeated close-range UV exposure over years of professional use is a reasonable occupational-health concern, and this is part of why multi-wavelength LED lamps, which can cure at lower total exposure for a comparable result, have gained ground over older single-wavelength UV units. Repetitive strain is the fourth hazard worth naming: gripping small nippers, pushers, and brushes for hours at a stretch, especially with a worn joint that requires extra force, raises the same repetitive-strain risk documented across other fine-motor occupations.
The Environmental Protection Agency governs the disinfectants themselves, deciding which products may legally claim efficacy on non-porous surfaces and instruments. The U.S. Food and Drug Administration governs cosmetic safety communication. The FDA has identified methyl methacrylate (MMA), historically used in some acrylic nail-enhancement systems applied with brushes and forms, as a poisonous and deleterious substance not approved for such cosmetic use, distinguishing it from the more commonly permitted ethyl methacrylate (EMA). If a product line still uses MMA, that is a compliance and health flag, not a bargain.
On the licensing side, the National Interstate Council of State Boards of Cosmetology develops licensing exams and model curricula that govern which instruments technicians are trained and tested on. Many jurisdictions require state cosmetology board licensing before certain implements may be used on paying clients. The Professional Beauty Association, the largest North American trade association for the professional beauty industry, works on the tools and standards side alongside those licensing bodies.
- OSHA: exposure control plans, sharps handling, ventilation for filing and airbrush dust.
- EPA: which disinfectants are legal to claim pathogen efficacy.
- FDA: chemical safety communication, including the MMA versus EMA distinction.
- NIC: licensing exams defining what instruments a technician is trained to use.
Two documents worth reading in full are the OSHA Bloodborne Pathogens Standard and the FDA Nail Care Products guidance. Global principles for cleaning, disinfection, and hand hygiene are set out by the World Health Organization Infection Prevention and Control program, which any operator can use as a baseline framework regardless of country. Because these are your-money-or-your-life topics, YMYL standards mean the safety layer is not optional garnish; it is the reason the resource can be trusted at all.
Choosing instruments by skill level, and when to retire them
The right kit for a beginner is not a smaller version of a professional kit, and buying up too fast is how hobbyists end up with an e-file they injure clients or themselves with. Match instruments to skill and intended use: a beginner needs a few forgiving tools, a hobbyist can add specialized brushes and a basic lamp, and a professional working under a license invests in surgical-grade steel and a torque-rated e-file with proper bits. Skill also determines safety. An e-file in untrained hands generates heat and files too deep; the same tool in trained hands is faster and gentler than manual work.
Replacement timing is where most kits fail quietly. Corroded metal, splayed bristles, and dull grit all degrade results and, in the case of pitted steel, hygiene.
- Beginners: a mid-grit file, a plastic or metal pusher, a dotting tool, one or two brushes.
- Hobbyists: add Kolinsky detail brushes, a stamping kit, and an entry LED lamp.
- Professionals: instrument-grade steel nippers, an e-file with carbide and ceramic bits, dust extraction.
Retire any metal tool that shows pitting or rust, since a corroded surface cannot be reliably disinfected. Replace brushes when the point splays or acetone has stiffened the filament, and swap files once the grit stops cutting cleanly. Educators training new technicians typically build kits that intentionally include both the coarse and fine ends of the grit range, so students learn to feel the difference under the hand rather than reading it off a label alone.
The professional user base is real and tracked: the U.S. Bureau of Labor Statistics classifies manicurists and pedicurists under Standard Occupational Classification code 39-5092 and publishes national employment and wage data for them in its Occupational Outlook Handbook entry for manicurists and pedicurists.
Manual vs electric, and professional vs consumer grade
Manual and electric tools solve overlapping problems but are not interchangeable, and the same is true of professional-grade versus consumer-grade instruments within either category. A manual file is slower but has almost no learning curve and no risk of heat damage. An e-file is faster and more consistent once mastered, but it requires training to avoid over-filing, generating excess heat, or catching skin at high RPM. Neither is universally correct; the choice depends on volume of clients, available training, and how much control the user already has.
- Manual files: lower cost, no heat risk, slower, better for occasional or home use.
- Electric files: faster and more consistent, require training, better for salons with high client volume.
- Consumer-grade metal: lower cost, shorter lifespan under repeated disinfection, acceptable for personal-only use.
- Professional-grade metal: instrument-grade stainless steel, holds up to daily disinfection or sterilization, required in licensed settings.
Manicure and pedicure tools follow a similar split in intensity rather than category. Pedicure implements are built heavier because feet carry thicker skin and nails, while manicure tools are built for finer control. Buying one heavy-duty set and trying to use it for both jobs usually means the pedicure tools are too blunt for detail hand work, and the manicure tools wear out too fast on feet.
Bits, brushes, and lamp choices that trip buyers up
A handful of specific buying decisions cause most of the regret in nail kits, and they cluster around e-file bits, brush hair, and curing lamps. Carbide versus ceramic bits is the classic standoff: carbide cuts fast and clears debris, ceramic runs cooler and suits heat-sensitive nails, and diamond handles fine cuticle detail. None is universally best. Kolinsky sable versus synthetic bristle is the brush equivalent, where sable holds a point through heavy use and synthetics survive acetone on their own terms. Lamp choice has shifted toward multi-wavelength LED units that cure a wider range of gel systems than older single-wavelength lamps.
The mistake is treating any of these as a status purchase rather than a task match. A cordless e-file is convenient for mobile technicians and home users who do not want a cable across the workstation, but the bit inside it still does the actual work, and torque and RPM range matter more than the absence of a cord.
- Carbide bit: fast bulk removal, good debris shedding, more heat if pressed hard.
- Ceramic bit: cooler running, gentler on thin or sensitive nails.
- Diamond bit: precise detail and careful cuticle work.
- Kolinsky sable brush: superior point retention and snap for lines and detail.
Lamp compatibility matters more than wattage bragging rights, because a gel that will not cure under your lamp is a safety and durability problem, not a cosmetic one. If you work with pre-made systems, the curing rules differ, and the safety, curing, and longevity guide for semi-cured gel nail strips explains what lamp specs those strips actually need.
Troubleshooting common nail instrument problems
Most instrument complaints trace back to one of a small number of root causes, and diagnosing them correctly saves both money and safety risk. A nipper that tears rather than cuts cleanly usually has a joint that has loosened or blades that have dulled unevenly, and the fix is replacement rather than sharpening at home, since improvised sharpening changes the blade geometry the manufacturer calibrated. A brush that has lost its point after a few uses was likely exposed to acetone it was not rated for, or was left to dry without reshaping the bristle first.
An e-file that runs hot even at low speed often has a bit mismatched to the material being filed, or is being pressed too hard against the nail rather than let to cut at its intended pace. A lamp that leaves gel tacky after the full recommended cure time is frequently a wavelength mismatch between the gel formula and the lamp, not a lamp that is broken, which is why checking manufacturer compatibility before buying either component avoids the problem entirely.
- Nipper tears instead of cutting: joint wear or uneven blade dulling; replace rather than home-sharpen.
- Brush loses its point fast: acetone exposure beyond its rating, or drying without reshaping.
- E-file runs hot: wrong bit for the material, or excess downward pressure.
- Gel stays tacky after curing: wavelength mismatch between gel and lamp, check compatibility first.
- Metal tool shows rust spots: lower steel grade under repeated disinfection; retire and replace.
Frequently asked questions
What grit nail file should I use on natural nails?
Finer grit in the 180 to 240 range suits natural nails and light smoothing, while coarse 80 to 100 grit is reserved for shaping acrylic and gel enhancements. Using coarse grit on a natural nail plate thins and weakens it. Start with the least aggressive abrasive that gets the job done, and step up only when the material genuinely requires it.
Do I really need to sterilize my dotting tools and pushers?
Reusable metal instruments that can contact skin justify the highest reprocessing level. Per CDC guidance, steam sterilization runs at 121C (250F) for roughly 15 to 30 minutes depending on wrapping. First clean with detergent and water, since residual organic matter shields pathogens. At home for personal-only use the risk is lower, but the clean-first rule never changes.
What is the difference between cleaning and disinfection?
Cleaning removes visible debris with detergent and water, while disinfection reduces pathogens to a safe level using an EPA-registered product. The CDC treats them as separate steps because disinfection fails on a dirty surface. Cleaning is always the prerequisite. Sterilization goes one further and destroys all microbial life, which is the standard for metal tools that can pierce skin.
Is MMA safe in nail products?
The FDA has identified methyl methacrylate (MMA) as a poisonous and deleterious substance not approved for cosmetic nail-enhancement use, distinguishing it from the more commonly permitted ethyl methacrylate (EMA). If a product applied with your brushes or forms lists MMA, treat it as a red flag. Check the FDA Nail Care Products guidance before buying enhancement systems from unfamiliar suppliers.
How do I know when to replace a nail instrument?
Retire any metal tool showing pitting or rust, because a corroded surface cannot be reliably disinfected. Replace brushes when the point splays or acetone stiffens the filament, and swap files once the grit stops cutting cleanly. Ergonomics count too: a nipper with a worn joint forces extra grip strength and raises repetitive-strain risk over long sessions.
What safety gear do I need for e-file dust?
OSHA identifies airborne dust from filing, both manual and electric, as a respiratory and eye-irritation hazard, recommending workstation ventilation and dust-collection systems. For frequent users, a dust extractor at the workstation and appropriate personal protective equipment reduce exposure. Home hobbyists doing occasional work should still file in a ventilated space rather than a closed room.
Is a cordless e-file as good as a corded one for professional use?
A cordless e-file can match a corded unit in cutting performance if its torque and RPM range are comparable, and the convenience of no cable is genuinely useful for mobile technicians. The deciding factor is battery-sustained torque under load, not the absence of a cord itself. For a busy chair doing back-to-back services all day, check runtime and torque consistency before assuming cordless is automatically the better professional choice.