How to get acrylic nails off without shredding the natural nail underneath comes down to one thing most guides skip: which enhancement you actually have. A liquid monomer combined with a powdered polymer, hardened into a solid overlay, does not respond to solvent the way a soak-off gel does, and treating them the same is where at-home removal goes wrong. Acrylic bonds to the nail plate as a dense coating, which is exactly why a strong organic solvent is required to dissolve it. Rushing that dissolution, or worse, prying it, strips keratin and can peel the plate away from the bed. Get the method matched to the product and the removal is boring and safe. Guess, and you spend the next three months regrowing a damaged nail. This guide walks the whole path, from the first file stroke to the last drop of cuticle oil.
Before the acetone comes out, it helps to know how to read what you paid for. If you also wear gel between acrylic sets, our breakdown of the two nail glue products buyers confuse clears up a related mix-up that leads to the wrong remover entirely.
Quick Answer: The Fastest Safe Way to Remove Acrylics
To get acrylic nails off safely, clip the length down, gently file off the shiny topcoat, then wrap each nail in an acetone-soaked cotton ball sealed in foil. Acrylic is a liquid monomer plus powdered polymer that only a strong solvent dissolves, so pure acetone is non-negotiable. Once the acrylic turns soft and gummy, push it off with an orangewood stick, never pry or peel. Re-soak stubborn spots rather than forcing them. Finish with cuticle oil and hand cream. If you have diabetes, reduced sensation, or an infection under a lifting nail, see a professional instead.
Tell Acrylic From Gel and Dip Before You Pick a Remover
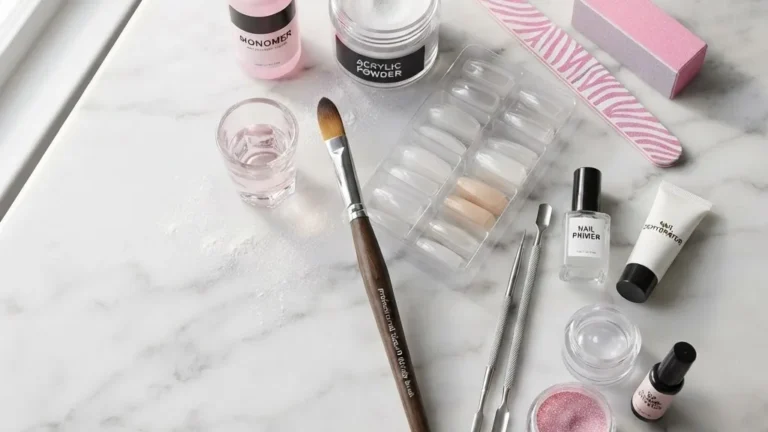
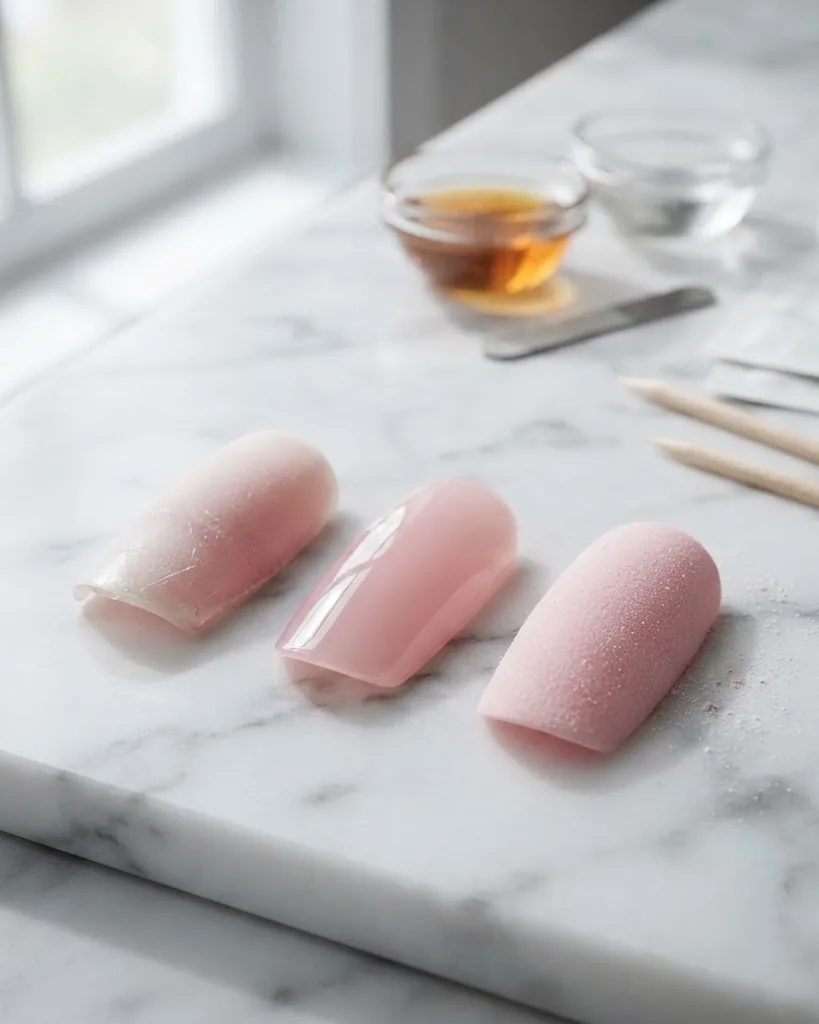
Identifying your enhancement type is the single most important step, because solvent response differs sharply between products and the wrong method either wastes an hour or damages the plate. Traditional acrylic is built from a liquid monomer combined with a powdered polymer that hardens into a rigid overlay; it has a slightly matte, thick edge and a faint chemical smell when filed. Soft or soak-off gel dissolves in acetone much faster and feels more flexible. Hard gel resists acetone almost entirely and usually needs filing down. Dip powder sits between the two, dissolving in acetone but often taking longer than gel. If you scratch the surface lightly and it powders like chalk, you are likely looking at dip or acrylic rather than a cured gel film.
There is a chemistry layer underneath this that most removal advice ignores, and it matters for your safety. Acrylics are made with either methyl methacrylate (MMA) or ethyl methacrylate (EMA) as the monomer. The difference is not cosmetic:
- MMA-based acrylic forms a denser, more chemically resistant polymer. It is significantly harder to dissolve in acetone and far more likely to tear the nail plate if forced off. The U.S. Food and Drug Administration has historically warned against methyl methacrylate monomer in nail liquid products for exactly this reason.
- EMA-based acrylic is the industry norm in reputable salons, softens more readily in solvent, and removes with less trauma to the natural nail.
If a set felt suspiciously cheap, refused to lift for weeks, and resists a 30-minute soak, you may be dealing with MMA. That is a strong signal to stop and let a technician handle removal with proper filing rather than escalating soak time or brute force at home. Knowing which product you have before you start changes which of the methods below is actually safe to attempt.
The Foil-Wrap Acetone Method, Step by Step
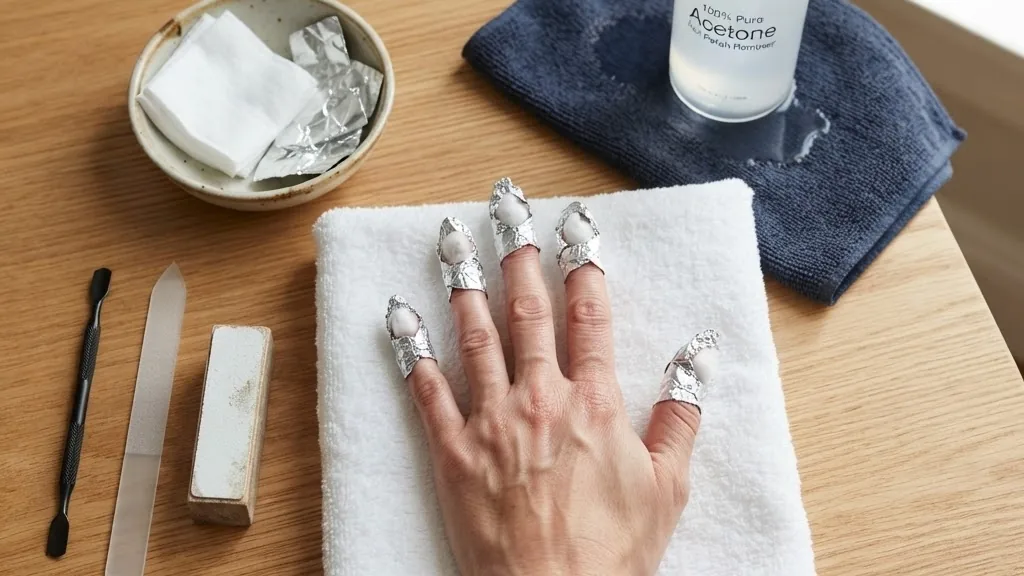
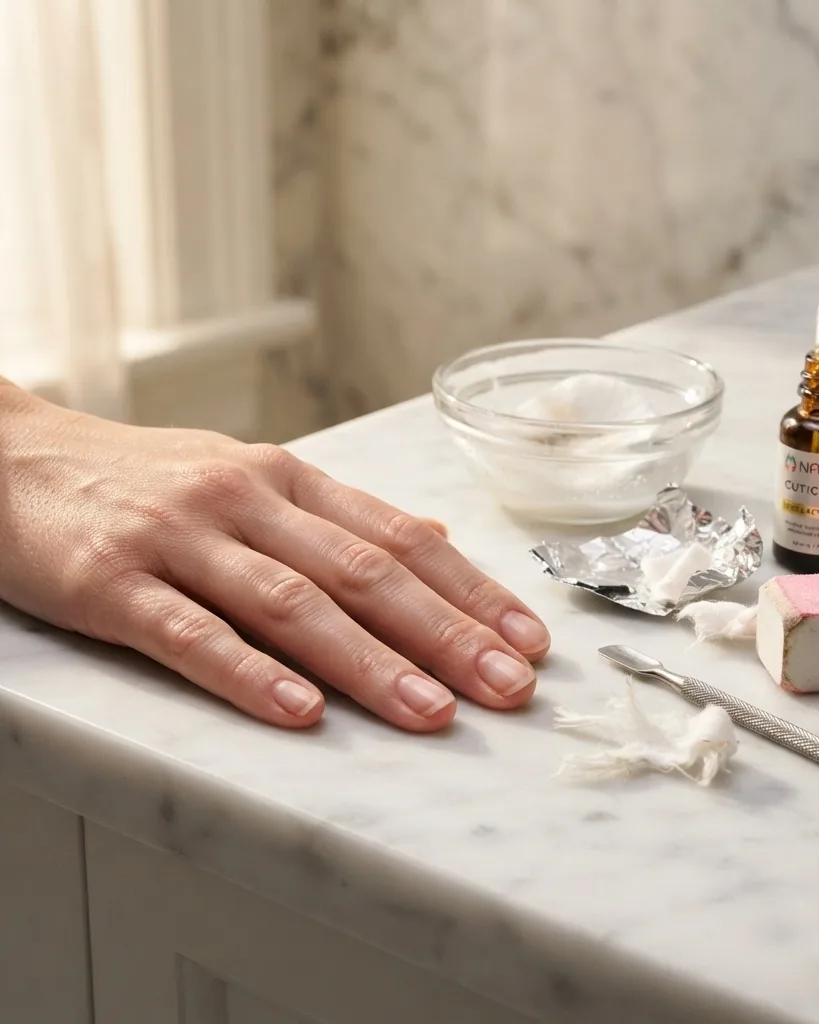
The foil-wrap method is the most controlled way to get acrylic nails off at home because it traps a small amount of heat against each nail, which speeds dissolution while limiting how much acetone touches surrounding skin. Start by clipping the free edge as short as comfortable, then use a coarse file to buff away the glossy topcoat so solvent can penetrate. Coat the skin around each nail with petroleum jelly as a barrier. Soak a cotton ball in 100 percent pure acetone, press it onto the nail, and wrap the fingertip snugly in a small square of aluminum foil.
When you unwrap, the acrylic should look soft, cloudy, and gummy. That is your cue to work, not force. Gently push the softened product toward the free edge with an orangewood stick or metal cuticle pusher. Anything that resists gets re-wrapped. Do not scrape at hard, glassy patches; they are not ready.
A few controls keep this method safe:
- Work in a ventilated room. Acetone boils at approximately 56 degrees C (133 degrees F), so it evaporates fast and fills a closed bathroom quickly.
- Keep every flame and heat source away. Acetone has a flash point around -20 degrees C (-4 degrees F), which makes it highly flammable even at room temperature.
- Take a break between soaks if your skin stings. The barrier of petroleum jelly helps, but acetone is drying by design.
Foil wraps suit people who want each nail handled independently and who do not want their whole hand sitting in solvent. It is the method most salon technicians reach for when an e-file is not appropriate.
The Bowl-Soak Method and Its Warm-Water Variant
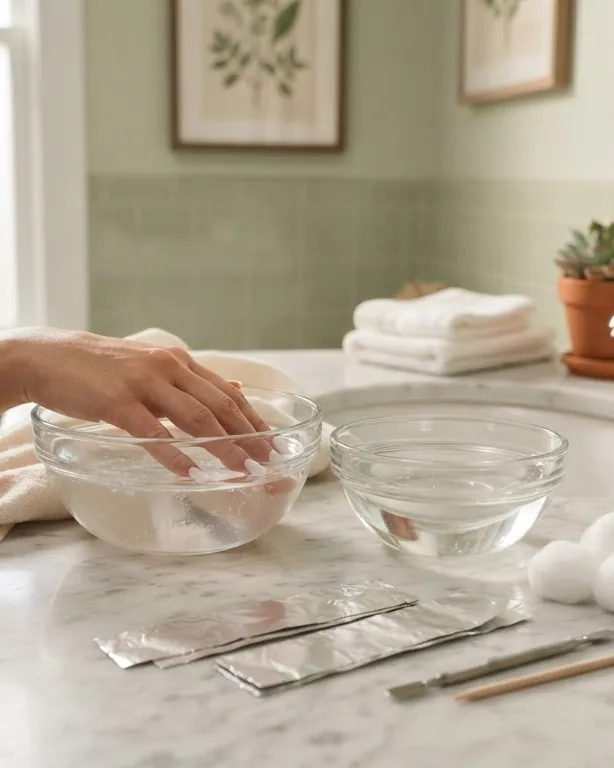
The bowl-soak method pours pure acetone into a shallow dish and submerges the fingertips directly, which is simpler than wrapping ten fingers in foil but exposes far more skin to solvent. Prep is identical: clip short, file off the shine, and ring the skin with petroleum jelly. Then soak the fingers, lifting occasionally to push off softened acrylic with an orangewood stick. Because the whole nail sits in liquid, this method can feel faster, but the trade-off is more drying and more vapor rising toward your face, so ventilation matters even more here than with foil.
Some tutorials speed this up with a warm-water trick: setting the acetone bowl inside a larger bowl of warm water so the gentle heat accelerates dissolution. It works, but it carries a real hazard that casual guides underplay. Never heat acetone with a microwave, stove, candle, or any open flame. Given its flash point around -20 degrees C (-4 degrees F), warmed acetone vapor near an ignition source is a genuine fire risk, not a theoretical one. If you use the warm-water variant, the water should be pre-warmed from the tap and the whole setup kept well away from anything that sparks or burns.
The Occupational Safety and Health Administration sets the workplace permissible exposure limit for acetone at 1,000 parts per million as an 8-hour time-weighted average. Home removal falls well below that, but the number is a useful reminder: a small, closed space with no airflow is the wrong place to sit for half an hour breathing solvent. Crack a window.
The Low-Acetone File-Down for Sensitive Skin
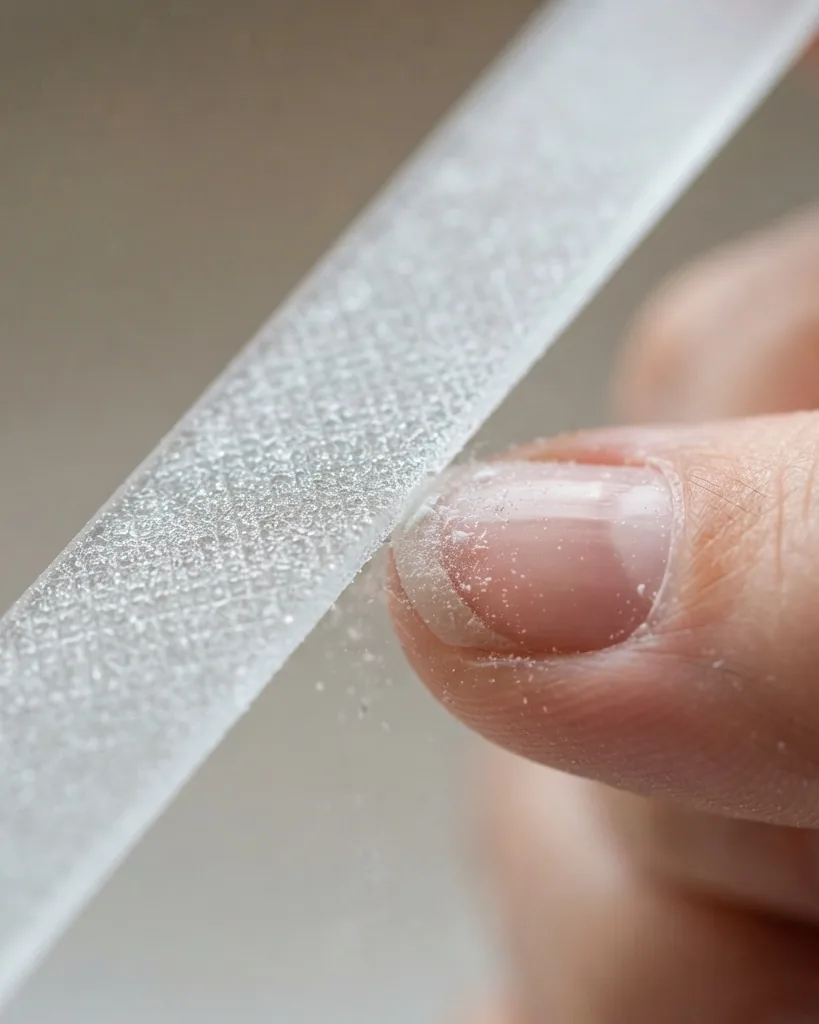
The file-down method minimizes acetone contact by mechanically thinning the acrylic first, then soaking only briefly to lift the last layer, which suits people with eczema, psoriasis, or known solvent sensitivity around the nail folds. Using a coarse file, carefully buff the bulk of the acrylic away, keeping the file flat and moving in one direction rather than sawing. The goal is to reduce the overlay to a thin, translucent film, at which point a five to ten minute soak or a single foil wrap finishes the job with a fraction of the exposure. This is slower and takes patience, but it spares reactive skin.
The danger here is filing pressure. The nail plate is hardened, keratinized epithelial cells with no nerves of its own, so you cannot always feel when you have gone too far. Over-filing thins the plate and creates the peeling, bendy nails people blame on acrylic itself. Rules that protect the natural nail:
- Stop filing the moment you see the acrylic go translucent and the pink of the nail bed shows faintly through. That film is not the natural nail yet; finish it with solvent.
- Use grit for the job. A coarse file removes bulk product; switch to a fine buffer near the end.
- Never file the natural nail smooth for the sake of a clean look. The residual product will come off; your keratin will not grow back overnight.
Acetone-free and warm-water-only removal exists, but set honest expectations: oil-and-soap soaks are markedly slower and often will not fully dissolve acrylic. They are a fallback for severe skin reactions, not a first choice. If your skin cannot tolerate acetone at all, that is a reason to book a professional removal, not to pry.
Methods That Wreck Your Nails, and Why People Still Try Them
Peeling, prying, biting, twisting, or sawing acrylic off with dental floss are the fastest routes to lasting damage, and they persist because they feel productive in the moment. When you lever an acrylic overlay off, it does not release cleanly; it takes layers of nail plate with it. Two documented conditions follow directly from this kind of trauma. Onycholysis is the separation of the nail plate from the nail bed, leaving a lifted, often discolored gap. Paronychia is inflammation of the skin fold surrounding the nail. Both are recognized nail disorders that can result from forceful or improper removal of artificial enhancements, and both take far longer to resolve than a proper soak would have taken in the first place.
The dental-floss “saw” trick deserves a specific warning. Threading floss under the acrylic edge and working it toward the cuticle does not slide the product off; it rips the bond and frequently gouges the bed. There is no version of prying that is safe, no matter how loose the acrylic feels.
Here is the stop-condition: if the acrylic will not budge after adequate soaking, the answer is more solvent and more patience, or a trip to a technician, never a tool used as a lever.
Who Should Not Remove Acrylics at Home
Standard DIY acetone removal is safe for most healthy adults, but several groups face elevated risk and should have a professional handle it. The most important is anyone with diabetes or reduced peripheral sensation. Under a sealed foil wrap, heat and irritation can build without being felt, and a minor injury on a numb fingertip can become a serious wound. If you cannot reliably feel your fingertips, this is not a home job.
Other populations that warrant caution:
- People with eczema or psoriasis around the nail. Acetone strips the skin barrier and can worsen existing barrier dysfunction, turning a manageable flare into a painful one.
- Pregnant and breastfeeding individuals concerned about solvent inhalation. The practical fix is ventilation and shorter exposure, but anyone anxious about it should ask their clinician and consider a salon with good airflow.
- Anyone with a suspected infection under a lifting acrylic. Warmth, pus, spreading redness, or a foul smell means you need a clinician, not a soak.
- People with a known acrylate or acetone allergy. Removal itself can trigger allergic contact dermatitis; this is a professional or medical situation.
The American Academy of Dermatology Association publishes consumer guidance on artificial nail wear and removal, and its page on artificial nails is a sound starting point for anyone unsure whether their situation is safe to manage at home. When in doubt, the cost of a professional removal is trivial against the cost of a months-long nail injury.
First Aid for a Snagged, Lifting, or Bleeding Nail Right Now
If an acrylic is actively snagged, half-lifted, or has torn into the nail bed, stabilize the injury before you even think about acetone. A painful, bleeding nail is a wound first and a cosmetic problem second. Do not soak an open injury in solvent; acetone on a broken nail bed is intensely painful and slows healing. Instead, clean the area gently with mild soap and water, apply light pressure with clean gauze if it is bleeding, and trim only the loose, snagging portion of the acrylic with clean clippers to stop it catching on fabric.
Once the bleeding stops and the immediate snag is controlled, cover it and leave full removal for later, or hand it to a professional. If pain is severe, the bed is deeply torn, or bleeding will not stop, that is an urgent-care visit. The nail plate has no blood vessels of its own, so bleeding always means the bed or surrounding skin is involved, which is worth taking seriously.
How Long Your Nails Take to Recover, Week by Week
A nail damaged during removal can take several months to fully replace itself, because fingernails grow at an average of about 3.5 millimeters per month while toenails crawl along at roughly 1.6 millimeters per month. That growth rate is the honest backbone of any recovery timeline, and it explains why the smart move is preventing damage rather than repairing it. In the first 24 to 72 hours after removal, the priority is rehydration. The plate and surrounding skin have just had their oils stripped by solvent, so cuticle oil and a rich hand cream, applied several times a day, do more good now than any strengthener.
Over the following weeks, keep the routine gentle:
- Week 1: Oil twice daily, avoid new enhancements, and file only to smooth rough edges, never to shape aggressively.
- Weeks 2 to 4: Continue oil, introduce a moisturizing barrier before wet work, and watch how the plate behaves as it grows out.
- Weeks 4 and beyond: Damaged sections grow toward the free edge and get trimmed away over time, following that 3.5 millimeter monthly pace.
On nail strengtheners and biotin, keep expectations grounded. Hardeners can reduce peeling short term, and evidence on oral biotin for otherwise healthy nails is thin, so treat both as optional rather than curative. What reliably helps is time, hydration, and leaving the nail alone. If you are eager to add color while nails recover, a low-commitment option like a safe guide to semi cured gel nail strips is gentler than another full acrylic set, though even that deserves a break first. MedlinePlus, the patient-facing service from the U.S. National Library of Medicine and the National Institutes of Health, keeps a plain-language nail diseases topic page worth bookmarking if regrowth looks abnormal.
Warning Signs That Mean See a Dermatologist
Most post-removal nails look thin and dull for a while and then recover, but a specific set of symptoms means home care is over and a clinician needs to look. Persistent discoloration, especially a green, yellow, or dark tint under a lifted area, can signal fungal or bacterial growth colonizing the space beneath old acrylic. Ongoing pain, warmth, swelling, or pus around the nail fold points to paronychia or infection. Visible separation of the plate from the bed is onycholysis, and it will not reattach on its own. Any of these justify a dermatologist visit rather than another round of oil.
Allergic contact dermatitis is the reaction people miss most often. It shows up as redness, swelling, itching, or blistering around the nail folds, sometimes appearing days after exposure to acrylate monomers or acetone. If your skin reacts every time you wear or remove enhancements, that sensitization tends to worsen with repeated exposure, and continuing to wear acrylics can make it permanent. A pattern of reactions is a reason to stop, get patch tested, and rethink enhancements entirely rather than pushing through.
Ventilation, Disposal, and the Boring Safety Stuff That Matters
Used acetone and dissolved acrylic residue are flammable household hazardous waste, not something to pour down the drain. Because acetone has a flash point around -20 degrees C (-4 degrees F), the leftover slurry after a soak is still a fire and environmental hazard. Let saturated cotton balls dry in a ventilated spot away from heat before bagging them for disposal, and check your local hazardous-waste guidance for the acetone itself rather than washing it into household plumbing, where it can damage pipes and enter wastewater. This is the kind of step every glossy tutorial skips and every responsible one keeps.
Ventilation is the other habit worth building. The Occupational Safety and Health Administration maintains a dedicated nail salons resource on chemical hazards including solvents, and its logic scales down to your kitchen table: airflow keeps vapor concentration low. You will never approach the 1,000 parts per million workplace limit at home, but a stuffy bathroom concentrates fumes fast, and a cracked window fixes it for free.
Frequently Asked Questions
Do nails need to breathe between acrylic sets?
No. The nail plate is made of hardened, keratinized epithelial cells with no blood supply of its own, and it draws nourishment from the nail bed underneath, not from air. It cannot breathe because it is not living tissue. The real reason to take breaks between sets is to let the plate rehydrate and let any thinning or damage from filing grow out, not to give it oxygen.
Does non-acetone remover work on acrylic?
Not effectively. Acrylic is a liquid monomer combined with a powdered polymer that hardens into a dense coating, and only a strong organic solvent like pure acetone dissolves it reliably. Non-acetone removers are formulated for regular polish and will barely soften a full acrylic overlay. Using them means far longer soak times with poor results, which tempts people into prying. Stick with 100 percent acetone for acrylic.
Can vinegar or oil soaks dissolve acrylic nails?
No. Vinegar is a weak acid and oil is a barrier, and neither can break the polymer bonds in a hardened acrylic overlay. Warm oil-and-soap soaks may slightly loosen the edges over a long time, which is why they get suggested for people who cannot tolerate acetone, but they do not truly dissolve acrylic. Expect a slow, incomplete result and never finish the job by peeling.
How much faster is the foil method than a bowl soak?
The foil wrap often feels faster because trapped heat speeds dissolution and you handle each nail as it softens. The bowl soak exposes more skin to solvent and more vapor to your face. For most people the time difference is small; the real advantage of foil is control and reduced skin contact, not raw speed.
Is it safe to remove acrylics while pregnant?
For most people, occasional home removal with good ventilation is considered low risk, since acetone exposure at home stays well under the workplace limit of 1,000 parts per million. The sensible approach is a well-ventilated room, short exposure, and a barrier of petroleum jelly on the skin. Anyone anxious about solvent inhalation should ask their own clinician and consider a salon with strong airflow rather than a closed bathroom.
What is the difference between MMA and EMA acrylic for removal?
Methyl methacrylate (MMA) acrylic forms a denser, more solvent-resistant polymer that is much harder to dissolve and far more damaging if pried off, which is why the U.S. Food and Drug Administration has warned against MMA monomer in nail products. Ethyl methacrylate (EMA) acrylic, the reputable-salon standard, softens more readily in acetone. If a set resists a full soak, suspect MMA and let a professional remove it.
The Bottom Line on Safe Acrylic Removal
Safe removal is slow removal. Match the method to your product, protect the skin, soak long enough that the acrylic goes gummy, and push rather than pry. Ventilate the room, keep flame away from solvent, and dispose of the residue as the flammable waste it is. Then let the nail recover on its own schedule, roughly 3.5 millimeters of new growth a month, with oil doing most of the work. If sensation is impaired, an infection is brewing, or the product simply will not release, that is your signal to hand it to a technician or a clinician. Done with patience, getting acrylics off is uneventful, and uneventful is exactly what a healthy nail wants.