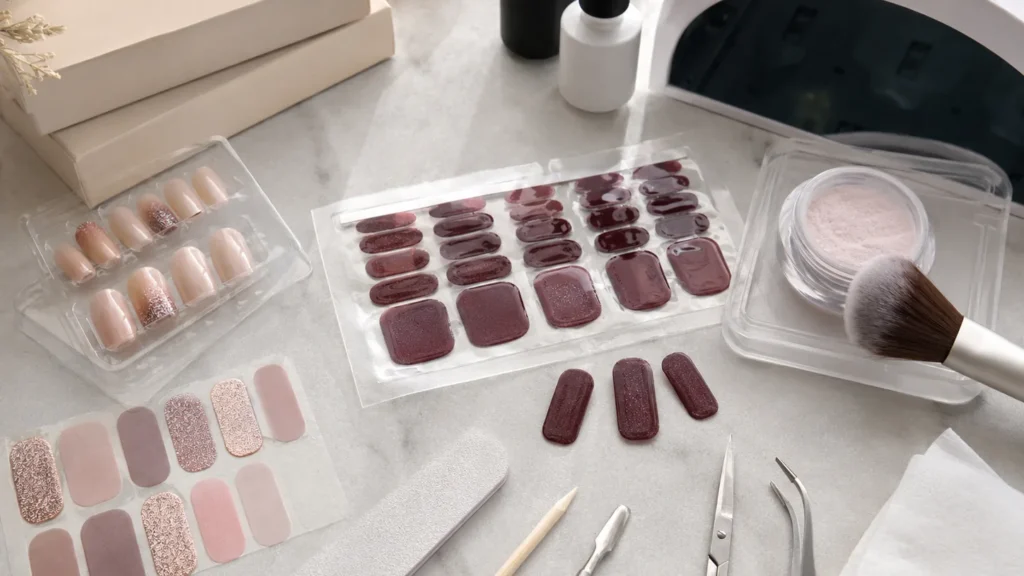
Semi cured gel nail strips are only partially hardened when they leave the packet, which is the single fact that changes everything about how you use them. Brands describe them as roughly 60 percent cured: flexible enough to press onto the nail plate and shape, then hardened the rest of the way under a lamp. That partial state is why a UV or LED lamp is not optional, and why the safety questions people quietly fear (the lamp, the chemistry, the removal) deserve a real answer rather than a product page.
Manufacturers state that these strips reach that approximately 60 percent cured state in the packet and finish curing in around 60 seconds under a lamp, per application guides from brands including Hanny and Chuck. Stated wear on hands sits at 10 to 14 days, according to collection pages from Polish Pops and Le Mini Macaron. Those are label claims, not independent measurements, and the rest of this guide separates what the maker promises from what the dermatology and regulatory record supports.
Quick answer: Semi cured gel nail strips are real gel adhesive films, partially polymerized, that you press on and then fully harden under a UV or LED lamp. They typically wear 10 to 14 days on fingers. The two safety issues worth attention are the curing lamp, which emits UV light dermatologists say to shield against, and acrylate chemistry, which can trigger contact allergy if the gel is under-cured. Full curing and careful, soak-based removal are what protect your nail plate and skin.
What “semi cured” actually means chemically, not on the box
Semi cured means the gel film has been polymerized to roughly 60 percent of its final hardness before it reaches you, according to brand application guides such as the one published by Hanny and Chuck. In that half-set state the strip stays pliable, so you can mold it over the curve of the nail and stretch it toward the edges without cracking. The remaining polymerization happens on your hand: the lamp drives the photoinitiator to link the last of the free monomers into a solid network. That final step is not cosmetic. It is what turns a sticky, allergy-prone film into an inert plastic shell.
- Pre-cure: flexible, tacky, still chemically reactive at the surface.
- Post-cure: hard, glossy, and far less likely to leave free monomer against your skin.
This is the difference from ordinary polish wraps, which are vinyl stickers that never cure and simply dry. Semi cured strips behave like a two-stage gel manicure compressed into a film. If you want to understand how gel and lacquer systems interact more broadly, our guide on layering regular lacquer over a gel manicure covers the chemistry of stacking finishes without wrecking the base.
How semi cured strips differ from wraps, press-ons, dip powder and salon gel
It helps to place semi cured strips next to the formats people already know, because the confusion between them is where most buyer disappointment starts. Standard nail-polish wraps are vinyl stickers with an adhesive backing. They never cure under light because there is no photoinitiator chemistry in them at all; they are just thin plastic printed with a pattern, and durability depends entirely on the glue holding the edges down. That is why plain wraps typically last 7 to 10 days before lifting, against the 10 to 14 days brands claim for cured gel strips.
Press-on nails are a different category again: a molded acrylic or gel-polish shell glued over the whole nail, chosen for length and shape rather than a thin colored film. Dip powder builds thickness by binding pigmented powder with a bonding liquid and an activator, cured chemically rather than under light, which gives it a harder, more durable shell but a much longer application and a more involved acetone soak-off. Salon gel polish is applied in liquid layers with a brush, cured in stages under a professional lamp, and removed with foil wraps and pure acetone.
Semi cured strips sit between wraps and salon gel: they use the same acrylate chemistry as salon gel polish, delivered as a pre-shaped film rather than brushed-on liquid, cured with a smaller at-home lamp instead of a salon unit. That hybrid design is what lets a home user get gel-level wear without brush skill, while still carrying gel’s real chemical risks rather than a vinyl wrap’s much lower ones.
What comes in the box and what you still need to buy
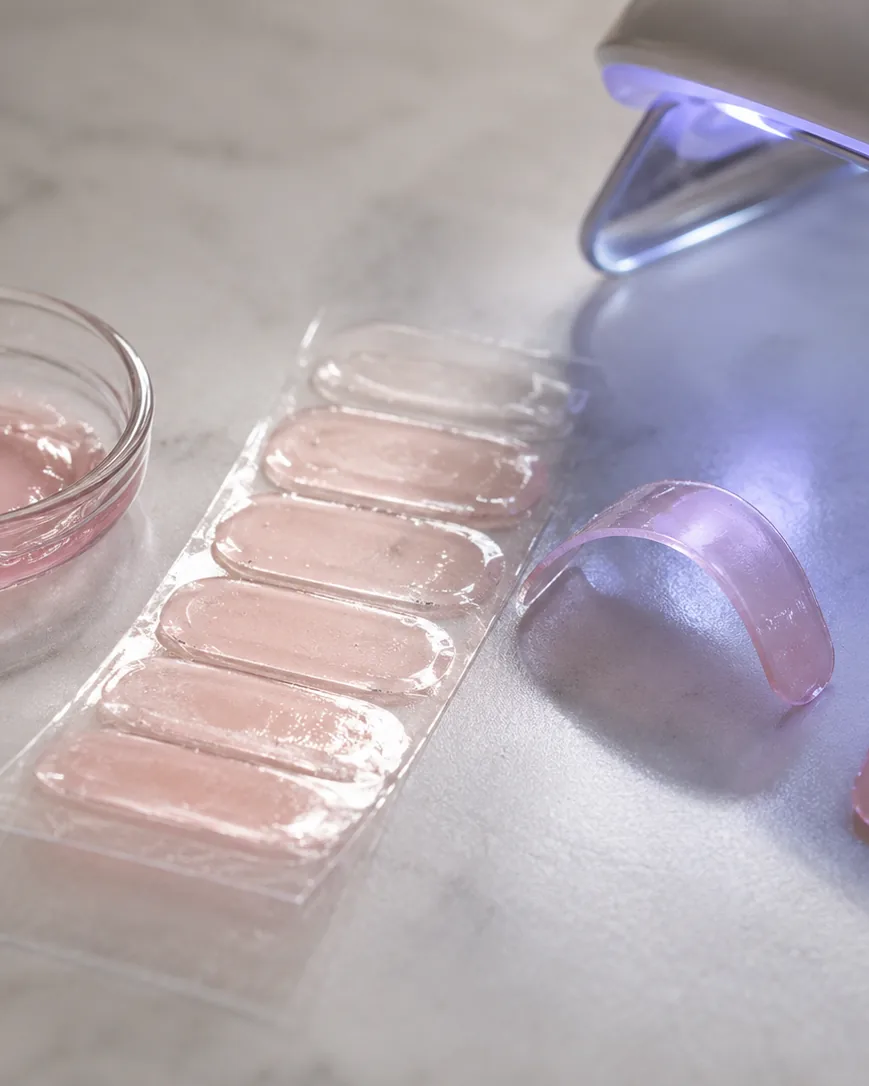
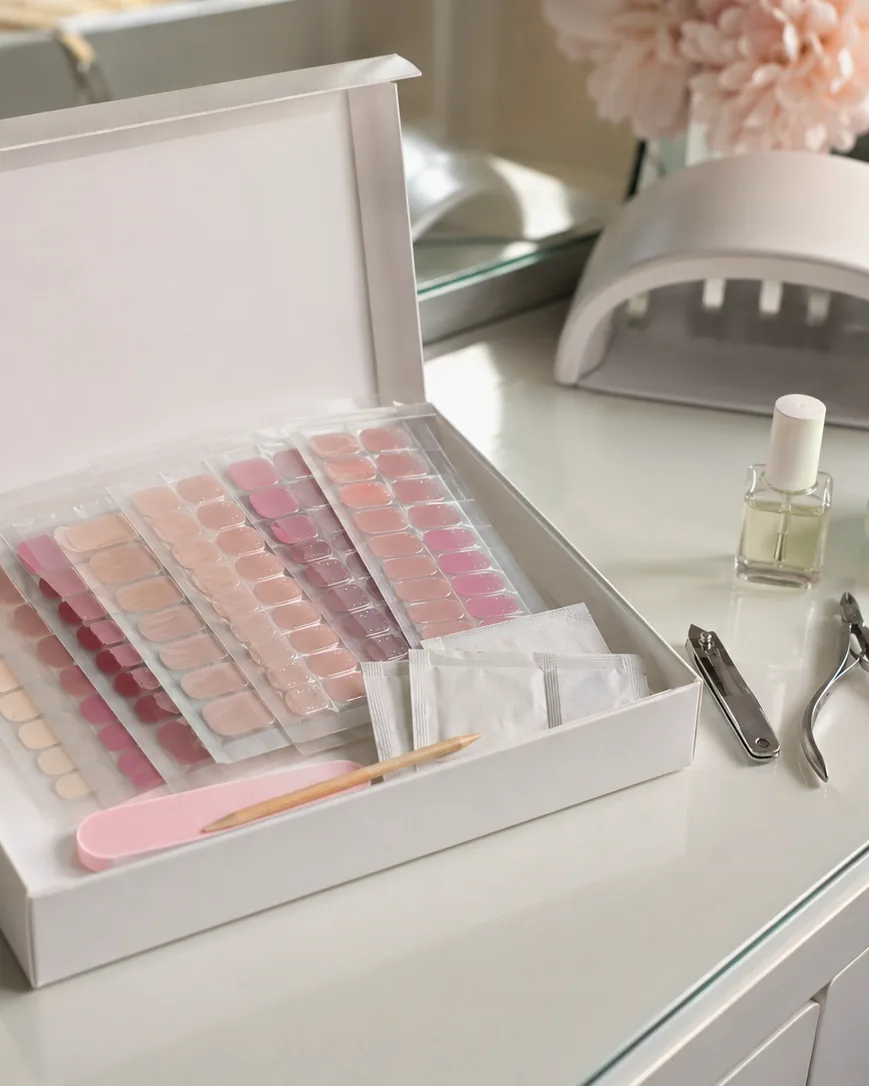
A typical semi cured strip kit includes multiple sizes of pre-cut gel films per sheet, a prep pad or alcohol wipe, a small file or buffer, and a wooden cuticle stick. What most kits do not include, and what buyers are frequently surprised to learn is mandatory, is the lamp itself. Without a UV or LED lamp rated for gel curing, the strip will never move past its shipped 60 percent cured state, no matter how long you wait or how much you press it down.
Beyond the lamp, a few extras make results more consistent:
- A nail dehydrator or isopropyl-alcohol wipe, to strip natural oils before application.
- A gel topcoat, if you want extra gloss or a shorter re-cure window for touch-ups.
- A fine-grit buffer, for shaping the free edge without gouging the strip.
- Cuticle oil, used after curing rather than before, to condition skin without leaving a barrier under the strip.
Lamp wattage and bulb type vary by brand, and a strip cured under a weak or old lamp is one of the most common reasons people report early lifting, so check that your lamp matches what the strip manufacturer recommends before assuming the strip itself is defective.
Step-by-step application, from bare nail to full cure
Getting a clean result is less about dexterity and more about sequence: skipping or reordering a step is what produces most of the failures covered later in the troubleshooting section. Work through these steps in order and resist the temptation to rush the prep, since prep failures are invisible until the strip starts lifting days later.
- Push back cuticles and lightly buff the nail surface to remove shine, which gives the gel something to grip.
- Wipe each nail with the prep pad or alcohol to remove oil, and let it flash dry fully before touching the nail again.
- Match each nail to the closest-sized strip on the sheet rather than forcing an oversized one down.
- Peel the strip and press it onto the nail from the base, working outward, keeping the edge away from skin and cuticle.
- Smooth from the center out to press out any trapped air before it sets.
- File the excess flush with the free edge, angling the file downward so you do not lift the strip’s edge.
- Cure under the lamp for the time your brand specifies, commonly around 60 seconds per hand or per nail depending on lamp size.
- Apply a gel topcoat if desired and cure again, or seal the free edge with a cap of clear polish for extra hold.
The two steps people skip most often are the alcohol wipe and the edge-margin check, and both show up later as lifting or allergic irritation respectively.
Why the lamp is mandatory: UV versus LED and cure time
The lamp is mandatory because a semi cured strip is chemically unfinished until light completes the reaction, and an under-cured strip is the main driver of the allergy problem discussed later in this guide. Both UV and LED lamps work by emitting light in the near-ultraviolet range that activates the gel’s photoinitiator. LED lamps concentrate a narrower band and generally cure faster; older UV lamps spread their output more broadly and often take longer per coat. Either way, the goal is the same: a complete cure, not a surface-only set that leaves reactive monomer trapped underneath.
UV nail dryers emit mainly in the 340 to 395 nanometer band, while tanning beds run wider at 280 to 400 nanometers, according to the UC San Diego summary of the 2023 Nature Communications study. That narrower band matters for the safety math, but it does not make the light harmless.
Cure time depends on the lamp, and skimping is a false economy. A weak or dying lamp is a common reason a strip stays tacky or soft after its stated 60 seconds. If yours does not fully harden, extend the cure rather than assuming the strip is faulty. For related tool selection when you finish edges and details, see our breakdown of the right brush for clean tip work.
Signs of an under-cure
- A tacky or soft surface after the full cure time (a dying lamp or too-thick a stack).
- A cloudy or dull finish instead of high gloss.
- Wrinkling or denting under light pressure minutes after curing.
If you see any of these signs, do not simply apply topcoat over the problem. Re-cure the affected nail for a further 30 to 60 seconds first, since sealing an under-cured surface traps reactive monomer under a hard shell instead of finishing the job.
UV lamp exposure: the DNA study and the low-risk counterweight
The honest answer on lamp safety is that the evidence points in two directions, and a buyer deserves both. On one side sits a 2023 study led by Zhivagui and colleagues at UC San Diego, published in Nature Communications, that exposed human and mouse cells directly to UV nail dryers. In cell culture, one 20-minute session killed 20 to 30 percent of exposed cells, and three consecutive 20-minute exposures killed 65 to 70 percent, with DNA damage and cancer-associated mutation patterns in surviving cells, according to the UC San Diego summary. That is a striking laboratory result.
On the other side sits the epidemiology. Markova and Weinstock published a low-risk assessment in the Journal of Investigative Dermatology in 2013, and Harvard Health Publishing, drawing on 2014 JAMA Dermatology data, describes the real-world skin cancer risk from these lamps as low. MD Anderson Cancer Center takes a similar cautious-but-measured line for gel manicures.
The reconciling detail comes from device measurements. In one descriptive study, 7 of 8 nail-curing devices needed more than 1 hour of use to reach maximum safe UV-exposure limits, against typical use of only 1 to 10 minutes per treatment. Lab cells took a direct, prolonged hit that a fingertip does not.
Mitigation is cheap and evidence-based. The American Academy of Dermatology advises applying broad-spectrum, water-resistant sunscreen at SPF 30 or higher to the hands before curing, or wearing UV-blocking gloves, precisely because the lamp emits UV radiation.
Frequency matters too. A single at-home cure session is brief and infrequent compared to a laboratory protocol repeated back to back, so the practical exposure most home users accumulate over a year sits far below what the cell studies simulated. That gap between lab conditions and living-room conditions is exactly why the two bodies of evidence can both be accurate without contradicting each other.
Acrylate and HEMA allergy: the risk brands stay quiet about
The chemistry risk with semi cured gel nail strips is contact allergy to acrylates and methacrylates, and it is real, clinical, and worsening. When gel contacts skin uncured, or stays under-cured on the nail, the free monomer can sensitize you. Once sensitized, that allergy is usually permanent and can spread beyond the nails. The single most-cited culprit is HEMA (hydroxyethyl methacrylate), a small, mobile molecule that penetrates skin readily. This is why edge contact, cuticle overlap, and weak lamps are not just cosmetic problems.
The clinical record is specific. At Amsterdam UMC between 2015 and 2023, 67 women were diagnosed with allergic contact dermatitis from nail cosmetics, about 2.3 percent of all women patch-tested there, according to a review in Contact Dermatitis. Of those cases, 73 percent were consumers and 27 percent were nail technicians, which tells you home users now carry most of the burden.
Two rules follow directly:
- Never let the strip touch skin or cuticle. Keep a clean margin so the reactive edge cures over nail plate only.
- “HEMA-free” is not the same as “allergy-free.” Other acrylates sensitize too, and a HEMA-free label removes one trigger, not the category.
If you develop itching, redness, or blistering around the nails, or a rash on the eyelids or neck where you touch your face, stop and see a dermatologist about patch testing. Mayo Clinic’s general nail-health guidance also flags allergy caution and the value of licensed, hygienic application. When you also work with adhesives, our explainer on the two glue products buyers confuse helps you avoid stacking one irritant on another.
Sensitization also tends to be cumulative, meaning a person can use gel products for years without reaction and then suddenly develop one after repeated low-level exposure crosses a threshold. That pattern is one reason dermatologists recommend patch testing before a first-time user commits to a full set, and why an established, symptom-free history with one brand does not guarantee the same tolerance with another formula.
The regulation map: EU TPO ban, HEMA restriction, and the US gap
Regulation of these products differs sharply by region, and 2025 brought the biggest change in years. The European Union prohibited TPO (trimethylbenzoyl diphenylphosphine oxide), a common photoinitiator in UV-cured gels, in cosmetic products from 1 September 2025, after it was classified as a CMR category 1B reproductive toxicant. The measure passed with 25 member states in favour, 1 against, and 1 abstaining, according to the European Commission’s official TPO nail-products questions and answers.
What makes that decision notable is the reversal it represents. An earlier Scientific Committee opinion in 2015 (SCCS/1558/15) had deemed TPO safe up to 5 percent in professional UV-cured nail gels, an opinion the Commission now says is superseded by the newer CMR classification. Regulators updated the science and changed the rule.
TPO is not the first nail ingredient the EU has restricted. It limited HEMA and di-HEMA TMHDC in nail cosmetics from November 2020, in direct response to rising acrylate-allergy cases, according to a review in Contact Dermatitis.
The regional contrast is the practical takeaway:
- EU: TPO banned from September 2025; HEMA and di-HEMA restricted since November 2020.
- UK: phased its own timeline separately from the EU after Brexit.
- US: no pre-market approval for these cosmetics; the Food and Drug Administration regulates the curing lamps as radiation-emitting electronic products and has characterized them as low risk, but does not clear the gel formulas before sale.
For a European buyer, checking a label for TPO-free and HEMA status is now a legal-compliance signal as much as a safety one. For a US buyer, it is buyer-beware, since a formula sold legally in one region may still contain an ingredient another region has already restricted for cause.
Reading the label: what to check before you buy
Because pre-market approval does not exist in most markets, the label and ingredient list are the buyer’s main tool. A few checks take under a minute and materially reduce risk:
- Look for a stated TPO-free claim if you are in or shipping to the EU, given the September 2025 ban.
- Check whether HEMA is listed, and if you have any known acrylate sensitivity, treat any acrylate-based formula with caution rather than trusting a HEMA-free claim alone.
- Confirm the lamp compatibility stated by the brand; a strip formulated for a specific wattage may under-cure badly under a mismatched or off-brand lamp.
- Check the stated cure time and compare it to your lamp’s actual output, especially if the lamp is older or has been used heavily.
- Favor brands that publish a full ingredient list rather than a marketing summary, since that transparency is itself a proxy for how seriously the company treats the safety questions in this guide.
Troubleshooting lifting, peeling, wrinkling and a tacky cure
Most failures with semi cured gel nail strips trace back to three causes: oil on the nail, skin or cuticle contact at the edges, and an incomplete cure. Fix those and the stated 10 to 14 days of wear becomes achievable rather than aspirational. The film needs a clean, dry, slightly matte surface to bond to, a margin that keeps reactive gel off your skin, and enough light to finish hardening. Work through the cause-to-fix map below before blaming the product itself, because the same three culprits explain almost every symptom people report.
- Lifting at the base: oily or under-prepped nail. Wipe with the prep pad and let it flash off fully before applying.
- Peeling at the free edge: file excess flush and wrap the tip down; a strip left proud of the edge catches and drags.
- Wrinkling: too much stretch or trapped air. Press from the center outward, not end to end.
- Cracking within days: often under-cure. Re-cure longer or replace a weak lamp.
- Tacky or soft after curing: a dying lamp or an over-thick topcoat; extend cure time.
- Bubbling under the surface: air trapped during smoothing, or a strip applied over a still-damp prep wipe.
- Uneven gloss patches: inconsistent lamp coverage, common with wide nails under a small lamp window; reposition the hand and cure again.
The shape you file also affects stress at the tip. If strips keep splitting at a corner, the underlying nail shape may be concentrating force there; our guide to choosing and filing the right nail shape explains where those stress points sit.
Toes versus fingers
Wear on toes usually outlasts hands because feet endure less washing, typing, and abrasion. The trade-off is fit: toenails curve differently, so size down and expect more edge filing.
What shortens wear even with a perfect application
Beyond the three main causes above, a handful of daily habits erode wear regardless of technique. Frequent hand washing without reapplying cuticle oil dries the surrounding skin and encourages picking at edges. Prolonged water exposure, such as long baths or dishwashing without gloves, softens the bond over time. Habitually using the nails as tools, to open cans or scrape labels, chips the free edge first since that is the thinnest part of the cured film.
Cost, damage-free removal, and how these compare to salon gel
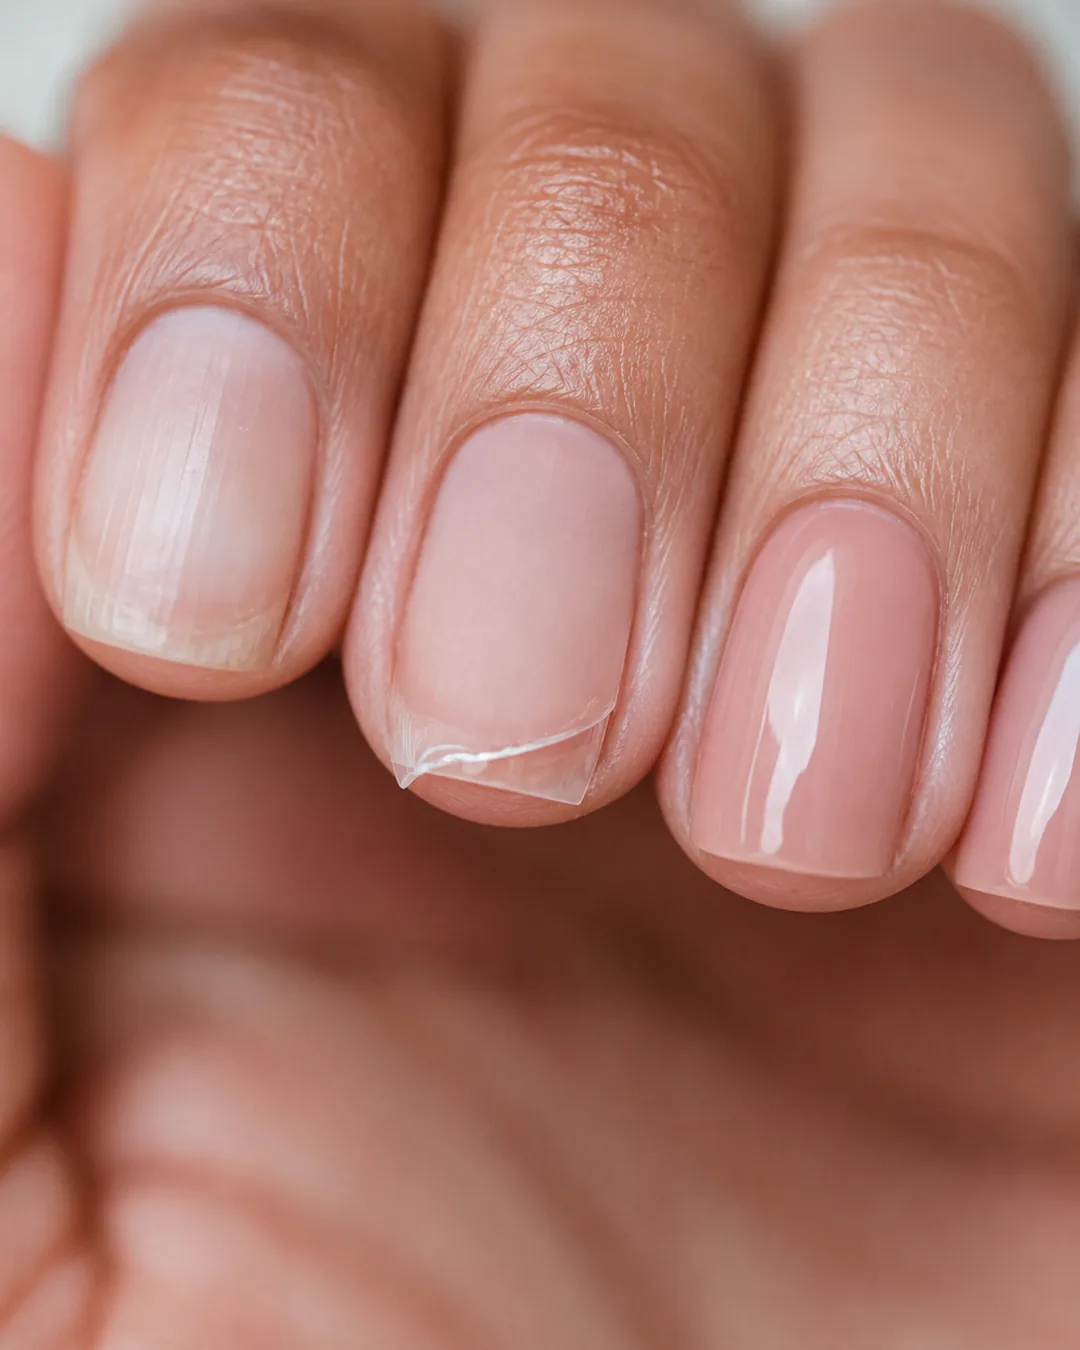
Damage-free removal is where the nail plate is won or lost, and dry-peeling is the fastest way to strip layers of keratin off with the gel. Because the cured film bonds to the surface, tearing it off takes healthy nail with it. The safe method is to soak or gently work the film loose so it releases from the plate rather than fighting it. Semi cured strips avoid the harsh filing and long acetone soaks of a full salon gel removal, which is a genuine advantage, but only if you resist the urge to pick.
On cost, the honest framing is a comparison rather than a fixed number. The global nail-salon market was about 11 billion US dollars in 2022 and is projected to reach roughly 19.4 billion US dollars by 2030, a 7.9 percent compound annual growth rate, according to a 2025 scoping review in the International Journal of Dermatology. Home strips exist because a slice of that spend is moving to the bathroom counter, trading salon convenience and expertise for lower per-set cost and a shorter but still real time investment at home.
A safe removal sequence:
- Gently buff the top gloss to break the seal.
- Soak or use the brand’s remover to loosen the film’s grip.
- Lift slowly from the base with a wood stick; if it resists, soak longer.
- Never dry-peel, and give bare nails a rest before re-application.
Salon gel removal typically involves buffing off the topcoat, wrapping each nail in acetone-soaked foil, and scraping the softened gel away with a cuticle pusher, a process best done by a technician to avoid over-filing the nail plate. Semi cured strips shorten that process considerably since the film is thinner and the soak time is generally shorter, but the underlying principle, softening the bond before removing rather than tearing it off cold, is identical across both formats.
If you want a mirror-finish look without the full commitment of salon gel, our walkthrough on getting the chrome mirror finish and wearing it safely pairs well with a well-cured strip base.
Who should be cautious before using them at all
Some people should think twice before applying semi cured gel nail strips, and the caution is about chemistry and light rather than fear. Anyone with a known acrylate or methacrylate allergy should avoid them outright, because sensitization is typically permanent and re-exposure can flare. People taking photosensitizing medications, and those with a high skin-cancer risk or immunosuppression, have reason to be extra careful with the curing lamp and should shield the hands. During pregnancy, the EU’s reclassification of TPO as a reproductive toxicant is a fair prompt to choose TPO-free formulas and to raise it with a clinician.
None of this is a blanket ban for healthy adults. It is a short list of situations where the general low-risk picture does not necessarily apply to you specifically, and where a five-minute conversation with a dermatologist or prescribing clinician is worth more than any label claim.
Frequently asked questions
Do you really need a lamp for semi cured gel nail strips?
Yes. The strips arrive only partially hardened, described by brands as roughly 60 percent cured, and the remaining polymerization requires a UV or LED lamp. Skipping the lamp leaves reactive monomer on the nail, which weakens wear and raises the risk of acrylate allergy. Air-drying will not finish the reaction the way light does.
Are these strips safe to use during pregnancy?
There is no strong evidence they are dangerous, but caution is reasonable. The EU reclassified the photoinitiator TPO as a CMR category 1B reproductive toxicant and banned it from cosmetics from 1 September 2025. Choosing TPO-free strips, keeping gel off skin, and discussing it with your clinician are sensible steps rather than an outright prohibition.
Will semi cured gel strips damage my natural nails?
The strips themselves do not damage nails; removal does. Dry-peeling a cured film tears keratin layers off the nail plate. If you buff the gloss, soak or use remover to loosen the film, and lift slowly from the base, the nail underneath usually stays intact. Rest bare nails between applications to let them recover.
Is the curing lamp going to give me skin cancer?
The lab and population evidence differ. A UC San Diego study found heavy DNA damage in cells, yet 7 of 8 devices needed more than 1 hour of use to reach safe exposure limits versus 1 to 10 minutes of real use, and epidemiology rates real-world risk as low. Applying SPF 30 or higher, as the American Academy of Dermatology advises, closes most of the gap.
Do they wear longer on toes than on fingers?
Usually yes. Toenails face less washing, typing, and daily abrasion than fingers, so a well-applied strip often outlasts the stated 10 to 14 day hand range on feet. The catch is fit, since toenails curve more, so you will size down and file more edge. Prep and a full cure still decide the outcome.
Can children use semi cured gel nail strips?
They are formulated and labeled for adult use, and the acrylate chemistry plus UV curing lamp make them a poor fit for young children. The permanent nature of acrylate sensitization is the main concern, since an early allergy can affect medical adhesives and dental materials later. For kids, peel-off water-based polishes that need no lamp are the safer choice.
What is the real difference between semi cured strips and regular polish wraps?
Regular wraps are vinyl stickers with no cure chemistry at all, held on purely by adhesive, and they typically last 7 to 10 days. Semi cured strips are made of actual gel, partially polymerized before sale, and finish hardening under a lamp into a harder, more durable film that brands claim lasts 10 to 14 days. The trade-off is that semi cured strips carry the acrylate allergy and UV-lamp considerations that plain vinyl wraps do not.