Acrylic nail kit buyers almost always discover one thing too late: the liquid inside the bottle is not the same chemical across every brand, and the difference decides whether your skin reacts or your nails hold. That single fact separates a good set from a bad one more than price, brush quality, or how many powder shades come in the box. Acrylic hardens through a chemical polymerization reaction between a liquid monomer and a polymer powder, and it does this without any UV or LED lamp, which is the detail that most first-time buyers confuse with gel systems. Everything else in this guide flows from those two ideas.
Quick answer: An acrylic nail kit is a bundle of liquid monomer, polymer powder, a brush, tips or forms, glue, a primer or dehydrator, files, a dappen dish, and a top coat. The liquid and powder mix into a bead that hardens by chemical reaction, no lamp needed. Choose a beginner kit with a slower-setting formula, confirm the monomer is ethyl methacrylate rather than methyl methacrylate, work in ventilated space, keep uncured product off your skin, and remove by soaking in acetone. Never peel acrylic off.
What Actually Comes In The Box, And What Each Piece Does
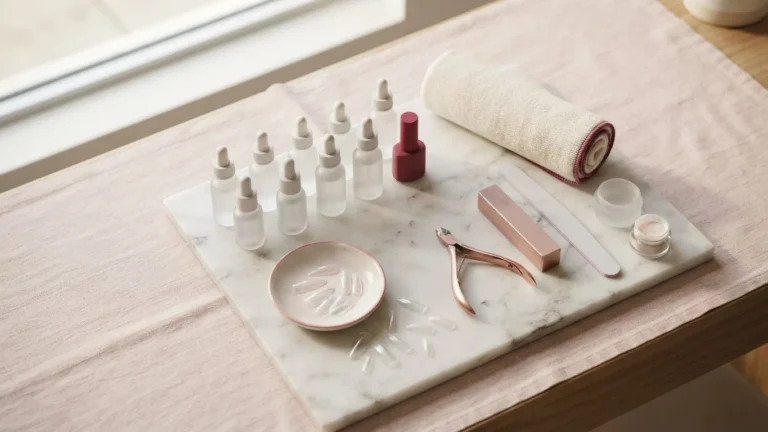
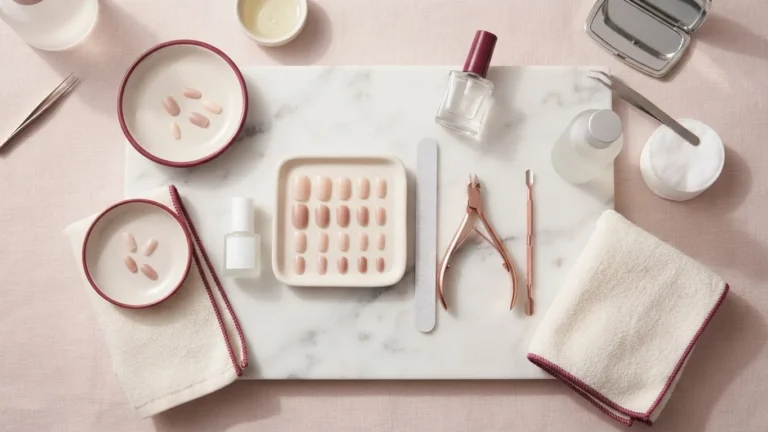
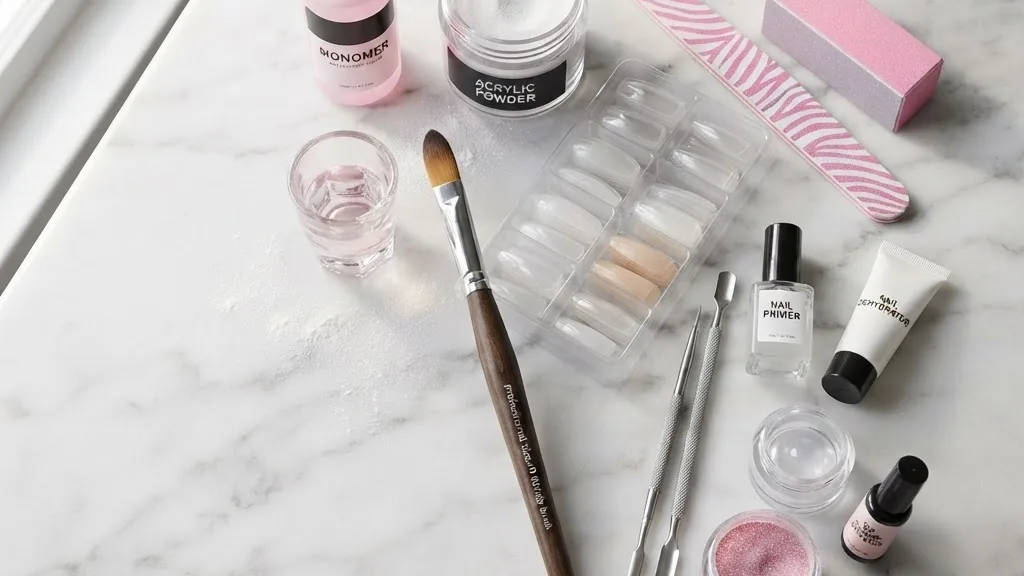
An acrylic nail kit is not a single product. It is a small system where every component has one job, and skipping any one of them is the most common reason a home set fails within days. The liquid is the monomer that dissolves and binds the powder. The powder is the polymer that gives the overlay its body and color. When the two meet on a brush, they begin to set almost immediately, which is why the ratio and your speed matter more than any tool. The rest of the kit exists to prepare the nail, shape the product, and seal it.
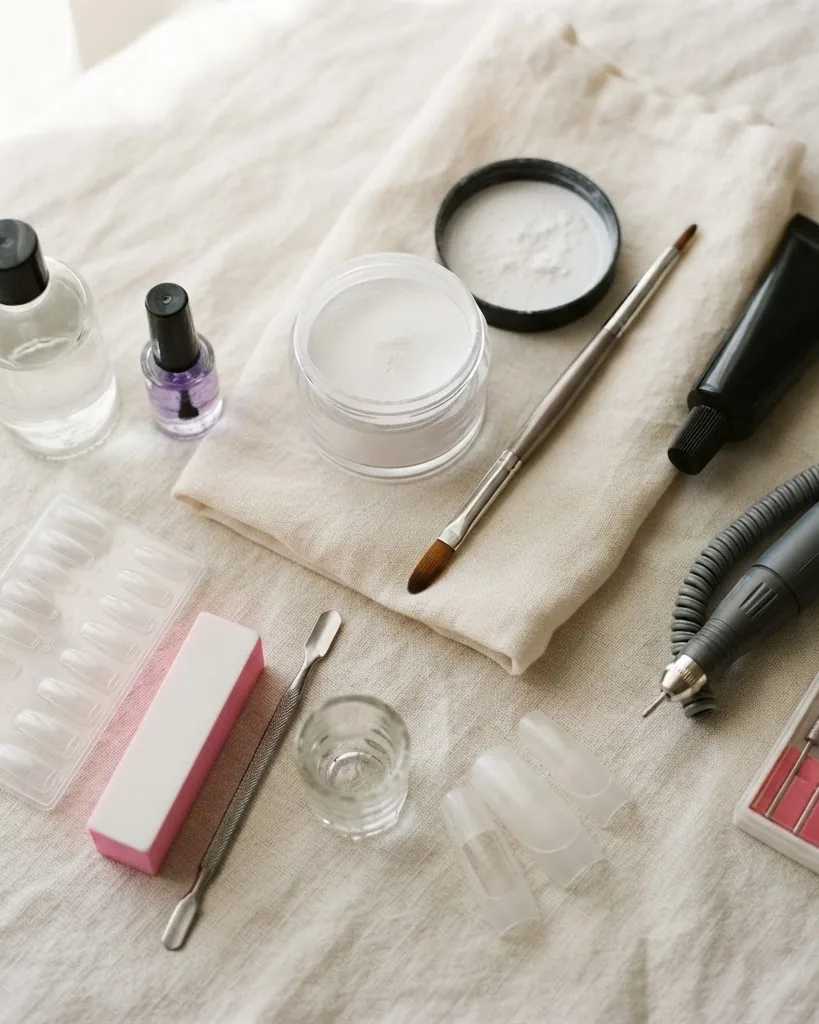
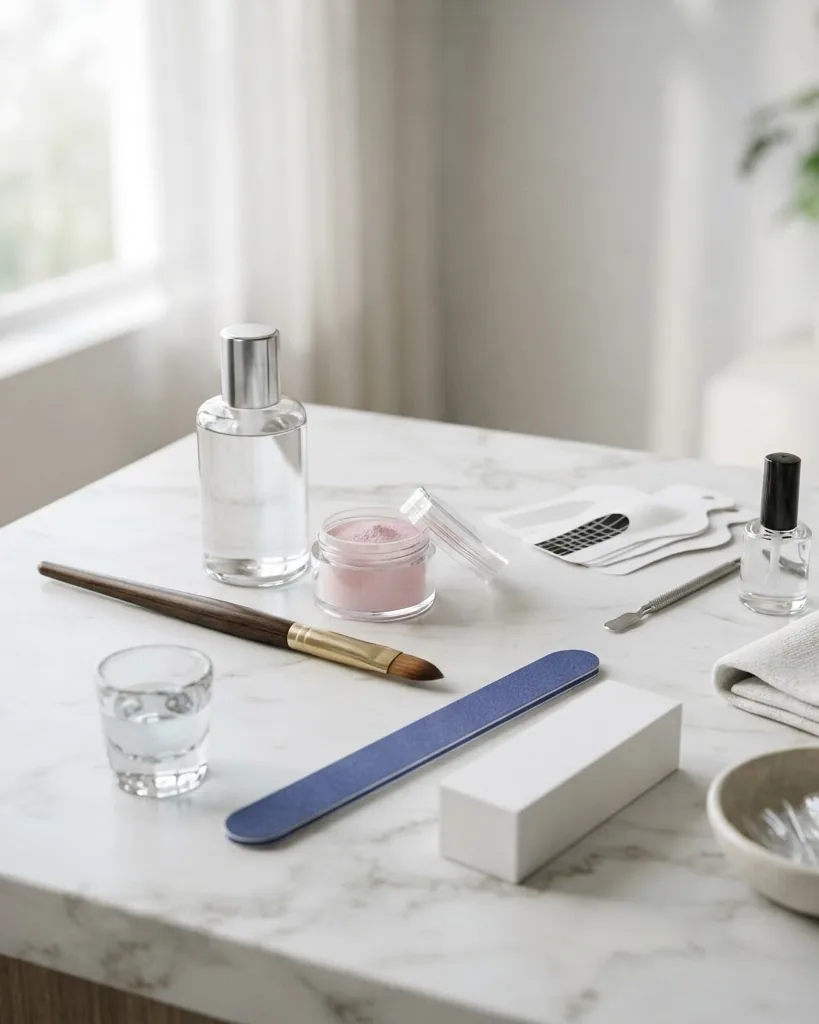
Here is what a full set contains and the function of each item:
- Acrylic liquid (monomer): The reactive fluid that starts hardening the powder. Its chemical identity is the single most important safety factor in the whole kit.
- Acrylic powder: Comes clear, pink, white, or colored. Higher pigment powders set faster and suit repeat use.
- Nail brush: Bristle type and size control how you pick up and place the bead. A poor brush ruins good product.
- Tips and forms: Tips glue onto the free edge for length; forms let you sculpt length freehand.
- Nail glue: Bonds tips to the natural nail before overlay.
- Primer or dehydrator: Preps the nail plate so acrylic adheres and does not lift.
- Files, buffer, dappen dish, top coat: Shape, smooth, hold liquid, and seal the finished surface.
If you want a deeper breakdown of the tools that sit alongside the chemistry, the taxonomy in this complete guide to nail art instruments and their safe use maps every implement to its purpose and cleaning requirement.
Acrylic, Gel, And Dip Powder Are Not The Same Thing
Acrylic differs from gel and dip powder in one decisive way: how it hardens. Acrylic sets through a chemical polymerization reaction between the monomer and the powder, and this happens in open air without any UV or LED light. Gel systems cure under a lamp. Dip powder uses a resin base with an activator rather than a mixed bead. Buyers who assume a lamp is required for acrylic, or who try to cure acrylic under a light, waste time and product because the reaction is already complete once the bead has set on the nail.
This distinction matters when you shop. A kit advertised with a lamp is almost certainly a gel or hybrid system, not a true acrylic set. A kit built around a liquid-and-powder pairing with a dappen dish is the acrylic system you want if that is what you searched for. Confusing the categories leads to buying the wrong consumables, which is expensive over a year of home use.
Gel chemistry has its own learning curve and safety profile. Readers weighing a lamp-cured route instead can compare the material science in this explainer on what builder gel for nails is and how it behaves before committing to either system.
Beginner Kit Or Professional Set: How To Decide
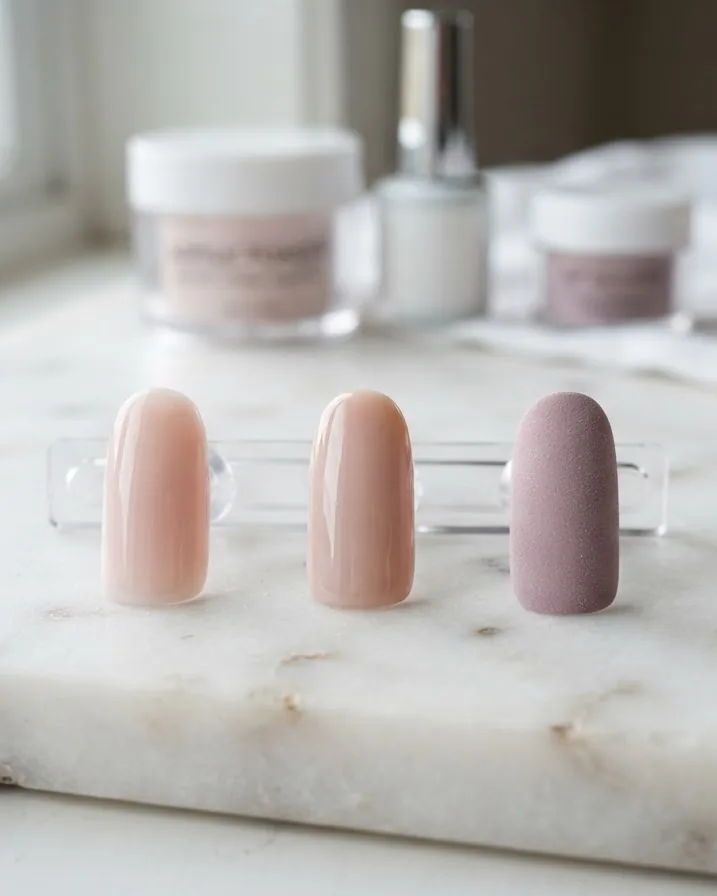
The right acrylic nail kit for you depends on setting speed and forgiveness, not on brand prestige. Beginner kits use slower-setting, more forgiving formulas, smaller product volumes, and simpler tool sets, which gives a first-timer time to shape the bead before it hardens. Professional-oriented kits favor faster-setting, higher-pigment powders and larger volumes suited to repeat clients who need turnaround speed. A slow formula in a beginner’s hands prevents the panic that produces lumpy, lifted nails; a fast formula in the same hands produces waste.
Use this decision framework when you compare an acrylic nail kit for beginners against an acrylic nail kit set professional stylists reach for:
- Setting speed: Slow is better while learning. Fast is for people who already control bead placement.
- Brush quality: A firm, well-shaped brush is worth more than extra powder colors. Cheap synthetic bristles shed into wet product.
- Kit size: Small volumes suit occasional use and reduce monomer waste from evaporation. Large volumes reward frequent sets.
- Learning curve: Fewer components with clear instructions beat a large kit you cannot navigate.
Some premium branded kits sweeten the deal with an educational add-on, such as a free 3-day nail class bundled with the purchase, but that kind of instruction lives offsite in a separate class rather than on the page you bought the kit from, so it will not walk you through your very first application in real time.
Nail shape drives your tool and form choices too. Matching the overlay to your own nail geometry, covered in this guide on choosing nail shapes that suit your natural nail, keeps a beginner set from looking bulky or catching on everything.
The Monomer That Decides Everything: EMA Versus MMA
The most important label on any acrylic nail kit is the monomer name, and the two you will see are ethyl methacrylate and methyl methacrylate. Methyl methacrylate, or MMA, is not approved by the U.S. Food and Drug Administration for use as an ingredient in nail liquid products, and the agency has documented safety concerns tied to its use. Ethyl methacrylate, or EMA, is the monomer accepted as the safer industry standard for acrylic nail liquid. Before you apply anything, read the bottle: if it lists methyl methacrylate, do not use it on skin or nails.
MMA is associated with a higher risk of skin sensitization and other adverse effects, which is why it fell out of accepted use as a nail monomer. The National Institutes of Health, through its National Library of Medicine PubChem database, maintains peer-reviewed chemical and toxicological data on ethyl methacrylate that supports its status as the accepted alternative. The regulatory line is drawn by the Food and Drug Administration; the toxicological record sits with the NIH.
Two practical rules follow from this:
- Buy only kits whose liquid names ethyl methacrylate or EMA. Treat an unlabeled or MMA liquid as a reason to return the kit.
- Even with EMA, keep uncured monomer off your skin, because uncured product touching skin can cause allergic contact dermatitis over repeated exposures.
You can confirm the regulatory position directly on the FDA’s nail care products page and read the compound record on the NIH’s PubChem entry for ethyl methacrylate. Both are worth checking before you buy any liquid, because the identity of that one fluid outranks every other purchase decision.
Ventilation And Skin Contact: The Safety Rules Nobody Prints Big Enough
Working with acrylic monomer safely comes down to two habits: move the fumes away from your face, and keep the liquid off your skin. The Occupational Safety and Health Administration identifies methacrylate compounds used in nail products as a chemical hazard requiring adequate ventilation, such as local exhaust systems, to reduce inhalation exposure. That guidance was written for salons, but the chemistry does not change at your kitchen table. Filing dust and monomer vapor both belong in moving air, not in a closed bathroom.
Skin contact is the other hazard. Uncured monomer touching skin can cause allergic contact dermatitis, and unlike an irritation that fades, a true sensitization can make you react to the product permanently. The protective posture is simple and non-negotiable:
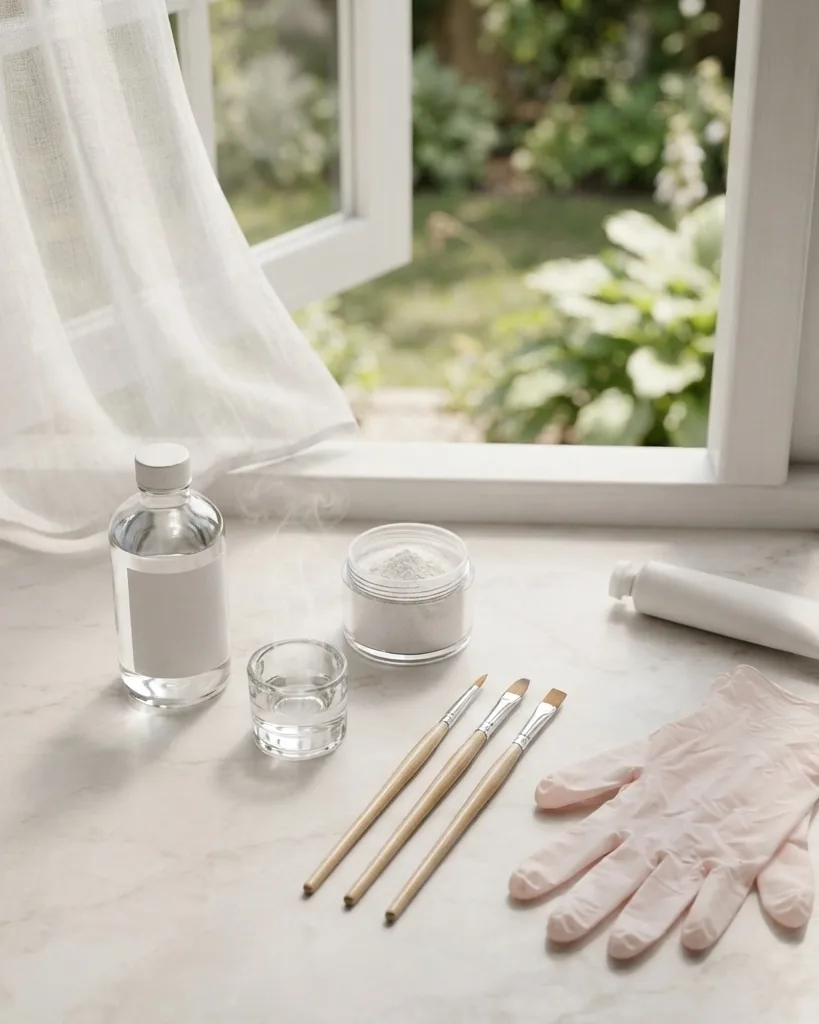
- Wear gloves when handling liquid monomer and primer.
- Work near an open window or a fan that pushes air away from you, regardless of any “low-odor” claim on the box.
- If liquid touches skin, wash it off immediately with soap and water rather than letting it sit.
- If you suspect a reaction, redness, itching, or swelling, stop and see a professional or a dermatologist.
Protect your skin by default: wear gloves whenever you handle monomer or primer, keep your workspace ventilated, and if liquid ever touches your skin, wash it off immediately with soap and water. Treat any hazard warning as a reason to avoid contact altogether, not as an invitation to test your tolerance. The American Academy of Dermatology publishes consumer guidance on the health effects of artificial nails and the warning signs of nail damage or infection, and it is the right authority to consult if something on your fingers does not look right.
How To Do Acrylic Nails At Home With A Kit, Step By Step
To do acrylic nails at home with a kit, you build in a fixed order: prep the nail, attach length, place the bead in zones, let it harden, then shape and seal. A do it yourself acrylic nail kit gives you every piece for this, but the sequence is what produces a flat, lifted-free result. Rushing prep is the single largest cause of failure, because acrylic bonds to a clean, dehydrated plate and slides off an oily or dusty one. Work slowly on your first hand and expect it to take longer than the second.
The full walkthrough:
- Prep: Clean the nails, gently push back cuticles, lightly buff the shine off the plate, then apply dehydrator and primer to the nail surface only, keeping both off the skin.
- Length: Glue a tip to the free edge, or fit a sculpting form under it if you are building length freehand.
- Bead work: Dip the brush in monomer, touch it to the powder to pick up a bead, and place beads in zones, first at the cuticle area, then the center to build the apex, then the free edge.
- Harden: Let each nail set fully by chemical reaction. There is no lamp step.
- Finish: File and shape the edge, buff the surface smooth, then apply top coat.
A few technique notes save beginners from the classic mistakes. Keep the bead slightly wet, not soupy, so it self-levels toward the cuticle without flooding the skin. Build the apex, the highest point of the arch, over the center of the nail, because that is what gives the overlay its strength. Do not reshape a solvent-wet brush with your bare fingers; wipe it on lint-free material instead. And thin, correctly-placed beads beat one thick bead every time, since a thick bead traps bubbles and sets before you can smooth it.
If you are pairing tips with a French look, the placement and blending method in this guide to using a nail art brush for clean French tips shows how to keep the smile line crisp under the overlay rather than muddy.
How To Use A Kiss Acrylic Nail Kit From The Drugstore
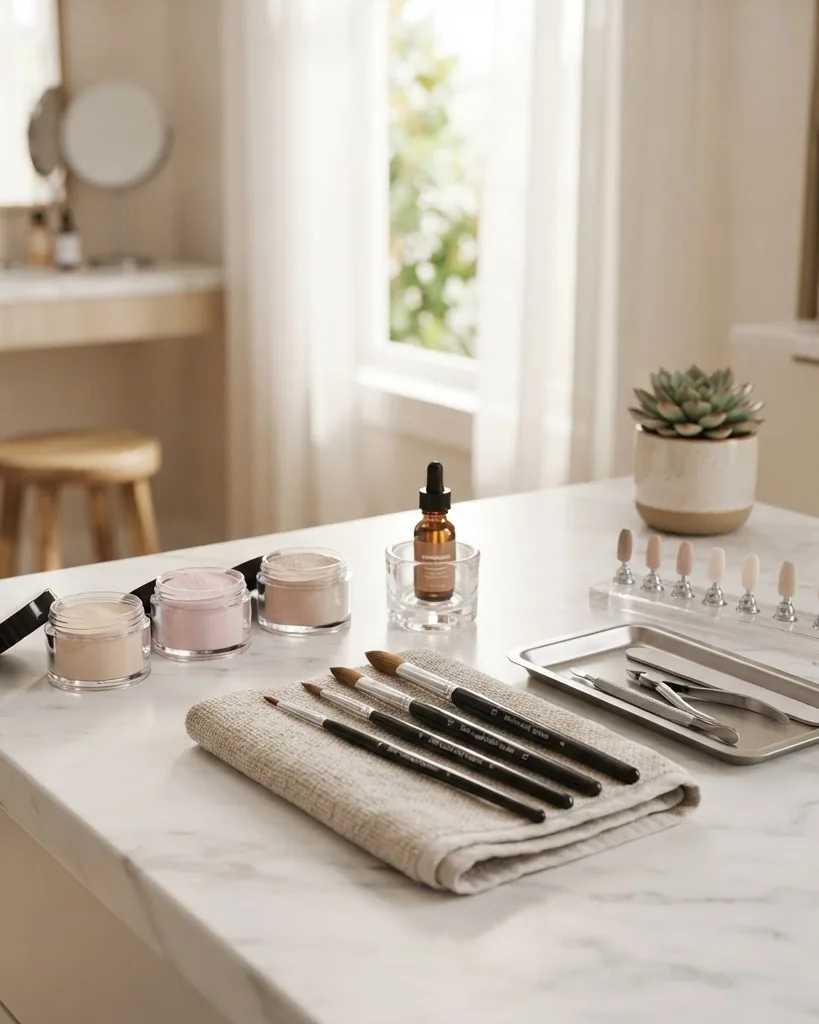
To use a Kiss acrylic nail kit, or any retail drugstore kit, follow the leaflet inside the box exactly, because pre-packaged kits set their own brand-specific timings and liquid-to-powder ratios. Retail sets differ from professional systems in one practical way: they include a small monomer volume that evaporates and sets faster once opened. That changes how you should work. Do one or two nails at a time rather than mixing enough for a whole hand, so the liquid does not flash off or the bead does not harden before you place it.
General principles that apply to a Kiss acrylic nail kit and any similar retail bundle:
- Read and follow the included instruction sheet for that specific product’s ratios and timing. Do not assume a professional workflow transfers directly.
- Work in ventilated space regardless of any “low-odor” marketing on the packaging.
- Work in small batches, one or two nails per bead, to beat the fast set of a small monomer volume.
- Keep all liquid off skin, and wash immediately if contact happens.
Exact formulation details vary by product and are not worth guessing at. The safe, verifiable rule is that the leaflet governs timing, ventilation is mandatory, and small batches prevent waste. Those principles answer how to use the Kiss acrylic nail kit whether you bought this year’s box or last year’s.
Taking Them Off Without Wrecking Your Nails
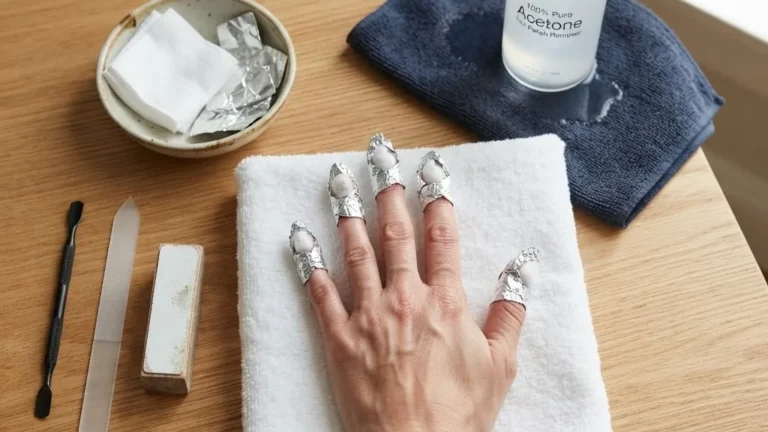
Acrylic should never be peeled or pried off, because doing so strips layers from the natural nail plate and leaves it thin and tender. The safe removal method is soaking the nails in 100% acetone, not diluted polish remover, for roughly 20 to 30 minutes, protecting the surrounding skin, and then gently easing off the softened product rather than forcing it. Acetone dissolves the overlay; patience does the rest. If the product is still hard, it needs more soak time, not more force.
Two details protect the skin during removal. Cover the fingertips’ surrounding skin because acetone is drying, and follow removal with cuticle oil and hand cream to restore moisture. A step-by-step protective routine, including how to shield skin and rehydrate afterward, is laid out in this guide on getting acrylic nails off safely and recovering the natural nail. Rushing removal undoes the care you took applying the set.
Why Your Acrylics Lift, Bubble, Or Yellow, And How To Fix It
Most at-home acrylic failures trace back to prep, skin contact, or an off-ratio bead, and each has a plain fix. Lifting at the cuticle or sidewalls is the most common complaint, and it usually means the nail plate was not clean and dehydrated before overlay, or wet product touched the skin, or the bead was too wet or too dry. Correct it by buffing off all shine, keeping product a hair away from the skin line, and dialing your monomer-to-powder ratio so the bead is workable but not runny.
The other recurring problems and their likely causes:
- Trapped air bubbles: Usually a bead that was too dry or over-worked. Use a slightly wetter bead and place it in fewer, cleaner strokes.
- Yellowing or discoloration over time: Common with age and sun exposure. A quality top coat and periodic replacement help.
- Persistent odor: Often too much monomer in the bead. Rebalance toward more powder for a drier mix.
- Early breakage: Typically a missing or misplaced apex. Build the high point over the nail’s center for strength.
Lifting is not only cosmetic. Artificial nails, including acrylics, can trap moisture beneath the nail plate when they lift, which raises the risk of bacterial or fungal infection. That is the reason dermatologists recommend regular fills rather than letting acrylic grow out unmaintained. If you see a lifted edge, address it promptly instead of ignoring it until the whole nail loosens.
Keeping A Set Healthy Between Applications
Maintenance is what separates a set that lasts weeks from one that fails in days, and it comes down to fills, oil, and rest. Regular fills close the growing gap at the cuticle before it can lift and trap moisture, which is the same infection risk dermatologists warn about. Daily cuticle oil keeps the surrounding skin and nail plate flexible so the overlay does not pull at a dry, brittle edge. And taking periodic breaks between full sets lets the natural nail recover from repeated prep and removal.
Keep tools clean between sessions too. Reused brushes, files, and a dappen dish should be cleaned so you are not reintroducing old product or bacteria to a fresh nail. Simple hygiene on reused tools is a small habit that prevents a large share of problems.
Frequently Asked Questions
Are acrylic nail kits safe for teens to use?
An acrylic nail kit can be used by a teen with adult supervision, but the chemical safety rules apply fully. The monomer must be ethyl methacrylate, not methyl methacrylate, ventilation is required, and uncured liquid must stay off skin. Because of the allergic contact dermatitis risk, a dermatologist should be consulted if any redness or irritation appears rather than pushing through it.
How is acrylic different from press-on or dip powder for beginners?
Acrylic uses a liquid monomer and powder that harden by chemical reaction, giving strong custom length but a steeper learning curve. Press-ons skip chemistry entirely and adhere with glue for a fast, low-skill result. Dip powder uses a resin base with an activator instead of a mixed bead. Absolute beginners often find press-ons easier, while acrylic rewards practice with durability.
Do I need a UV or LED lamp for an acrylic nail kit?
No. Acrylic hardens through a chemical polymerization reaction between the monomer and powder, which occurs without any UV or LED light. That distinguishes it from gel systems, which cure under a lamp. If a kit requires a lamp, it is a gel or hybrid system, not a true acrylic set, and you would be buying the wrong consumables for the technique.
What should I check before buying my first kit?
Confirm the liquid is ethyl methacrylate, choose a slower-setting beginner formula, and verify the kit includes a decent brush, primer or dehydrator, files, and a top coat. Check that ventilation is possible where you plan to work. A small monomer volume is fine for occasional use, since it reduces waste from evaporation between sessions.
Can I put acrylic straight over a broken natural nail?
It is better not to. Overlaying a broken or damaged nail can trap moisture and mask a problem that needs to heal, and lifted or damaged nails raise the risk of bacterial or fungal infection. Let a broken nail grow out or see a professional. If irritation, discoloration, or pain appears under existing acrylic, consult a dermatologist rather than reapplying product.