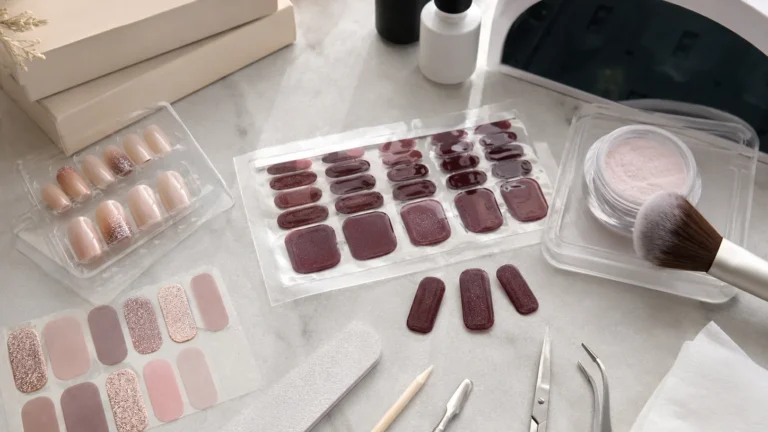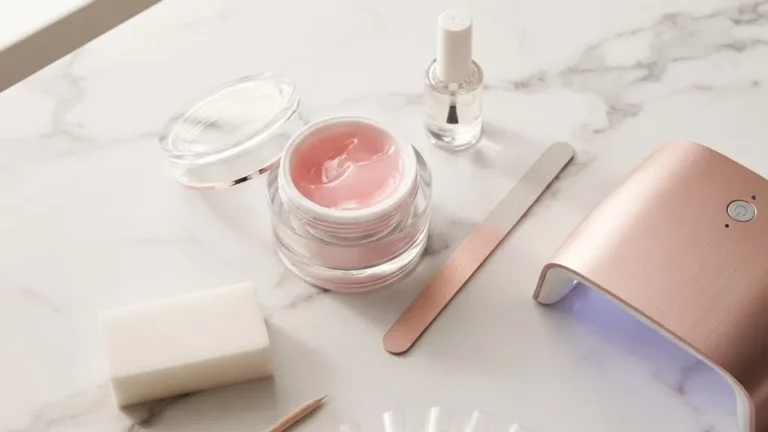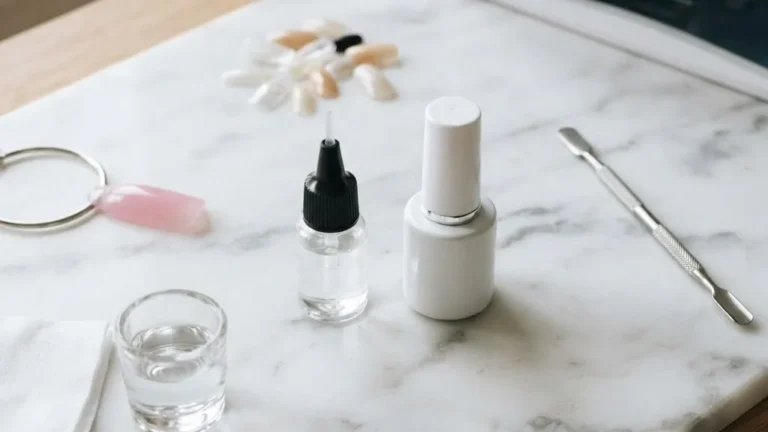
Nail polish on gel is a real option and it works the moment you accept one rule: the application is the easy part, and the removal is where nails get destroyed. You can absolutely paint regular lacquer over a cured gel manicure to change your color for a party or a weekend, and cured gel is a sealed, hardened system that will not react badly to a coat of ordinary polish sitting on top of it. The danger arrives days later, when you reach for a remover and start scrubbing. That is the failure point nobody warns you about, and it is the whole reason this guide exists.
Quick answer: Yes, you can put regular nail polish on gel. Lightly buff the glossy gel top coat so lacquer can grip, cleanse it, then apply a thin base coat, one or two thin color coats, and a top coat. It lasts days, not the multiple weeks a full gel service gives you. The critical step is removal: use non-acetone remover only, wipe in a single gentle pass, and never peel or scrape. Acetone dulls and softens the gel underneath and tempts you into the over-scrubbing that thins your natural nail plate.
Why Lacquer Slides Off a Glossy Gel Top Coat
Regular polish fails on gel for one mechanical reason: a fully cured, intact gel top coat is too slick for lacquer to bond to. Gel finishes with a hard, glassy surface designed to repel everything, which is exactly why your gel color lasts weeks. That same non-porous shine gives ordinary polish nothing to hold onto, so it chips at the edges and lifts in sheets within a day or two. Adhesion needs a little tooth. A light buff creates microscopic roughness that lets the base coat mechanically key into the surface. Skip that single step and no brand of lacquer, however expensive, will stay put.
Think of it like painting a mirror versus painting sanded wood. The mirror rejects the paint; the sanded grain drinks it in and grips.
- Glossy intact gel: lacquer beads and peels at the free edge fast.
- Lightly buffed gel: base coat bites, color holds, top coat seals.
- Over-buffed gel: you cut into the gel layer and risk lifting.
The goal is a matte haze, not a scratched-up mess. You are dulling the shine, not sanding through the product. If you can still see reflections, buff a touch more. If you see the gel color changing or edges lifting, you went too far.
Choosing your nail shape first
Before you layer anything, the shape of your free edge decides how the color reads and where it chips. A pointed or square tip stresses the corners differently, and that changes where lacquer lifts first. If you are not sure which edge suits your hands, read our breakdown of how to choose and file the right nail shape before you start painting.
What You Need Before You Start
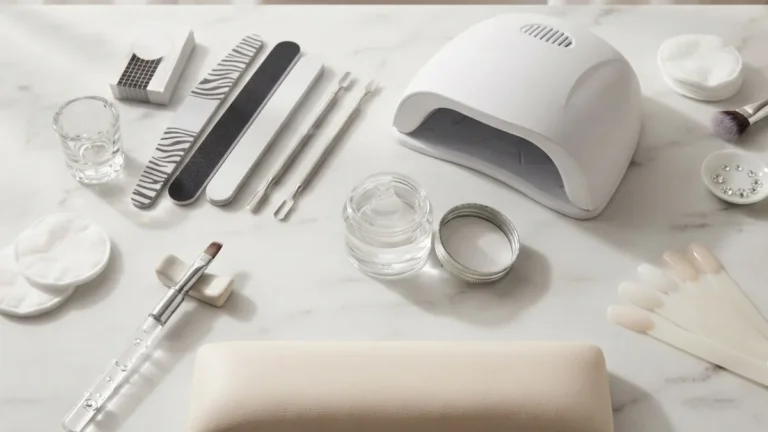
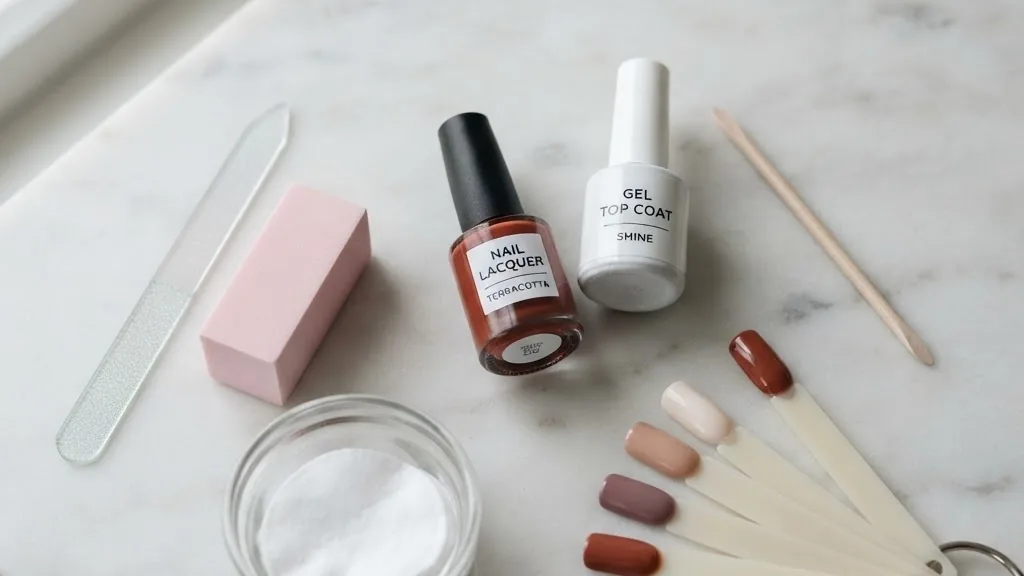
Gather everything first, because stopping mid-application to hunt for a product is how a rushed second coat gets slapped onto a base that has not set. You need a fine-grit buffer block, not a coarse file, since the goal is a matte haze rather than removed layers. You need a lint-free pad and an isopropyl-alcohol-based cleanser, because oils and buffing dust left on the plate are one of the most common causes of early peeling. You need a thin, flexible base coat, one bottle of color, and a fast-drying regular top coat, not a gel one.
- Fine-grit buffer block: for the matte haze, never a coarse metal file.
- Lint-free pad plus isopropyl cleanser: to strip oils and dust before painting.
- Thin base coat: flexible, not a rubberized gel-style formula.
- Non-acetone remover: set aside now, so you are not tempted to grab acetone later.
- Cuticle oil: for immediately after removal, to counter the drying effect of any solvent.
Work in good light so you can actually see the shine dulling as you buff. A desk lamp angled across the nail, rather than straight down, makes the glossy patches far easier to spot.
The Buff, Cleanse and Thin-Coat Method That Actually Holds
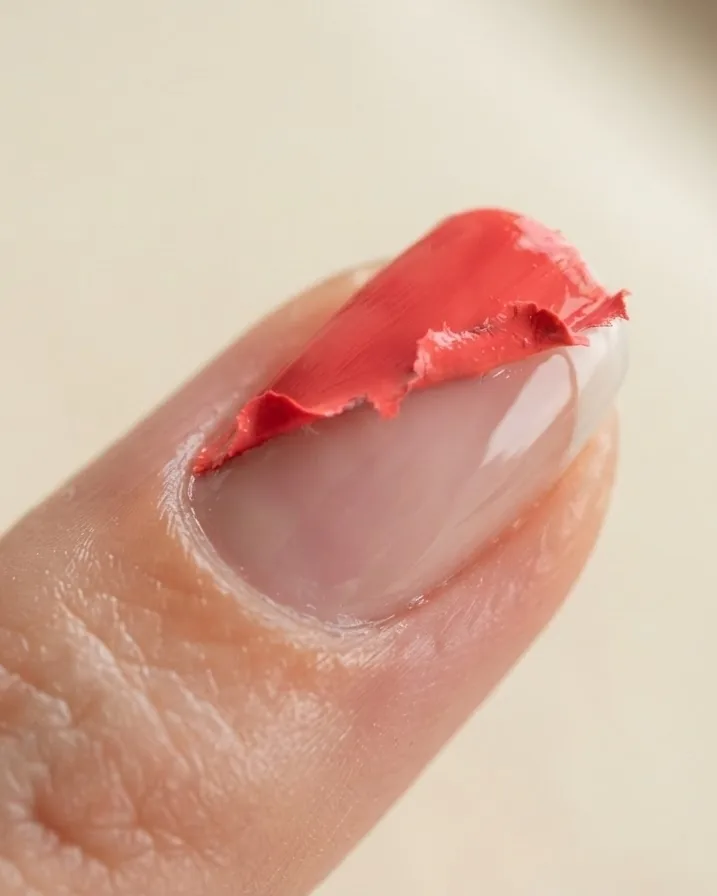
The method that makes lacquer survive on gel is boring and precise: dull the shine, cleanse the surface, then build in thin layers only. Start with a fine buffer and go over each gel nail with light pressure until the reflective sheen turns to an even matte haze. Wipe every nail with a lint-free pad and isopropyl-based cleanser to lift buffing dust and oils, because grease under polish guarantees peeling. Then apply a thin base coat, one to two thin color coats, and a thin top coat. Thin is the operative word. Thick layers stay soft in the middle, wrinkle, and slide off the gel as a single skin.
Work your brush from the middle of the nail toward the free edge, wrap the tip, and stop before the cuticle wall.
- Buff: matte haze only, light pressure, fine grit.
- Cleanse: isopropyl wipe, lint-free pad, no oils left behind.
- Base: one thin coat, let it set fully.
- Color: one to two thin coats, never one gloopy one.
- Top: a thin regular top coat, wrapped over the edge.
Patience between coats matters more than product cost. Rushing a second coat onto a base that is still wet is the single most common reason a home job peels off in the shower the next morning.
Troubleshooting: Bubbling, Peeling and Uneven Color
If the color pools and bubbles as it dries, the layer went on too thick, or the base coat under it had not fully set before you added color. Wipe it off with a non-acetone remover, let the nail rest for a minute, and reapply a genuinely thin coat rather than trying to fix bubbles with a top coat, which usually traps them permanently. If polish is patchy or streaky, the buffing step was likely skipped or too light, since color needs that dulled surface to sit evenly rather than sliding around on gloss.
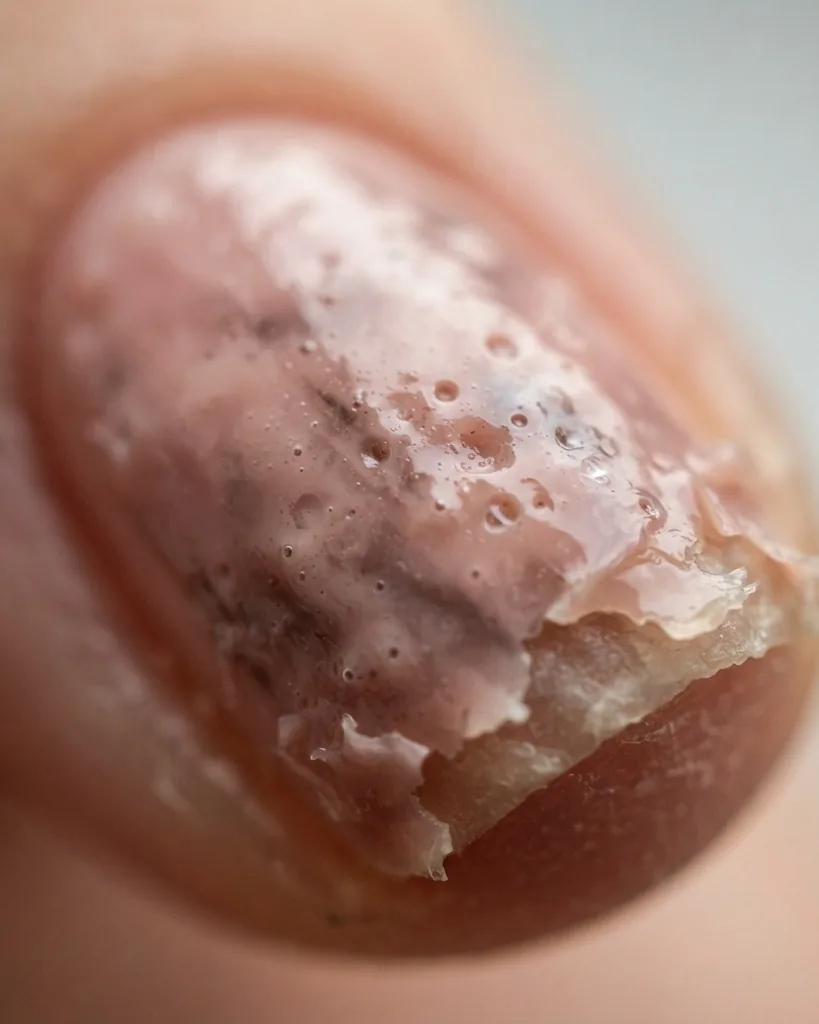
If lacquer starts lifting from one specific nail within a day, check that nail for pre-existing gel damage. A tiny crack, chip, or lifted edge in the gel underneath gives lacquer a weak point to peel from first, and no amount of buffing fixes a compromised base. If the color looks discolored or slightly greenish once it dries, stop and inspect the gel underneath directly, since that can signal moisture or early mold trapped between layers rather than anything wrong with the new polish itself.
- Bubbling: layer was too thick or applied before the coat below fully set.
- Streaky color: buffing step was skipped or too light.
- Fast lifting on one nail: check for pre-existing gel damage on that nail.
- Greenish tint under the polish: stop, remove, and inspect for trapped moisture.
Removing Regular Polish From Gel Without Softening the Cure
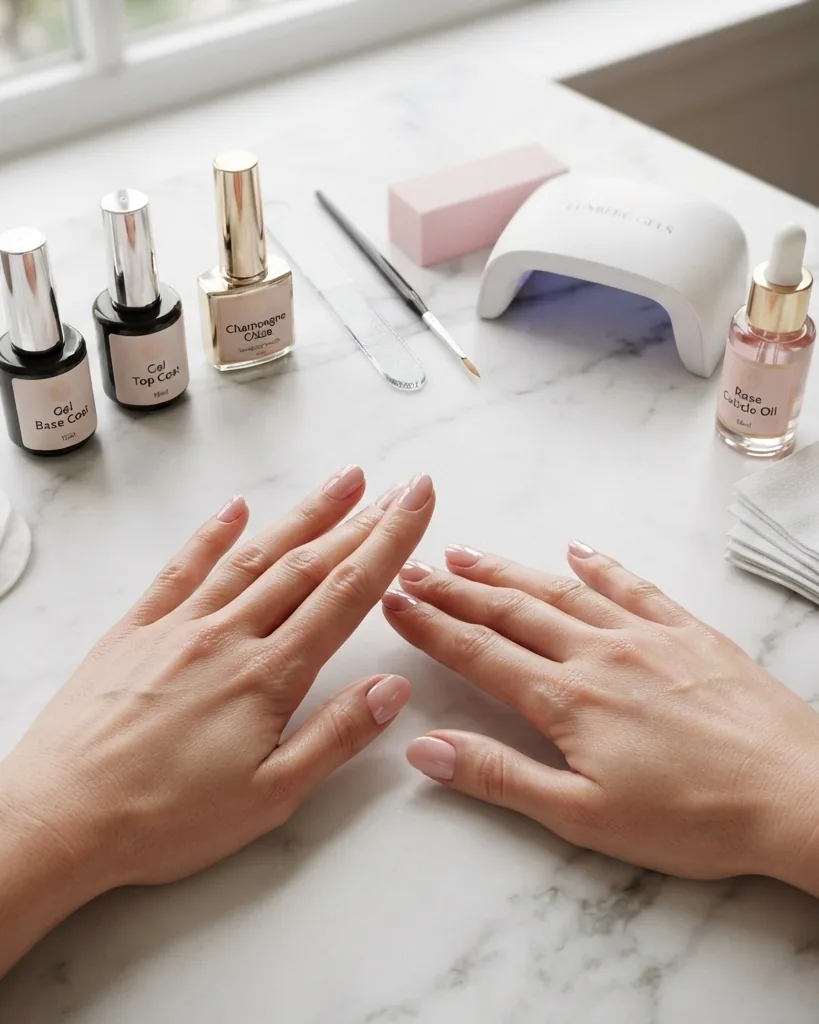
Removal is the part every competing guide underplays, and it is where nails actually get damaged. To take regular polish off gel without harming the cure, use non-acetone remover only and wipe in a single gentle pass. Acetone is the problem. It dissolves and dulls cured gel, softening the surface just enough that people start scrubbing to speed things up, and that scrubbing is what thins the natural nail plate underneath. Non-acetone remover lifts ordinary lacquer while leaving the hardened gel intact. Saturate a pad, press it flat for a few seconds so the solvent does the work, then draw it toward the free edge once. Never peel, never scrape, never pick at an edge with a metal tool.
Why does the scrubbing matter so much? A clinical case series in the Journal of Cosmetic Dermatology measured gel-polish nail thinning directly: in one subject nail-plate thickness fell from 0.063 to 0.050 cm, and in another from 0.059 to 0.030 cm, after application and removal, with pseudoleukonychia and onychoschizia observed across five subjects. You can read the case series on PubMed’s record of the 2012 study. Those numbers are what over-aggressive removal costs a real nail.
- Do: non-acetone remover, flat pad, one directional wipe.
- Do: follow immediately with cuticle oil to re-hydrate.
- Never: soak in acetone to save time.
- Never: pry a lifted edge, which peels gel and nail together.
If a stubborn patch resists a single wipe, wipe again gently rather than pressing harder. Two soft passes beat one violent one every time.
Regular Top Coat vs Gel Top Coat Over Your Lacquer
Sealing your lacquer is where people ruin the whole job by grabbing the wrong top coat. Use a regular, air-dry top coat over regular polish on gel, not a gel top coat. Gel top coats are designed to cure onto and bond with gel color chemistry; poured over solvent-based lacquer they usually fail, because the lacquer stays soft under the cured gel film and the two layers wrinkle, bubble or lift as one. The only exception is a purpose-built hybrid top coat engineered to sit over conventional polish, and even those are inconsistent over an already-gelled nail. When in doubt, a standard quick-dry top coat is the reliable choice.
The confusion is understandable, because the whole point was to work with a gel base. But curing chemistry and drying chemistry are not the same process.
- Regular top coat over lacquer: air-dries, flexes with the polish, holds.
- Gel top coat over lacquer: cures hard over a soft layer, wrinkles and lifts.
- Hybrid top coat: occasionally works, but test one nail first.
There is a separate question people ask here too: can you put gel over regular polish? Briefly, only if the lacquer is bone-dry through and through. Solvent-based polish that is even slightly soft will stay tacky trapped under the cured gel and wrinkle or lift, so most professionals skip it entirely.
Permits, Ingredient Rules and the Regulators Behind Your Bottle
Every bottle and lamp on a salon counter sits inside a web of regulation, and knowing who governs what tells you which claims to trust. In the United States, the Food and Drug Administration regulates cosmetic nail products and their ingredients, setting the legal boundaries for what a lacquer or gel may contain and how it must be labeled. Curing lamps fall under a second FDA remit covering sunlamp and UV device labeling. On the professional side, the Cosmetic Ingredient Review panel assesses whether specific chemicals are safe as used. Together these bodies decide the real-world limits an operator, and a home user, are painting within.
The ingredient rules are concrete, not vague. The Cosmetic Ingredient Review determined toluene safe in nail products up to 50 percent, the highest concentration observed in use.
- Toluene: CIR judged it safe up to 50 percent in nail products.
- Phthalate plasticizers: typically used in nail polish at under 10 percent.
- Ethyl methacrylate: CIR judged it safe as used in 2002 when skin contact is avoided.
- Methyl methacrylate: FDA moved to pull 100 percent monomer products in the early 1970s after injury reports.
Those figures come straight from the FDA’s own guidance on nail care products and their ingredients. If you are sensitized, this is where methacrylates, formaldehyde resin and toluene matter: reading a label against a regulator’s stated limit is how you separate a safe product from a marketing promise.
For the lamp itself, the FDA classifies and labels UV-emitting devices under its sunlamp and sunlamp products framework. That regulatory context matters because the same agency that limits what goes in your polish also governs the device that cures it.
Watching for an ingredient allergy
Toluene sulfonamide formaldehyde resin, often listed as TSFR, is one of the most common nail-product allergens, and it can trigger redness, itching or small blisters on the skin around the nail rather than on the nail itself. Methacrylates behave similarly, and reactions can appear after weeks of trouble-free use, since sensitization builds over repeated exposure rather than showing up the first time. If new polish causes itching at the cuticle line or the surrounding skin swells, that is not a sign to buff harder or switch color, it is a sign to stop using that formula entirely and let the skin recover.
Patch testing a new brand on one nail for a few days before a full manicure is a simple habit that catches most reactions early, before you have ten fingers to undo.
Is Layering Polish on Gel Safe for Your Nails?
The honest safety picture is mixed, and it hinges far more on how you remove color than on layering itself. The American Academy of Dermatology states that gel manicures can cause nail brittleness, peeling and cracking, and that repeated use can increase the risk of skin cancer and premature skin aging on the hands. The layering itself adds little risk over an already-cured gel. The compounding risks are the buffing that thins the plate, the acetone drying, and the cumulative UV exposure from curing the original gel. Painting lacquer on top can actually spare your nails a full removal-and-reapply gel cycle, which is where most of the mechanical damage happens.
The UV exposure numbers deserve a clear look, because they are frequently exaggerated and frequently downplayed in equal measure.
- One 20-minute session under a UV nail dryer caused 20 to 30 percent cell death in exposed human and mouse cell lines.
- Three consecutive 20-minute exposures caused 65 to 70 percent cell death.
- UV nail-curing devices generally emit in the 340 to 395 nm range, distinct from tanning beds at 280 to 400 nm.
That 2023 laboratory work, published in Nature Communications by Zhivagui and colleagues, also found that irradiation drove high reactive-oxygen-species levels and a dose-dependent rise in C:G to A:T mutations consistent with oxidative damage. It is cell-culture evidence, not proof of human cancers, but it explains why dermatologists urge restraint rather than panic.
How much lamp time is actually recommended
Exposure guidance is more reassuring than the raw cell-death figures suggest. In a descriptive study, 7 of 8 nail-curing devices required more than one hour of use to reach the maximum safe UV exposure time, while typical use runs 1 to 10 minutes per treatment. The FDA recommends no more than 10 minutes per hand per session. You can see the device measurements in the peer-reviewed study on PubMed Central. Layering lacquer on top of existing gel means zero additional lamp time, which is quietly one of its biggest health advantages.
When to Skip It and When to Call a Dermatologist
Some nails should not be layered on at all, and recognizing them saves you weeks of repair. Do not paint over gel that is already lifting, peeling at the edges, or showing green or white discoloration underneath, because sealing lacquer over a compromised gel traps moisture and bacteria against the plate. Skip it entirely if your natural nails are already thin, splitting, or sore, or if the skin around them is red, itchy or swollen. Those irritation signs can point to a methacrylate allergy, which does not improve with another coat of product and needs a professional eye rather than a home fix.
The threshold for professional help is simpler than people assume.
- See a dermatologist if: nails stay brittle, split or lift after you stop using product.
- See a dermatologist if: the surrounding skin is persistently red, itchy or blistered.
- Pause everything if: you see discoloration, pain or separation from the nail bed.
The AAD’s guidance on reducing artificial-nail damage is worth reading before you decide whether to keep layering; a good starting point is its advice on choosing shapes and lengths that stress the plate less, which pairs naturally with getting your filing and shape technique right. Rested, hydrated nails tolerate everything better, layering included.
How Long the Layered Look Really Lasts
Set your expectations honestly: regular polish on gel is a temporary color change, and it lasts days, not the multiple weeks a dedicated gel color service delivers. This is a workaround, not a system. The lacquer on top wears at the same rate any regular manicure does, so it will chip at the free edge, dull, and start lifting within a few days of normal hand use, dishes, and typing. That is not a fault in your technique; it is the nature of putting an air-dry product over a cured one. The gel underneath keeps protecting your natural nail, but the color coat on top is disposable.
Two thin coats plus a fresh regular top coat every couple of days will stretch the look, but treat it as makeup for your nails rather than a lasting service. When you are ready to change color again, the non-acetone single-wipe removal is what lets you repeat the cycle without ever touching the gel or your nail plate underneath.
Aftercare and How Often You Can Repeat the Cycle
Cuticle oil is not optional after any removal, acetone or non-acetone. Solvents pull moisture out of the nail plate and the surrounding skin, and rubbing a small amount of oil into the cuticle and across the nail immediately after wiping off remover starts rehydrating before the nail has a chance to dry out and split. Do this every time you swap colors, not just occasionally, since the drying effect is cumulative across repeated changes over the same gel manicure.
There is a reasonable ceiling on how many times you should repeat the swap-color cycle on one set of gel nails. Two or three color changes over the life of a single gel manicure is a sensible limit; beyond that, the buffing needed each time starts to compound, and the surface you are working on is no longer the pristine gel you began with. When the gel itself starts growing out, showing a visible line at the cuticle, or lifting anywhere, stop layering and let a professional remove it properly instead of trying to stretch one more color change out of a manicure that is already past its useful life.
Frequently Asked Questions
Does putting regular polish on gel damage the gel?
The application itself does not damage cured gel, since gel is a sealed, hardened surface. The damage risk lives entirely in removal. If you reach for acetone or scrub the lacquer off aggressively, you soften and dull the gel and thin the natural nail beneath. Use non-acetone remover in a single gentle wipe and the gel stays intact underneath.
How long does regular polish over gel actually last?
Days, not weeks. Layered lacquer wears at the same rate as any regular manicure and typically chips at the free edge within a few days of normal hand use. A full gel color service lasts multiple weeks because it is cured; this layered look is a temporary color change, so treat it as short-term makeup for your nails.
Can I use a gel top coat over the regular polish?
Usually not. Gel top coats are built to cure onto gel chemistry, and poured over solvent-based lacquer they cure hard over a soft layer that then wrinkles, bubbles or lifts. Use a regular air-dry top coat instead. Only a purpose-built hybrid top coat may work, and even those you should test on one nail first.
Will acetone ruin my gel if I use it by accident?
Acetone dissolves and dulls cured gel and softens its surface, which is exactly why it is the wrong remover here. It also tempts over-scrubbing that thins the nail plate. A clinical study measured nail thickness dropping from 0.063 to 0.050 cm after gel application and removal, so aggressive acetone removal has real, measured cost. Stick to non-acetone remover.
Can I do this safely at home?
Yes, if you follow the sequence and skip the shortcuts. Lightly buff to a matte haze, cleanse, apply thin base, color and regular top coats, then remove only with non-acetone remover in a single wipe. Layering adds zero extra UV lamp time, since the gel is already cured, which is a quiet health advantage over a fresh gel service.
Should I skip layering if my nails feel sore or look discolored?
Yes, skip it. Painting over lifting, discolored or painful nails traps moisture and bacteria against the plate. Red, itchy or swollen skin can signal a methacrylate allergy that another coat will not fix. The American Academy of Dermatology links repeated gel use to brittleness, peeling and cracking, so rest and hydrate the nail, and see a dermatologist if symptoms persist.
What if I do not own a buffer block?
A fine-grit emery board works in a pinch if you use the flat side rather than the coarse edge, moving in light, even strokes rather than sawing back and forth. The target is the same either way: a matte haze across the whole nail, not visible scratches or a thinned edge. If the tool you have only comes in a coarse grit, buff more gently and check your progress often rather than relying on a fixed number of passes.
Is layering on gel different from painting bare, natural nails?
Yes, in one specific way: natural nails accept polish without buffing because the plate itself has some natural texture and porosity. Cured gel has neither, so the buff-and-cleanse step that would be optional on bare nails is mandatory here. Skip it on gel and the lacquer simply has nothing to grip, regardless of how good the base coat brand is.