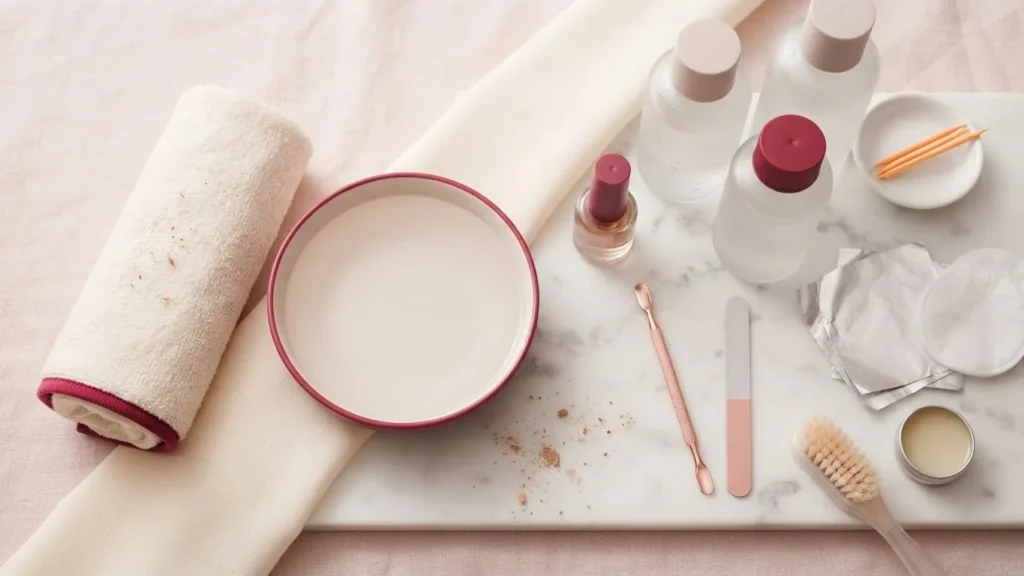
The single fact that decides whether a removal goes smoothly or ruins the week is the solvent: cured dip only breaks down in pure 100% acetone. The acetone-containing polish remover under the sink will not do it, and rubbing alcohol does nothing at all. That is why how to remove dip nails at home begins before you touch a cotton ball, with the bottle you reach for and a file to break the glossy top coat so the solvent can get underneath it. Everything after that is patience, protecting the skin, and resisting the urge to peel.
Removing dip powder at home means dissolving the product with pure 100 percent acetone rather than prying it off. Clip the nails short, then buff away the shiny top coat so the solvent reaches the color. Soak a cotton pad in acetone, press it to each nail, and wrap the fingertip in foil. Leave the wraps undisturbed for 15 to 35 minutes, depending on how thick the product is. Open one finger at a time and wipe the softened dip away with light pressure; if it drags, re-wrap and wait longer. Finish with cuticle oil, and give the natural nail time to recover before the next set.
How to Remove Dip Nails at Home, Step by Step
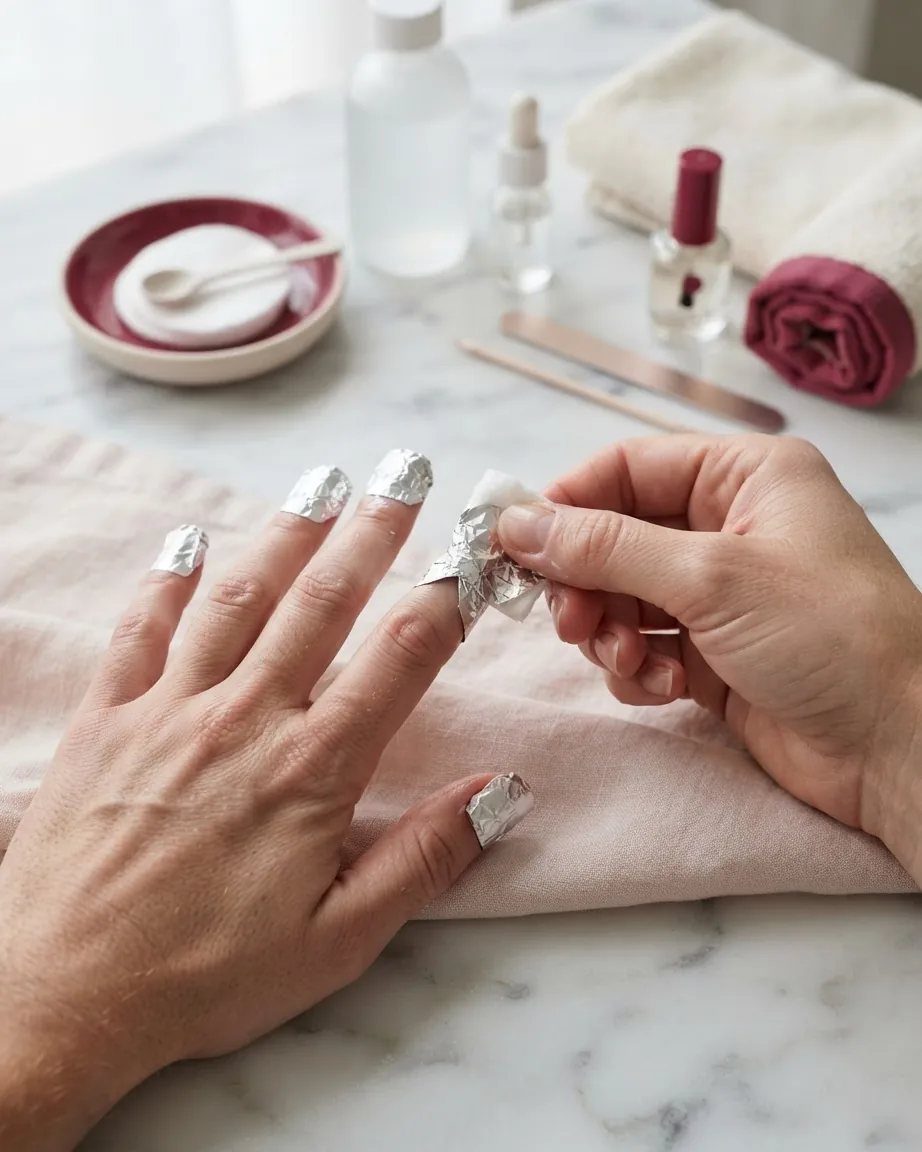
A reader in a hurry needs the sequence, not the chemistry. Here it is, in order:
- Shorten the free edge. Clip the nails down first so there is less product for the acetone to dissolve.
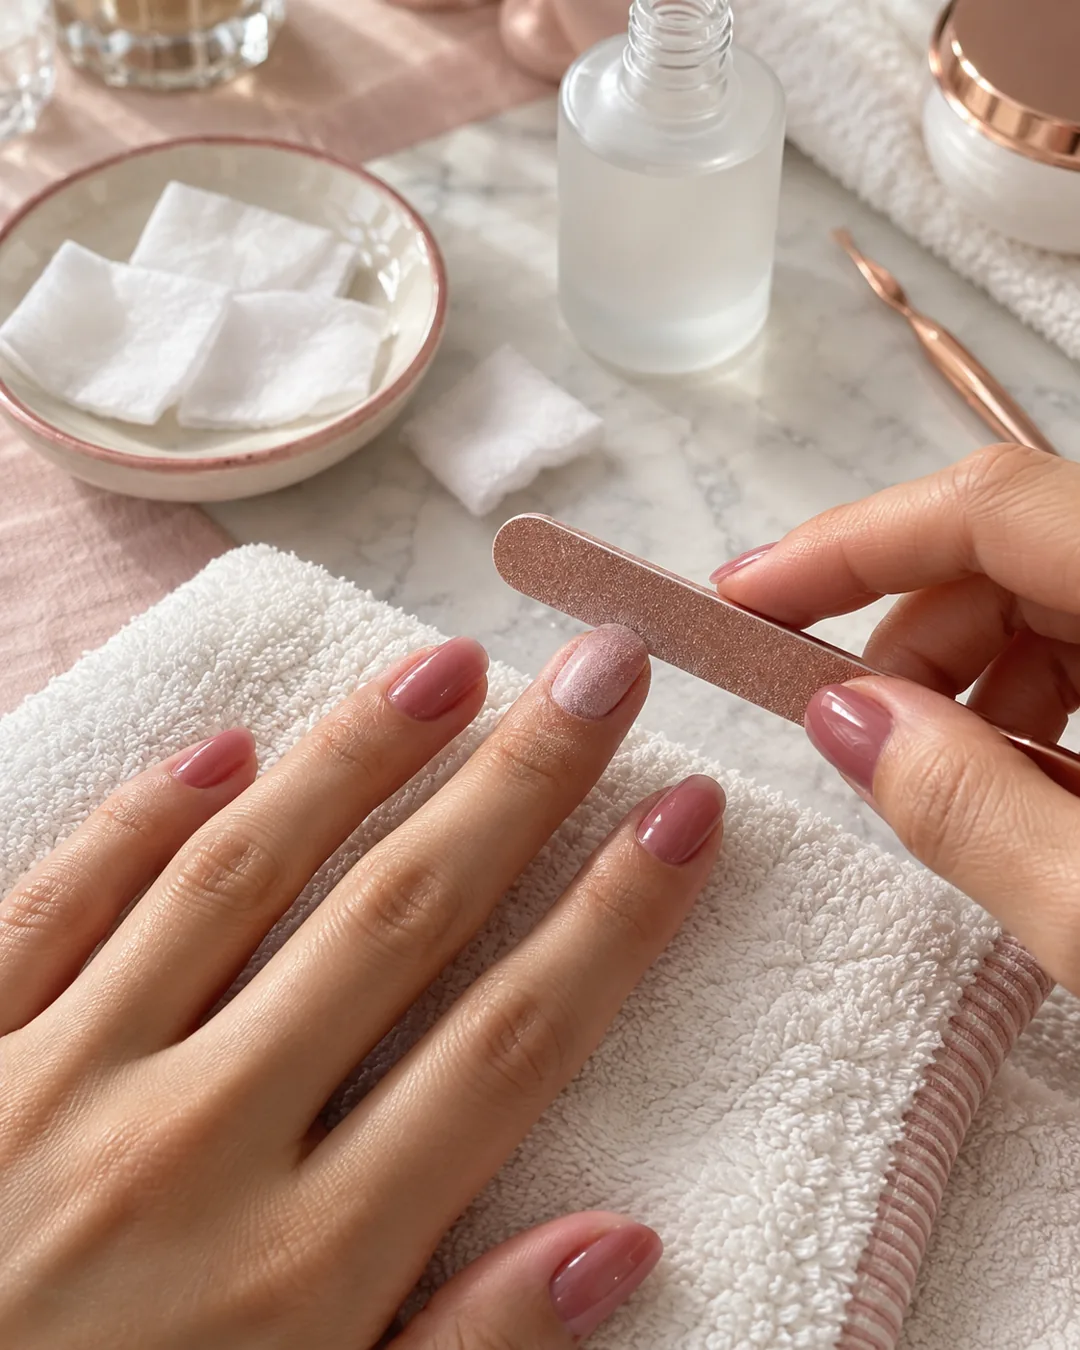
- File the shine off. Buff the glossy top coat with a medium-grit file until the surface goes dull. Stop at the color layer and never file into it, or the file reaches your natural nail.
- Shield the surrounding skin. Rub a little petroleum jelly onto the skin around each nail before any acetone goes on.
- Saturate the cotton. Soak a pad in pure 100 percent acetone, lay it flat over the nail, and seal the fingertip inside a square of foil.
- Wait, undisturbed. Leave the wraps in place for 15 to 35 minutes, longer for thicker product.
- Unwrap one finger at a time. Exposed dip re-hardens fast once the foil comes off, so open a single nail, work it, then move on.
- Wipe, do not force. Push the softened dip off with gentle pressure or a wooden stick. If it resists, re-wrap and soak longer instead of scraping.
- Oil and leave the cuticles alone. Massage in cuticle oil and skip any trimming.
L’Oréal Paris USA builds its method on the same spine and puts the soak at at least 15 minutes under foil-wrapped cotton; the vendor guide from ND Nail Supply numbers the same five moves with its own timings.
Why the Soak Stalls, and How to Restart It
When ten, then twenty minutes pass and the dip hasn’t budged, the problem is almost always one of three things, and each has a different fix.
Wrong solvent. Polish remover that merely contains acetone, or rubbing alcohol, will not dissolve cured dip. Only pure 100 percent acetone breaks the bond. If the bottle says anything other than that, swap it before you waste another wrap. Related guide: gel nail polish remover.
Unbroken seal. Dip is finished with a hard top coat. Skip the buffing and the acetone sits on a sealed surface with nowhere to go. File the shine to a matte dullness first, then re-soak.
All ten fingers open at once. Unwrap everything and the exposed dip firms up again while you work your way down the hand. Open one nail, clear it, and only then move to the next.
How Long to Soak: the 15-to-35-Minute Question
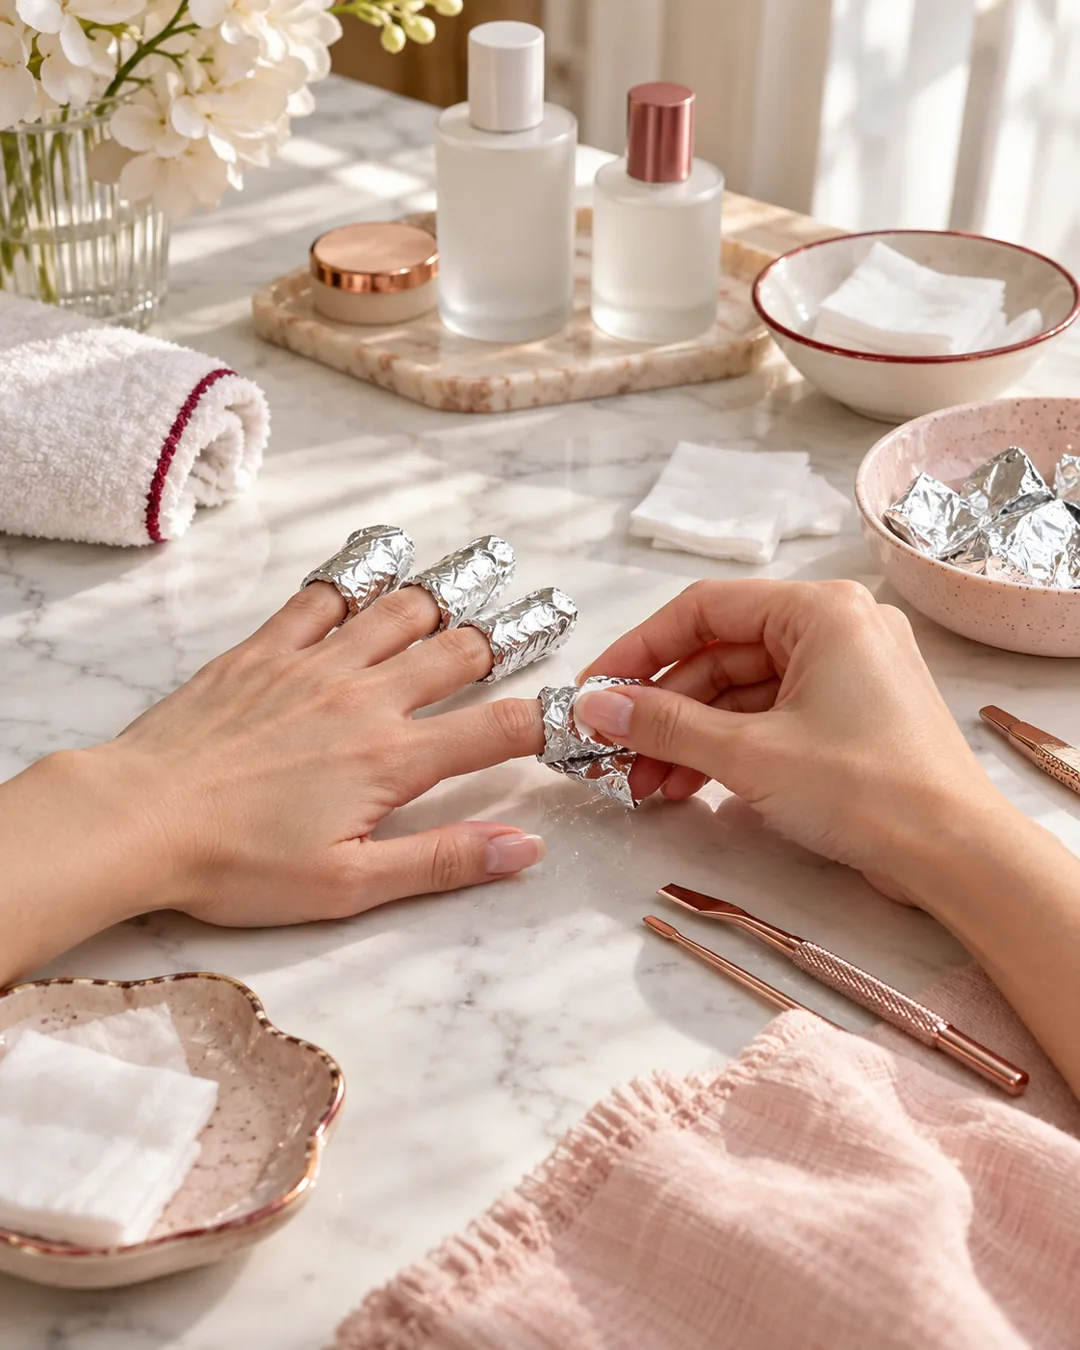
Sources give different soak times, and the spread confuses people more than it should. Treat the number as a window set by product thickness, not a fixed timer.
- The floor. L’Oréal Paris USA puts the minimum at 15 minutes under foil-wrapped cotton.
- Standard dip. ND Nail Supply runs a dip soak to around 25 minutes before buffing smooth.
- Thicker acrylic. The same vendor stretches the wait to 30 to 35 minutes when the layer is heavier.
Medically reviewed consumer guidance from Healthline, written for acrylic nails, puts an acetone soak at 20 to 30 minutes, which is less a contradiction than a reminder that one magic number doesn’t exist. Related guide: acrylic nail tips. If a nail still resists at the top of its window, re-wrap it. Scraping is what tears the nail plate.
Protect the Skin, Skip the Cuticle Trim
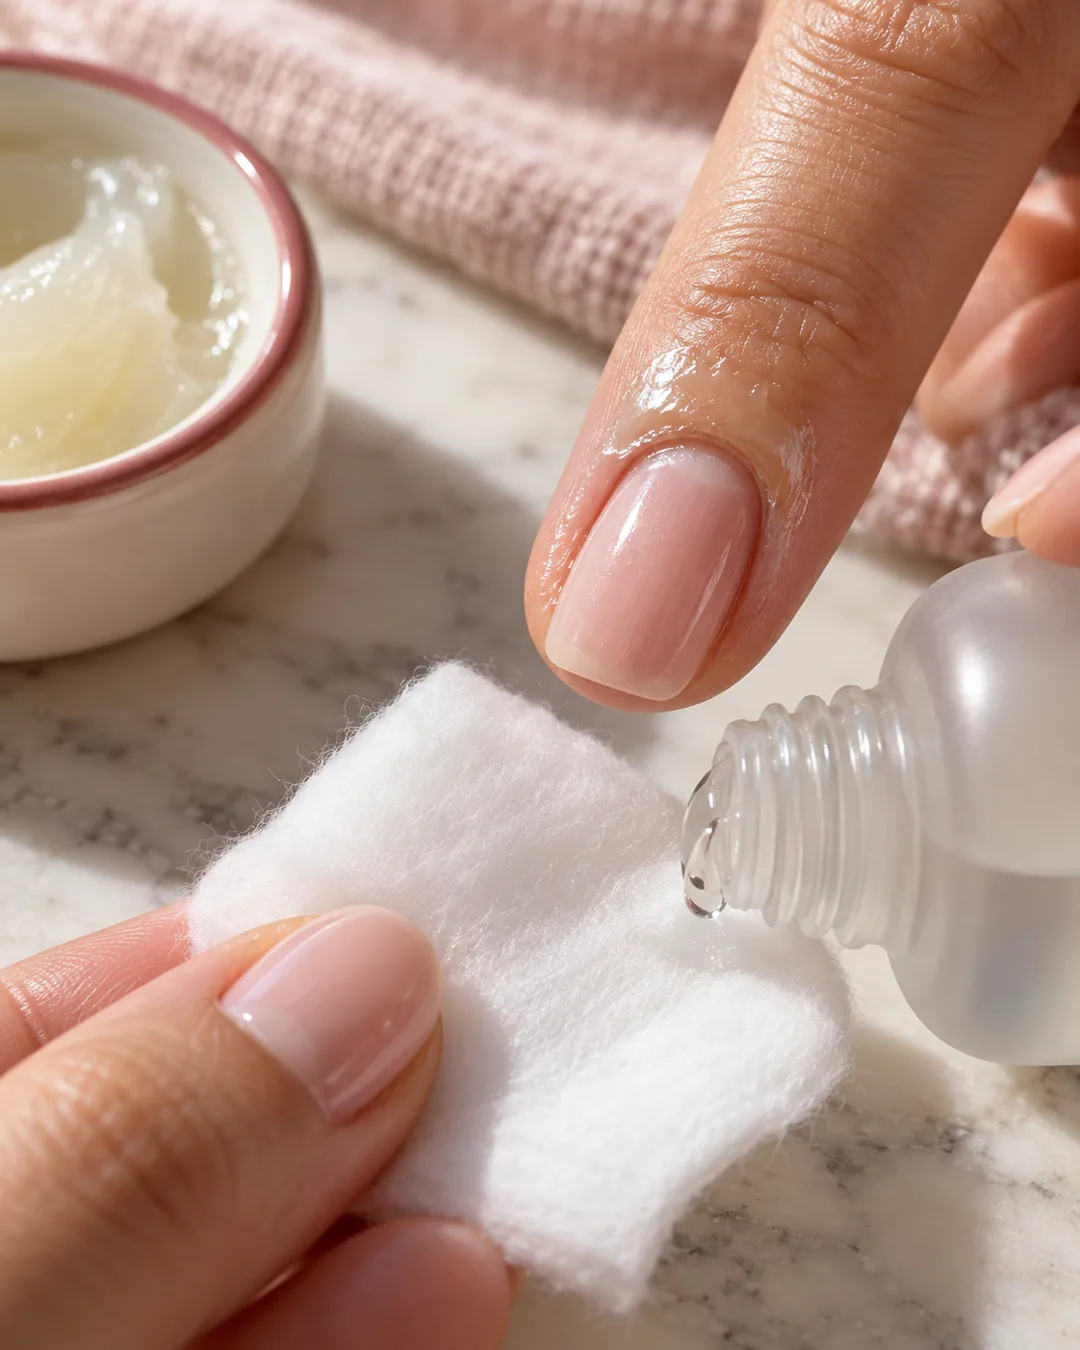
Acetone dries everything it touches, so the skin gets two jobs: protection before, and repair after. A thin barrier of petroleum jelly on the skin around each nail keeps the solvent off it during the soak. If acetone does run onto skin and starts to sting, wash it off rather than sitting through it.
Afterward, cuticle oil goes back into the plate and the surrounding skin. One thing stays off the table: do not cut or push back the cuticles to tidy up. The cuticle is a seal against infection, and a hand that has just been stripped by solvent is the worst moment to open that seal.
When to Stop and See a Professional
Home removal has a hard ceiling, and knowing where it sits is what keeps a cosmetic chore from becoming a medical one.
- Pain during removal. If it hurts, stop and soak longer rather than pulling.
- Signs of infection. Redness, swelling, or pus around a nail is a reason to see a professional, not to keep going.
- Nails already damaged. If prior removals have left the plates thin or raw, hand the next one to a technician or a clinician.
Healthline flags that at-home kits carry a higher risk of infection and irritation than salon removal, which is the quiet trade-off for doing it yourself. For anything that looks like a nail-health problem rather than cosmetic dryness, the answer is a professional, full stop.
Allergy Versus Ordinary Damage
Allergen warning
Not every post-removal complaint is plain dryness, and the difference changes what you should do next. Dip powder is acrylate-based, and the acrylates it relies on, HEMA among them, are documented contact allergens. The tell is not where you’d expect: a true reaction shows up as nails loosening or lifting paired with an itchy rash that spreads beyond the fingertips. That pattern is a signal to stop and see a dermatologist, not to re-soak and reapply.
How common is it? A patch-test audit reported by the British Association of Dermatologists found that 2.4% of patients tested positive to at least one (meth)acrylate, and 1.5% to 2-HEMA specifically. Small numbers, real stakes: once someone is sensitized to acrylates, that sensitivity can complicate later acrylate-based medical treatments, which is why “push through the rash” is the wrong call.
Peeling Costs More Than It Saves
The temptation at the end is to catch a lifted edge and zip the whole thing off. That single move is the most expensive shortcut in the process. The natural nail was already roughed up and thinned by the filing done at application. Peel or pry on top of that and you tear off keratin layers along with the dip. ND Nail Supply ties that mechanical tearing to a stretch of brittleness while the plate rebuilds. Acetone plus a buffer dries and stresses the nail; peeling physically rips it. Neither is harmless, but one is clearly the lesser harm, and it is not the one with the satisfying snap. No metal tools, no biting, no pulling.
Why Spacing Out Your Sets Protects the Nail
Damage from dip is cumulative, and that is the case for a break between sets. To keep a set looking clean, you need touch-ups about every 2 to 3 weeks to fill the regrowth gap, and the American Academy of Dermatology notes that frequent touch-ups can seriously damage natural nails. A full application-and-removal cycle means time in the chair, and each touch-up means more roughing-up at the base; each removal means more acetone and buffing. Stack enough cycles and the plate turns thin, brittle, and parched, in the Academy’s words.
Only one thing reverses that, and it isn’t a treatment. It is time without product on the nail. Reserving dip for occasions rather than wearing it back to back gives the keratin a window to grow out clean. The nails you protect by waiting are the ones that hold the next manicure better.
Is removing dip different from taking off acrylics?
Chemically they are close relatives, so the solvent is identical: pure acetone for both. The practical gap is thickness. Dip usually sits thinner on the plate, which means it clears nearer the short end of the soak window. A dense acrylic set is what pushes you toward the 30-to-35-minute range. Same method, longer wait for the heavier product.
What if color stays stuck in the sidewalls?
Residue hiding along the sidewall or at the cuticle line is normal on a first pass. Re-wrap only that nail with a fresh acetone-soaked pad and give it a few more minutes, then wipe again with a wooden stick. Do not dig it out with a metal pusher or the corner of a file; scraping stubborn dip is how the nail plate gets gouged.
How do I tell an allergy from ordinary dryness?
Allergen warning
An allergic reaction shows up as itching and a rash that travels past the fingertip onto the hand, often alongside nails that lift or loosen. Spreading rash plus lifting is the combination that sends you to a dermatologist rather than back to the acetone.
How Many Touch-Ups You Rack Up in a Year
The article treats dip damage as cumulative, but the cadence makes that abstract. If a set needs a touch-up every 2 to 3 weeks to fill the regrowth gap, that is not a one-off chore – it is a schedule that repeats all year. .
- Every 3 weeks: about 17 refill-and-file cycles in a year.
- Why it matters: each cycle involves roughing up and thinning the same nail plate, so the yearly tally – not any single removal – is the real exposure. A deliberate break between sets is the only part of that schedule you control.