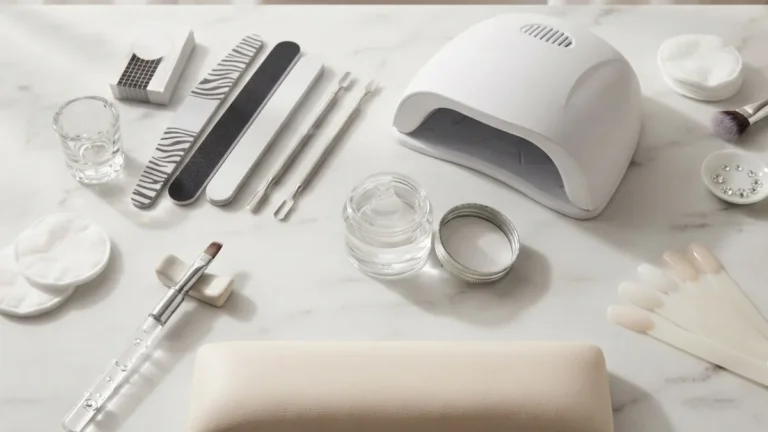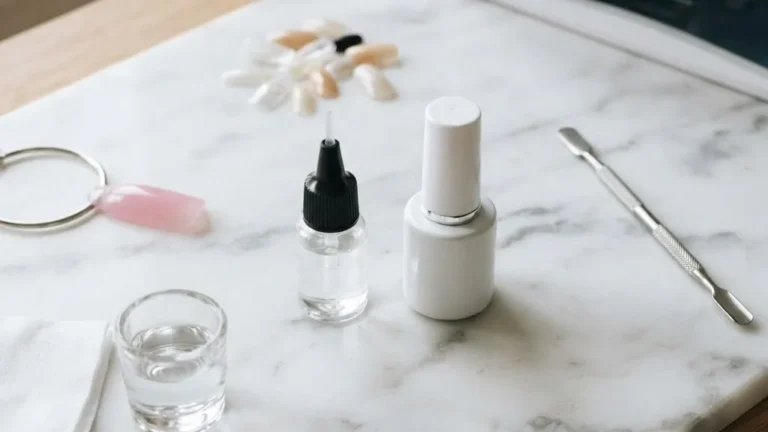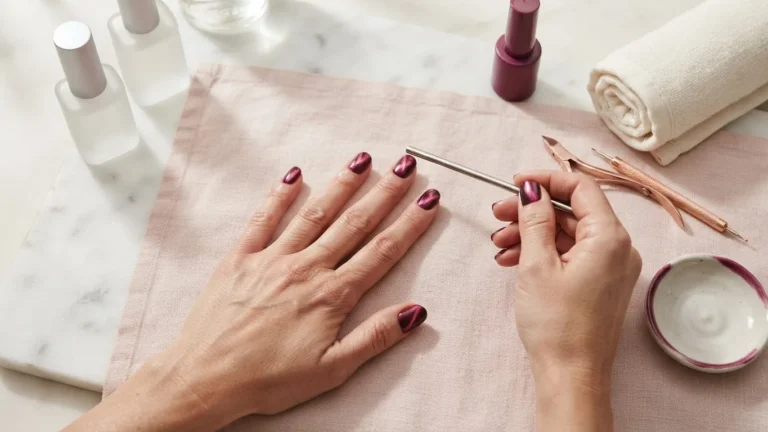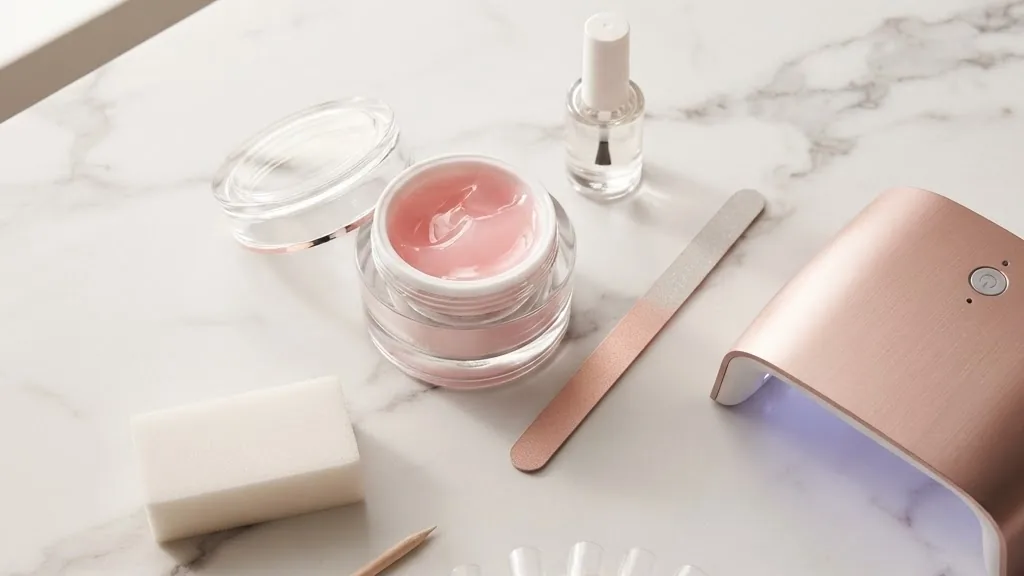
What is builder gel for nails comes down to one physical property most product pages skip over: viscosity. Builder gel is a thick, gel-based nail coating that stays where you place it long enough to be sculpted, then hardens under a UV or LED lamp into a rigid, protective shell over your natural nail. It sits between two worlds. It is thicker and more structural than gel polish, yet it cures with light instead of the air-and-liquid chemistry of acrylic. That single trait, the ability to hold an apex before curing, is what makes it a “builder” and not just another color coat.
The name describes the job. You are building thickness, strength, and shape where the natural nail lacks it. Understanding the raw material behind that, mostly a family of chemicals called acrylates, is what separates a safe application from a painful one.
Quick answer: builder gel for nails is a high-viscosity, light-cured acrylate gel used to overlay, strengthen, or extend the natural nail. It holds its shape before curing, hardens under 365 nm to 405 nm UV or LED light, and creates a durable layer thicker than gel polish. It is applied in structured layers, cured in a lamp, and removed either by filing (hard gel) or acetone soak-off (soft builder gel), depending on the formula you choose.
A typical set’s duration varies considerably, depending on whether you are laying down a simple overlay or sculpting a full extension on a form. That time gap matters when you are comparing salon pricing to a DIY kit, and it is one of the concrete data points that most brand-run product pages leave out entirely.
The chemistry of acrylates that makes builder gel harden
Builder gel is built on acrylate and methacrylate monomers suspended in a gel base with photoinitiators mixed in. Those photoinitiators are the trigger. When light of the right wavelength hits them, they release reactive fragments that link the loose monomers into a solid polymer network. This reaction is called photopolymerization, and it is why a puddle of gel becomes a hard plate in seconds under a lamp. The gel does not dry. It chemically cures, forming new molecular bonds rather than evaporating solvent the way ordinary lacquer does.
The specific chemistry matters for your health. Peer-reviewed work published through the Multidisciplinary Digital Publishing Institute (MDPI) documents how these light-driven coating formulations crosslink, and that research underpins how manufacturers tune their gels. Not every methacrylate is treated equally by regulators, and the difference between two nearly identical molecules is the line between a legal salon product and a banned one.
- Monomers: the small building-block molecules that link together during curing.
- Oligomers: partly joined chains that give the gel its thick body.
- Photoinitiators: the light-sensitive triggers that start the whole reaction.
Because uncured monomer is a known skin sensitizer, the goal of any application is full curing and zero contact between wet product and your skin. You can read a peer-reviewed treatment of these coating chemistries in the MDPI study on photopolymerized coatings, which covers the wavelength and formulation side in technical detail.
In practice, the crosslinking reaction happens in layers, not all at once. A base coat cures first to lock in adhesion to the nail plate, then a builder layer cures on top of that fully hardened foundation, and finally a top coat seals the surface. Each layer needs its own full cure cycle. Rushing this sequence, or curing a layer that is too thick for the lamp’s light to penetrate fully, leaves uncured resin trapped underneath a hard shell, which is a common cause of lifting weeks later.
What is nail builder gel used for in everyday manicures
What is nail builder gel used for has three honest answers, and they cover most of the reasons people reach for it. The first is a natural nail overlay: a thin structural layer painted over your own nail to add strength without changing its length. The second is sculpting extensions on a form, where you build length past the fingertip using a paper or reusable template. The third is rehabilitation, reinforcing thin, peeling, or bendy nails so they can grow out under protection instead of snapping at the free edge.
Each use leans on the same property: the gel holds a shape before it cures. That is why it can form an apex, the slightly raised zone of strength near the middle of the nail that distributes stress. Gel polish cannot do this because it is too runny.
- Overlay: strength and gloss with no added length.
- Sculpted extension: length and shape built on a form.
- Reinforcement: a protective cast for damaged or weak nails.
People often assume the overlay use is the “beginner” option and extensions are the “advanced” one, but the harder skill is actually reinforcement. Building a rigid apex over a nail that is already bending in the middle requires reading where the weak point is and placing extra product exactly there, rather than spreading a uniform layer across the whole plate. A technician working on a bitten or peeling nail bed will often build a slightly thicker stripe down the center of the nail, tapering it thin at the sidewalls, so the finished shell flexes only where the natural nail is already strong.
If you are still deciding what shape suits your hands before you build, the walkthrough on choosing and filing the right nail shape pairs well with a builder overlay, since the apex you sculpt should match the silhouette you file. Builder gel rewards planning: the structure you cure in is far harder to change than a coat of polish you can wipe off.
How the curing lamp turns liquid gel into a solid shell
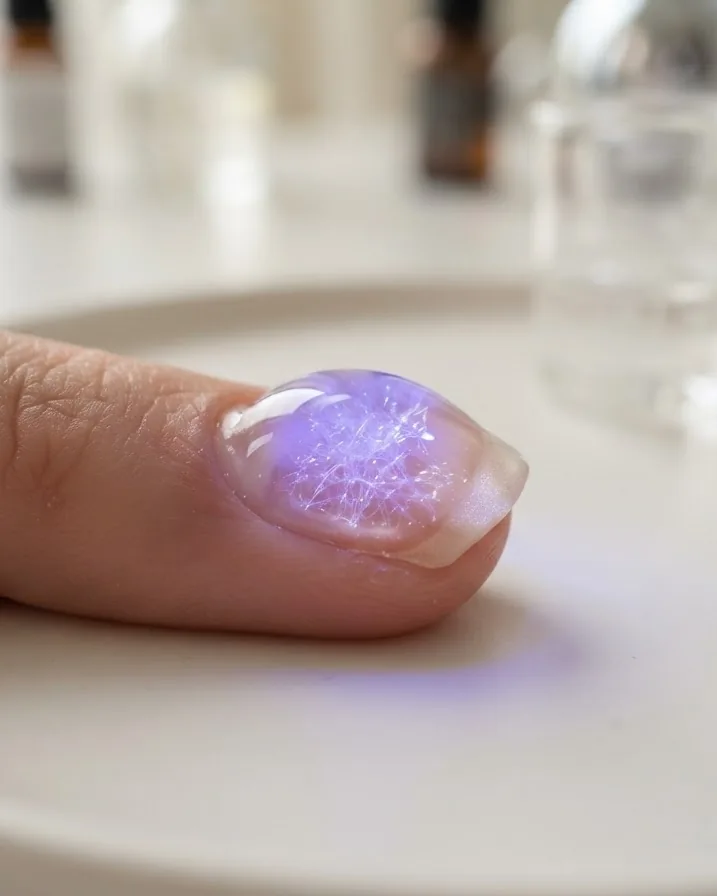
Curing is where the science gets specific. Modern UV and LED nail lamps typically emit electromagnetic radiation at exact wavelengths of 365 nm and 405 nm to successfully cure builder gel formulations, according to research indexed through MDPI. Those two numbers are not arbitrary. They match the absorption range of the photoinitiators inside the gel. Hit the gel with the correct wavelength and the initiators fire, monomers crosslink, and the layer hardens. Use the wrong lamp and you get a tacky, undercured mess that traps reactive chemicals against skin, exactly the situation you want to avoid.
This is why lamp and gel are a matched system, not interchangeable parts. A gel tuned for 405 nm LED will not cure properly under an old fluorescent UV bulb that peaks elsewhere.
- 365 nm: the classic ultraviolet peak many gels still rely on.
- 405 nm: the visible-violet LED peak used by most fast lamps.
- Undercure: the failure state when wavelength or time is wrong.
On lamp exposure itself, a scientific study evaluating UV nail lamp safety determined that 30 minutes of daily exposure to the most intense lamp evaluated still remained below the established occupational exposure limits for UV radiation. That does not mean lamps are risk-free for everyone, but it puts the typical few-second cure in perspective. Sensible habits still apply: keep cure times to what the manufacturer specifies, and consider fingerless UV gloves if you cure frequently.
A practical worked example helps here. A standard builder gel base layer needs less time under a 405 nm LED lamp than a thicker apex layer applied over a form, which needs longer to reach full depth. Old bulb-based UV lamps, by contrast, often require more time per layer because their light output is weaker and less concentrated. If you switch lamps without adjusting cure time, the most likely result is a gel that feels hard on the surface but stays soft and gummy underneath, which shows up later as lifting or a bent apex.
EMA versus MMA and the 1974 ban you should know about
The single most important safety fact in this entire field concerns two methacrylates that look almost identical on paper. The U.S. Food and Drug Administration officially banned the use of 100 percent liquid methyl methacrylate (MMA) in artificial nail products in 1974, following severe allergic reactions and nail damage tied to its use. MMA bonds so aggressively that it can lift the natural nail plate and cause permanent injury. Its safer cousin, ethyl methacrylate (EMA), replaced it. In most standard artificial nail preparations used today, ethyl methacrylate comprises approximately 90 percent of the overall product formula.
That 1974 line still governs what a reputable product may contain. The FDA regulates the safety, classification, and labeling of nail care products, and its guidance is the reference point for what belongs on an ingredient list.
- MMA: banned in the described liquid form since 1974, linked to nail damage.
- EMA: the modern replacement, roughly 90 percent of typical formulas.
- The tell: suspiciously cheap product and a harsh chemical smell can signal MMA.
The Campaign for Safe Cosmetics tracks the toxicology of the acrylate family and salon worker exposure, and the FDA publishes consumer-facing guidance on nail care products. Read both before you trust a bargain kit. If a product refuses to disclose ingredients, or if it lists methyl methacrylate rather than ethyl methacrylate, treat that as a reason to walk away rather than a bargain to grab.
There is also a physical warning sign worth knowing beyond smell and price. MMA-based product is often noticeably harder to file and tends to crack rather than bend slightly under pressure, because it is more brittle than a properly formulated EMA gel. If a technician tells you a set is unusually difficult to remove, requiring aggressive drilling rather than a normal soak or gentle file, that difficulty itself can be a signal that the product was never meant for nail use in the first place.
Ventilation, contact dermatitis, and protecting your skin
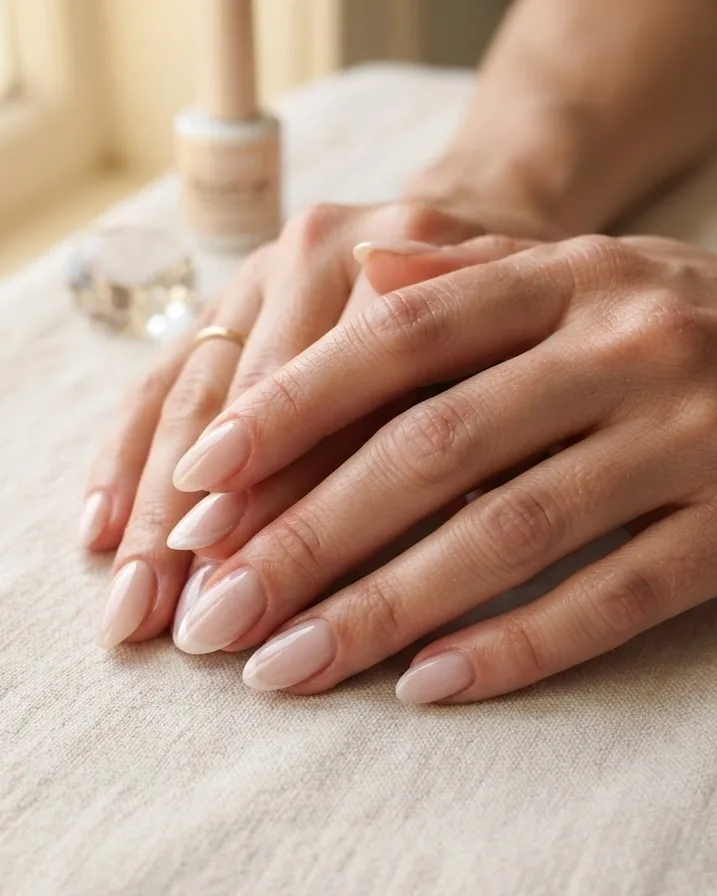
Builder gel is safe when it is fully cured and kept off skin, and hazardous mainly in its uncured, liquid state. The reactive monomers that make curing possible are also skin sensitizers, meaning repeated contact can provoke allergic contact dermatitis: redness, itching, blistering, and in stubborn cases a lasting allergy that follows you to every future manicure. The defense is simple and mechanical. Keep wet product on the nail plate only, wear gloves when handling bulk product, and if liquid gel touches skin, wash it off immediately with soap and water rather than letting it sit.
Air quality matters as much as skin contact. Implementing proper ventilation in nail salons can reduce airborne exposure levels to ethyl methacrylate vapors by up to 90 percent, per data compiled by the Campaign for Safe Cosmetics. That is a large reduction from a change as basic as moving air.
- Barrier first: gloves and clean tools keep monomer off skin.
- Airflow: a source-capture fan or open window cuts vapor sharply.
- React fast: wash immediately on contact; see a professional if a reaction appears.
Never patch-test raw gel, primer, or monomer against bare skin to check for allergy; testing an uncured chemical against your body is the exposure you are trying to prevent. If you suspect a reaction is building, stop using the product and consult a dermatologist. The Campaign for Safe Cosmetics maintains a detailed page on acrylates and their hazards that explains the sensitization mechanism in plain terms.
Salon workers face this exposure daily rather than once every few weeks, which is why occupational ventilation standards exist at all. If you are choosing between salons, it is reasonable to ask whether the salon uses source-capture ventilation at each station or relies only on a general room fan. A salon that filters dust and vapor right at the table, rather than just circulating air across the whole room, is applying the same 90 percent reduction principle that keeps technicians safer over years of repeated exposure.
Builder gel versus acrylic, Gel X, dip powder, and gel polish
What is building gel for nails becomes clearer when you line it up against the four systems people confuse it with. Each hardens through a different mechanism, carries a different odor profile, and removes differently. Builder gel cures with light. Acrylic hardens by mixing a liquid monomer with a powder polymer that sets in open air. Gel X uses pre-formed soft-gel tips bonded and then light-cured. Dip powder relies on a cyanoacrylate resin, essentially a specialized glue, to lock powder in place with no lamp at all.
The practical differences fall out from those mechanisms. Acrylic carries the strongest odor because of its airborne monomer. Builder gel and Gel X are near-odorless because the reaction happens under light, not in the air.
- Builder gel: light-cured, sculpts an apex, overlay or extension, filed or soaked off by formula.
- Acrylic: air-set liquid-and-powder, very durable, strong odor, filed off.
- Gel X: pre-cured soft tips bonded and lamp-cured, fast full coverage, acetone soak-off.
- Dip powder: cyanoacrylate resin sets the powder, no lamp, often the hardest to remove cleanly.
| System | Curing mechanism | Odor level | Removal method |
|---|---|---|---|
| Builder gel | UV/LED light (365-405 nm) | Low | Soak-off (soft) or file (hard) |
| Acrylic | Air-set liquid/powder reaction | High | Filing only |
| Gel X | Bonded tip, then UV/LED cure | Low | Acetone soak-off |
| Dip powder | Cyanoacrylate resin, no lamp | Moderate | Acetone soak, often slow |
| Standard gel polish | UV/LED light, thin layer | Low | Acetone soak-off |
Structurally, the biggest divide is not odor but whether the system can hold an apex. Builder gel and acrylic both can, which is why they double as extension methods. Gel X gets its strength from the pre-cured tip rather than from sculpting, and standard gel polish and dip powder are essentially color-and-coating systems that were never designed to add real structural strength on their own.
If you like the finish of gel but want to top it differently, the guide to layering regular lacquer over a gel manicure shows how to change color without dissolving the structure underneath. And if you are weighing a lower-commitment option first, semi-cured gel nail strips cure the same way but skip the sculpting entirely.
What is the best builder gel for nails and how to choose one
What is the best builder gel for nails is the wrong question until you know your removal tolerance, because that single preference splits the market in two. Hard gels are filed off and cannot be dissolved in acetone; they are tougher and longer-lasting but demand more skill to remove without thinning the natural nail. Soft builder gels, often sold as “builder in a bottle” (BIAB), soak off in acetone like gel polish, which is far gentler for a home user learning the ropes. Neither is universally better. The best one is the one whose removal you can actually perform safely.
Beyond removal, three objective traits separate a good gel from a frustrating one, and none of them appear in the marketing copy.
- Self-leveling: a gel that settles smooth on its own hides brush strokes and beginner unevenness.
- Viscosity control: thick enough to hold an apex, not so thick it drags and lumps.
- Honest labeling: a full ingredient list showing ethyl methacrylate rather than methyl methacrylate.
Beginners almost always do better starting with a self-leveling soak-off BIAB, since forgiving removal buys room to make mistakes. Advanced users who want maximum length and durability graduate to hard gel and the filing skill it requires. Whatever you pick, verify the ingredient disclosure against FDA guidance before you buy, and prefer a matched lamp from the same maker so the cure wavelength lines up with the formula.
How generic and store-brand builder gels compare on paper
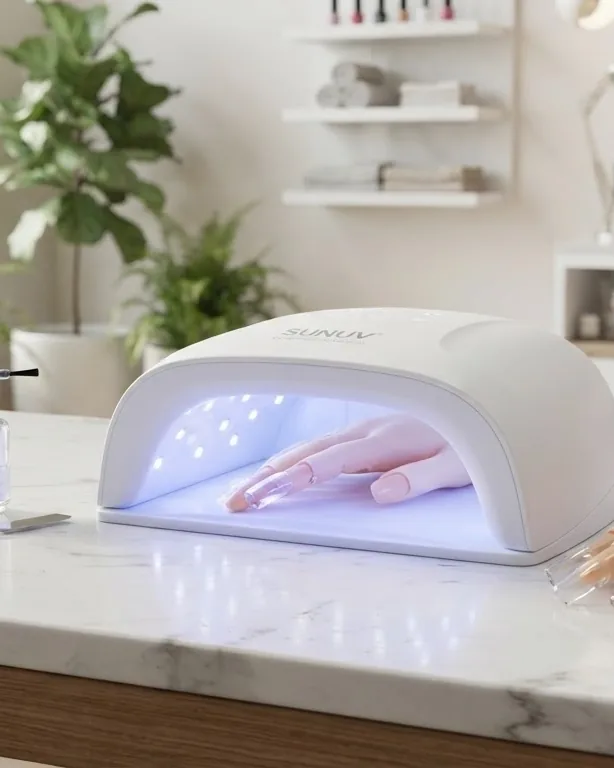
Most branded product pages compare their own gel only against their own older formula, which tells you nothing about the wider market. A more useful way to shop is to check three specifications printed on the bottle or listed in the product description, since these three numbers predict real-world performance better than marketing language does.
- Viscosity rating: gels described as “self-leveling” or “thin” work better as overlays; gels labeled “thick” or “sculpting” are meant for extensions on a form.
- Cure wavelength: a bottle that lists 405 nm only will underperform in a 365 nm-only lamp, and vice versa; look for formulas rated for both.
- Ingredient disclosure: a full listing that names ethyl methacrylate rather than a vague “acrylic polymer blend” is a reasonable proxy for a manufacturer following FDA-aligned labeling practices.
Generic builder gels sold in bulk bottles are frequently identical in base chemistry to pricier branded versions, since most manufacturers draw from a similar pool of EMA-based formulations. The real differences tend to show up in pigment quality, self-leveling behavior, and how consistently the viscosity holds from bottle to bottle. If a generic gel discloses its ingredients clearly and performs consistently in your lamp, there is no chemical reason it should be considered inferior to a heavily marketed alternative.
Cost, time, and longevity: salon versus DIY builder gel
Price is one of the biggest gaps left open by salon-focused pages, since most only quote their own local rates rather than putting the full picture together. A professional builder gel set at a salon typically runs longer in the chair than a standard polish change, because of the extra prep and structural building involved, and that additional time is reflected in the price. A DIY builder gel kit is a larger upfront cost than a bottle of polish, but it is reusable across many sets, so the cost per manicure drops sharply after the first application.
Longevity is the other side of the value equation. A well-applied builder gel set, properly cured and finished with a sealed edge, commonly outlasts standard gel polish because the thicker structural layer resists chipping and lifting better at the free edge, where most manicures fail first. The tradeoff is removal time: soft soak-off builder gels take longer to dissolve than a thin coat of gel polish simply because there is more material to break down, while hard gels require filing time instead of soaking time.
- Salon set: higher per-visit cost, professional-grade application, faster if you are new to the process.
- DIY kit: higher upfront cost, lower cost per set over time, requires practice to match salon-level evenness.
- Longevity: builder gel generally resists chipping longer than standard polish because of its thickness.
- Removal time: longer than polish removal, since more cured material has to soften or be filed away.
Applying builder gel and removing it without wrecking your nail
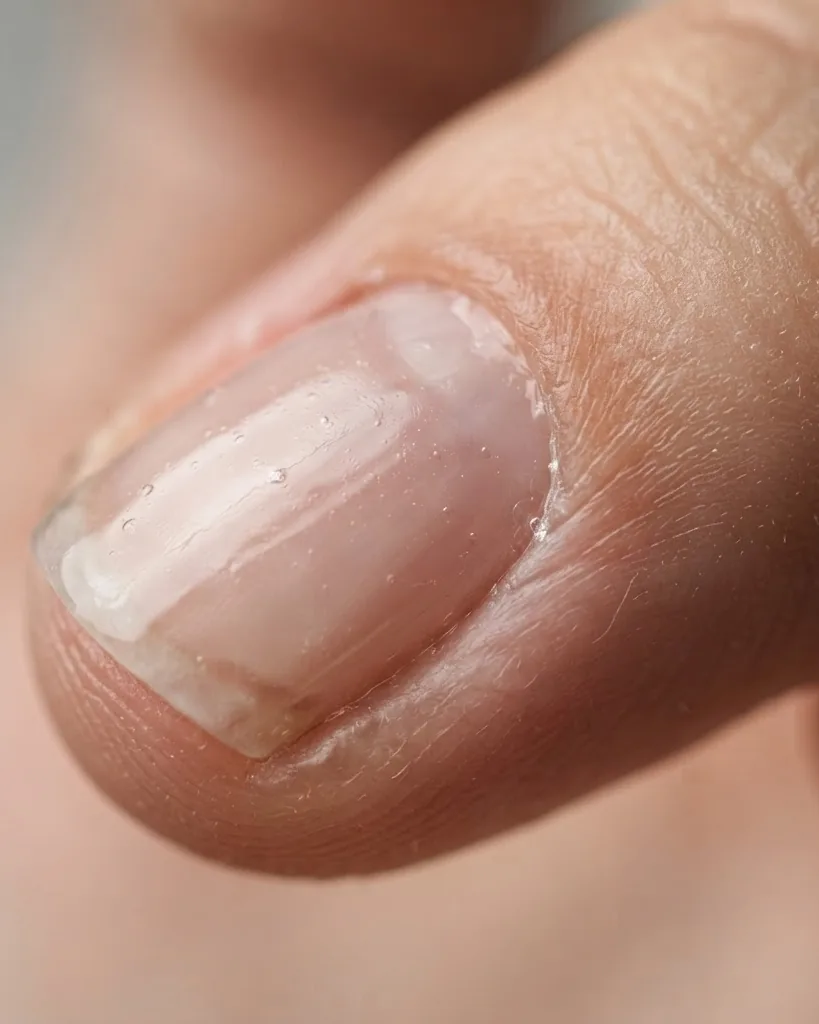
Application is a sequence, and skipping a step is where most home builds fail. Start with prep: push back and tidy the cuticle, gently buff the shine off the nail plate so the gel can grip, and wipe the plate with a dehydrator to remove oil. Apply a thin bonding base layer and cure it. Then place a small bead of builder gel and guide it into a low apex near the center of the nail, keeping product off the skin and off the cuticle. Cure fully at the wavelength your lamp and gel are rated for.
After the final cure, most gels leave a tacky inhibition layer, the thin uncured film on the surface. Wipe it away with a cleanser-soaked lint-free pad, never with a bare finger, since that film is uncured product.
- Prep: cuticle, light buff, dehydrate.
- Build: base, apex bead, structured layers, full cure each time.
- Finish: wipe the inhibition layer, then shape and top coat.
Removal depends entirely on the formula. Soft builder gels come off with an acetone soak, wrapping each nail and letting the solvent break the bonds before you gently push the softened gel away. Hard gels must be filed down carefully, stopping well before the natural nail. Rushing either method thins the nail plate. If your nails need a rest between sets, the caution around solvents in the nail polish thinner guide applies here too: more acetone is not gentler, it is just more drying.
Troubleshooting common builder gel problems
Even a careful application can go wrong, and most failures trace back to one of a small handful of causes. Recognizing the symptom quickly saves you from repeating the same mistake on every finger.
- Lifting at the edges: usually caused by skin oil left on the plate during prep, or by a base layer that was not cured fully before the builder layer was applied on top of it.
- Bubbles trapped in the gel: often the result of applying product too fast or dragging air into a thick bead with the brush; slow, deliberate strokes reduce this.
- A soft or bendy apex weeks later: a sign of undercure, usually from a mismatched lamp wavelength or a cure time that was too short for the thickness applied.
- Yellowing over time: typically UV degradation of the top coat rather than the builder layer itself, and is reduced by choosing a top coat rated for color stability.
- Sticky residue after curing that will not wipe away: an inhibition layer that needs a proper cleanser wipe rather than water; water alone will not remove it.
If a set consistently lifts within the first week regardless of prep, the more likely culprit is the lamp rather than the gel itself. Testing the same gel with a different, known-working lamp isolates whether the wavelength match is the actual problem before you blame the formula and switch products unnecessarily.
Frequently asked questions
What is the best builder gel for nails for a total beginner?
For a beginner, a self-leveling soak-off “builder in a bottle” is usually the best builder gel for nails because it removes in acetone rather than requiring skilled filing. Look for a full ingredient list showing ethyl methacrylate, a viscosity that holds an apex without dragging, and a matched lamp from the same maker so your cure wavelength lines up correctly.
What is nail builder gel used for besides adding length?
What is nail builder gel used for extends well beyond extensions. Its most common home use is a thin overlay that strengthens the natural nail with no added length. It also reinforces peeling, thin, or bendy nails so they grow out under a protective cast. The gel holds a shape before curing, which lets it form the strengthening apex that ordinary gel polish cannot.
What is building gel for nails made from?
What is building gel for nails at the chemical level: acrylate and methacrylate monomers suspended in a gel base with light-sensitive photoinitiators. Modern reputable formulas use ethyl methacrylate, roughly 90 percent of a typical mix, rather than the methyl methacrylate the FDA restricted in 1974. Under a lamp, the photoinitiators trigger crosslinking, turning liquid gel into a hard polymer shell.
Is the UV lamp used to cure builder gel dangerous?
Lamp exposure during a manicure is brief. One scientific study of UV nail lamp safety found that 30 minutes of daily exposure to the most intense lamp evaluated still stayed below established occupational exposure limits for UV radiation. A normal cure lasts seconds, far less. If you cure often, fingerless UV gloves and manufacturer-specified cure times are sensible, low-effort precautions.
Can builder gel be used over natural nails safely?
Yes, applied as an overlay, builder gel is one of its safest uses. The risk is not the cured gel but skin contact with uncured product. Keep wet gel on the nail plate only, wear gloves when handling bulk product, wash off any skin contact immediately, and stop and see a professional if redness or itching appears near the cuticle.
How is builder gel removed without damaging the nail?
Removal depends on the formula. Soft builder gels soak off in acetone: wrap each nail, wait for the gel to soften, then gently push it away. Hard gels must be carefully filed down, stopping before the natural nail plate. Either way, patience protects the nail. Aggressive scraping or over-filing thins the plate and undoes the strengthening you were after.
What is the real difference between hard gel and soft builder gel (BIAB)?
Hard gel and soft builder gel share the same basic acrylate chemistry and cure under the same 365 to 405 nm light, but they differ in how they are formulated for removal. Hard gel is built to resist acetone, so it must be filed away, while soft builder gel is designed to soften and dissolve in acetone. Hard gel generally holds a longer extension and a stronger apex, while soft builder gel is gentler on the natural nail during removal.
How much more does a builder gel manicure cost compared to regular gel polish?
Because builder gel involves extra prep, sculpting, and a longer chair time to build and cure the apex correctly, salon pricing for it typically sits above a standard gel polish service. DIY kits carry a higher upfront cost than a bottle of polish but are reusable for many sets, which lowers the effective cost per manicure the more often you use the same kit.