A standard bottle of acetone-free polish remover will sit on cured gel and do almost nothing, because gel is not a lacquer that dries by evaporation. It cures under UV or LED light into a hard, cross-linked film, and the right nail varnish remover for gel has to chemically break that film apart rather than wipe it away. The American Academy of Dermatology names the product plainly for at-home removal: 100% acetone, not a blend. That single specification settles most of the confusion before any soaking begins.
This guide lays out what to use, how long to soak depending on how you wrap the nail, how to protect the skin around it, and where the gentler acetone-free route is real versus marketing.
The Short Answer: What Actually Dissolves Cured Gel
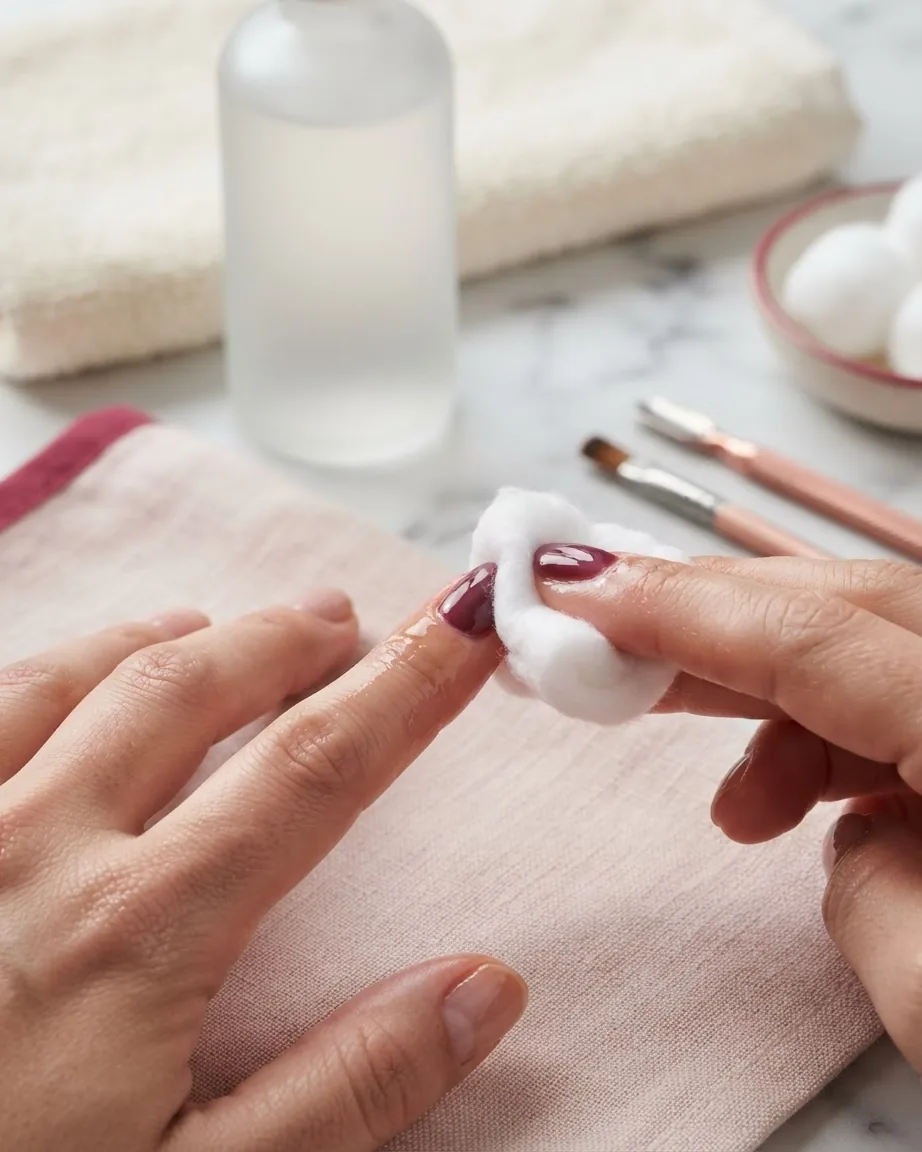
Cured gel polish is a cross-linked film, so ordinary acetone-free nail varnish remover for gel will not touch it. The AAD lists 100% acetone as the solvent for home removal. Soak the nail roughly 10 minutes under plastic wrap, or about 15 minutes with a foil-and-cotton wrap, then wipe away softened gel. Protect the surrounding skin with petroleum jelly and never scrape the nail plate with a hard tool. A purpose-built non-acetone (avocado) solvent can remove gel too, but standard drugstore non-acetone cannot.
Why Your Non-Acetone Remover Just Smears It Around

Regular nail lacquer sits on the nail as a film that softens the moment acetone or a milder solvent touches it. Gel is different by design. The brand blog Dear Sundays explains that gel cures into a cross-linked film, which is why non-acetone removers will not remove it. Those links between molecules are what give gel its weeks of shine, and they are also what resist a gentle solvent.
So when a non-acetone wipe leaves the color intact, nothing is broken. You are just moving solvent across a sealed surface. This is the buy-the-wrong-bottle trap: the label says “nail polish remover,” the shopper assumes any remover removes any polish, and the gel stays put. Dermatologist Shari Lipner has stated that acetone is the most effective option for removing gel at home, which is the practical reason the AAD’s own supply list names 100% acetone rather than a softer blend.
Soak Time Changes With How You Wrap the Nail
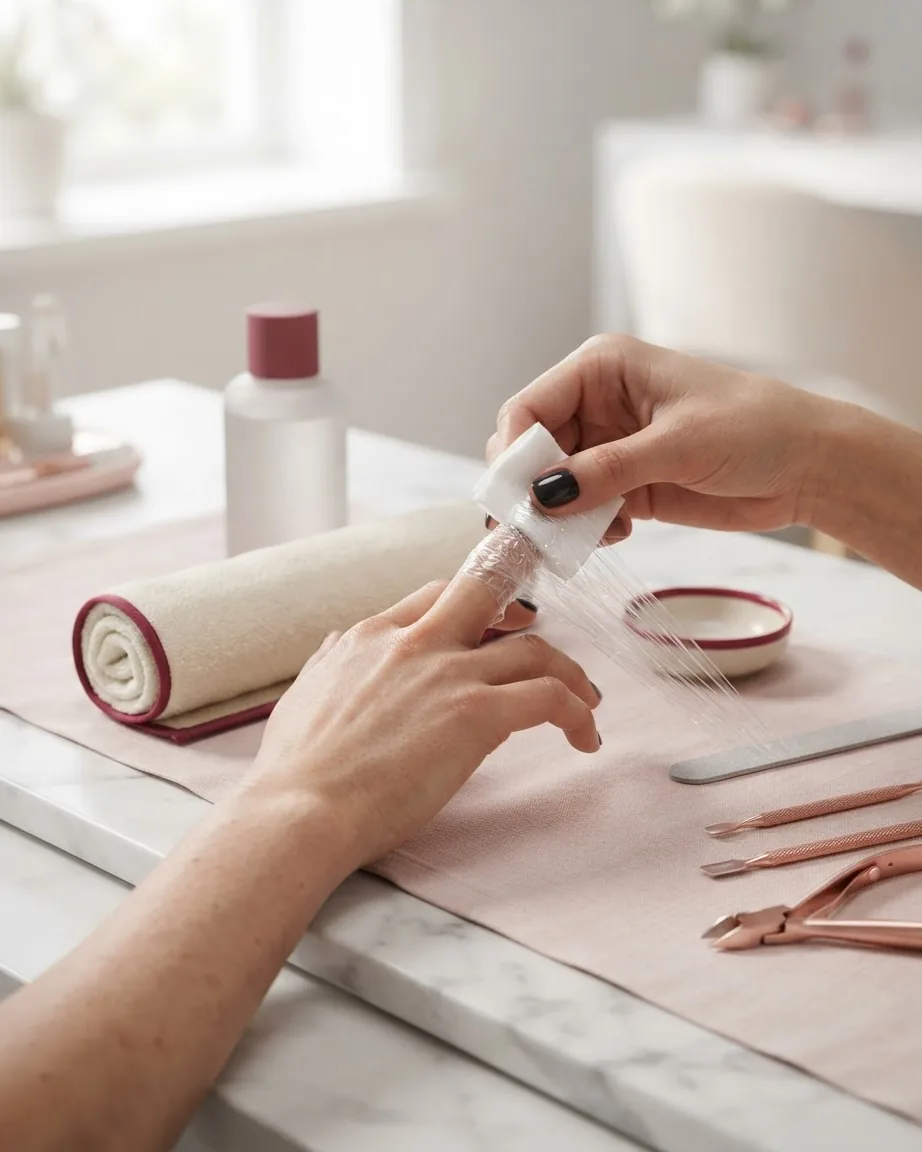
There is no single magic number, and sources that look like they disagree are actually describing different wrap methods. Hold them as a range tied to the seal, not a contradiction.
- Plastic wrap, about 10 minutes. The AAD’s gel-pedicure removal guide instructs leaving the plastic wrap on for 10 minutes, after which most or all of the gel polish should be gone.
- Foil and cotton, about 15 minutes. The AAD’s gel-manicure page uses an acetone-soaked cotton ball held with foil and states that after about 15 minutes the polish should come right off.
- At least 10 – 15 minutes, general case. An AAD news release carried by Newswise notes gel is hard to remove because nails must soak in acetone for at least 10 – 15 minutes to clear the polish.
The honest read: wrap method, seal tightness, and the specific gel all shift the timing. If the color has not lifted at the low end of the range, re-wrap and wait rather than digging at it.
Foil vs Plastic Wrap: Which Seal to Choose
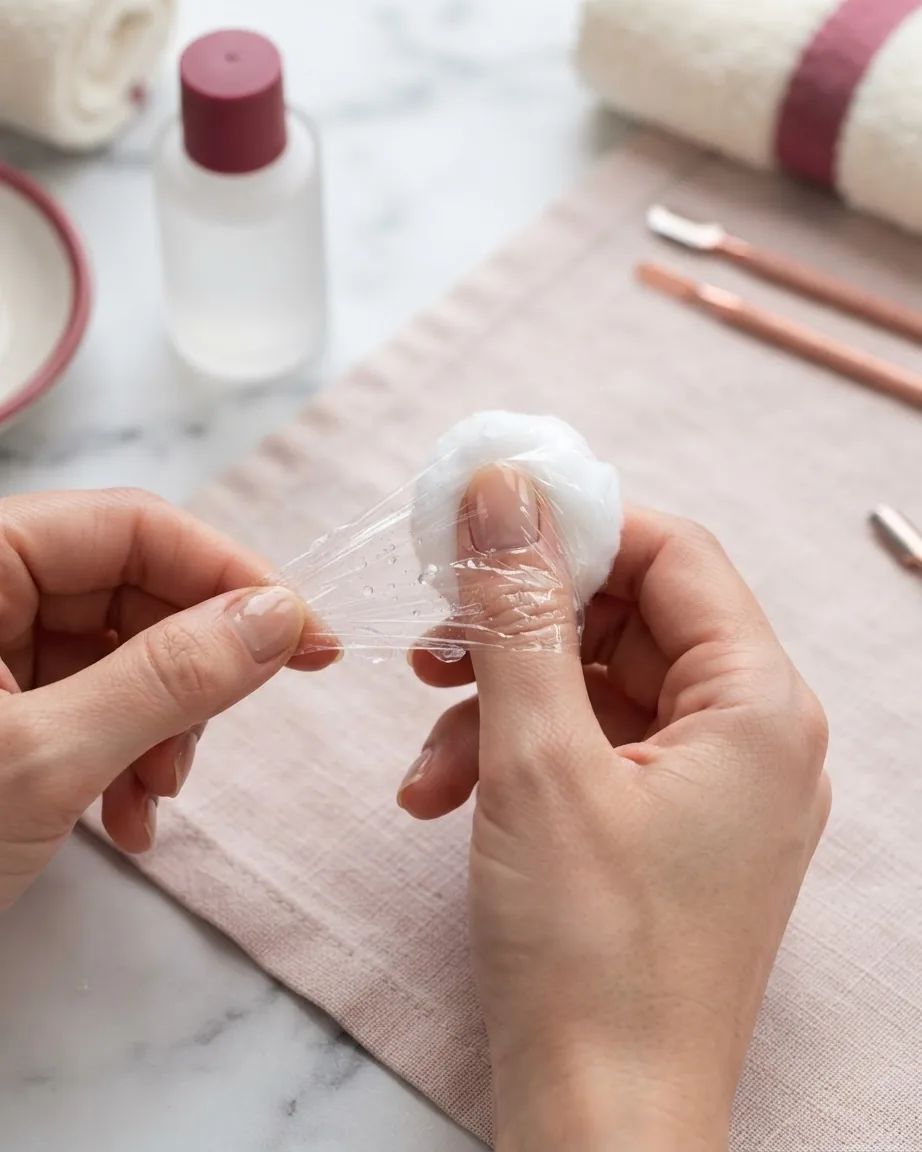
Both methods trap acetone against the nail; the difference is how well they hold it there. Plastic food wrap seals tighter to the finger than foil, so less acetone drips down onto the surrounding skin. That tighter seal lines up with the shorter soak the AAD cites for the plastic-wrap method, around 10 minutes, versus roughly 15 minutes for the foil-and-cotton version.
Foil is the default on most how-to pages and it works, but it tends to loosen and let solvent escape, which both wastes acetone and puts more of it on skin. If you have a choice, plastic wrap keeps the chemical where it belongs and shortens the wait. Either way, the goal is a saturated cotton pad held flush against the nail, not acetone running loose over the cuticle.
A Derm-Backed Barrier Routine That Spares the Skin
Acetone is a strong solvent, and the AAD’s removal guidance is built as much around protecting the skin as around dissolving the gel. The protective steps matter more than any shortcut.
- Coat the skin first. Spread petroleum jelly on the cuticle and the skin ringing each nail so acetone touches as little skin as possible.
- Size the cotton to the nail. Cut the cotton so it covers the nail plate and not the finger around it, concentrating the solvent where the gel is.
- Do not scrape with an orange stick. Lipner cautions against gouging at the nail; aggressive scraping can leave white spots on the nail plate. Softened gel should wipe or slide off, not be pried.
- Use a warm washcloth for residue. Gentle warm pressure clears the last softened film without a hard tool.
- Protect your surfaces. Acetone can etch countertops and finishes, so work over something disposable.
If contact irritation, redness, or a reaction shows up, wash the area and stop. Nail or skin problems are a question for a board-certified dermatologist, not something to push through at the kitchen table. Dip and shellac follow the same soak-off logic; our remove dip nails walkthrough runs the home version step by step.
When “Acetone-Free Gel Remover” Is Real and When It Is Marketing
Here the sources genuinely split, and the split is the useful part. The AAD and Dear Sundays both say standard non-acetone removers will not take gel off. Yet a scholarly study published through Kyobo Scholar, “Effect of Gel Nail Remover Liquid on Nail According to Acetone Concentration,” found that a purpose-built avocado non-acetone formula did remove gel.
How both can be true: a drugstore 0%-acetone wipe meant for lacquer is not the same thing as a non-acetone solvent system engineered for gel. The study ranked removing ability as 100% acetone first, then the avocado non-acetone, then 5% acetone, then 0% acetone. So an acetone-free product can work only if it is formulated for gel and rated for your gel system. The brand Manucurist, for one, markets a 1-minute acetone-free gel remover built for its own semi-permanent line, which is a brand claim tied to a specific system rather than a general rule.
The same study also looked at gentleness. It reported the least harmful effect on the nail with the 5% and 0% acetone removers, and that moisture loss from the nail surface after removal was smallest at 0% acetone. The trade-off is plain: the strongest remover is the fastest, and the mildest is the kindest to the nail plate, but a 0% drugstore wipe still will not break a cured gel film.
Growing Gel Out With No Solvent at All
If you would skip acetone entirely, the nail can simply grow and the gel travels out with it. The cost is time, and the AAD puts real numbers on it: fingernails take about 6 months to grow out, while toenails need 12 to 18 months. Over that stretch you clip the growing free edge weekly instead of picking or filing at the gel, since picking peels off layers of the nail plate with it.
This is the route for someone whose nails already feel thin or damaged and who wants no further solvent exposure. It is slow, and the half-grown look is not for everyone, but it removes the remover from the equation.
Is It the Acetone or the Gel Weakening Your Nails?
People often blame acetone for post-gel brittleness, but the evidence does not pin it there. Dermatologist Chris Adigun, quoted in the AAD news release on Newswise, states that it is not known whether gel manicures weaken nails because of the polish chemicals or because of the acetone used to remove it. The same release describes five women with nail weakness, brittleness, and thinning that dermatologists attributed to the gel manicures as a whole, not to one step.
The practical takeaway: do not chase acetone-avoidance as if it alone protects the nail. Gentle technique during removal and recovery breaks between sets carry more weight than swapping solvents. The AAD, headquartered in Schaumburg, Illinois, marks 75 years of promoting skin, hair, and nail health, and its guidance keeps returning to technique and rest rather than a single villain ingredient.
Rehab for the Nail Plate After Removal
Once the gel is off, the nail often looks dull or feels rough, and that is the moment to pause. The AAD’s gel-manicure page advises trying not to wear nail polish for one to two weeks or longer so the nails have time to repair. During that break, petroleum jelly worked into the nail and cuticle several times a day counters the brittleness and peeling that follow a round of gel.
Resist the urge to buff a rough surface smooth. That thins an already stressed plate. For a dip or shellac set, the same rule holds and goes further: never file past the color into the natural nail. If something looks genuinely damaged rather than just dry, that is a conversation for a professional.
Planning the next set around the cure step keeps damage low from the start. See also our Gel X nail tips guide.
Common Questions About Removing Gel at Home
Can I speed up removal by filing the top coat first?
The idea that buffing the shiny top layer before soaking helps acetone sink in gets repeated widely, but the dermatology sources behind this guide do not confirm it as a stated step. Treat it as unverified. If you do break the seal, use the lightest touch and stop at the color, since over-filing strips the nail plate itself.
What acetone percentage do pre-mixed “gel removers” contain?
There is no reliable published figure for the acetone concentration of pre-blended at-home gel removers. Claims circulating online are not backed by a manufacturer safety sheet or a credible source, so this guide will not cite a number. When a straight answer matters, 100% acetone is the specification named for removal, and a bottle labeled simply “acetone” removes the guesswork.
Does gentler mean it still works on gel?
Not automatically. The Kyobo Scholar study found 0% and 5% acetone liquids caused the least nail damage, yet a plain 0%-acetone drugstore wipe cannot break a cured gel film. Gentleness and gel-removing power pull in opposite directions unless a non-acetone product is specifically engineered as a gel solvent, like a system-matched avocado formula.
How often should I give my nails a break from gel?
After a set comes off, the one-to-two-week polish holiday the AAD suggests gives the plate room to firm back up. Longer is fine if the nails still feel soft. Because it is unresolved whether damage traces to the polish or the solvent, spacing out sets protects the nail regardless of which remover you reach for.
The 50-Minute Penalty: Foil vs Plastic Wrap Over a Full Set of 10 Nails
Every how-to page quotes the soak time per nail, but nobody does the arithmetic for a whole hand. The AAD cites about 10 minutes under plastic wrap and about 15 minutes with foil and cotton, a gap of 5 minutes per nail. That looks trivial on one finger. Across all 10 nails, the tighter plastic-wrap seal lands you at roughly 100 minutes of total soaking, while the looser foil method pushes you to about 150 minutes, a 50-minute penalty for the same result.
- Per nail: foil adds 5 minutes over plastic wrap (15 vs 10 minutes, per the AAD).
- Plastic wrap, full set: 10 min x 10 nails = about 100 minutes total.
- Foil and cotton, full set: 15 min x 10 nails = about 150 minutes total.
- What foil costs you: 150 – 100 = about 50 extra minutes, plus more acetone escaping onto the skin from the looser seal.
This is why the plastic-wrap choice is not just tidier. Scaled to a full manicure, the tighter seal that the AAD ties to the shorter 10-minute soak saves close to an hour of waiting and keeps more acetone off your cuticles.