A matte surface is not a different pigment or a flatter color – it is the same lacquer with a microscopically rough top layer. That roughness scatters incoming light in every direction instead of bouncing it back in one clean reflection, which is why the finish reads as flat. Understanding matte nail polish starts there, because every decision downstream – which top coat, whether it needs a lamp, why it chips sooner – follows from that single surface property and the one ingredient that creates it.
Lab Muffin Beauty Science, run by chemistry PhD Michelle Wong, lays out the mechanism in a breakdown of how matte top coats work: the matting agent is silica, a fine powder suspended in the coating. On the bottle you will see it printed as “Silicon Dioxide” or “Silica / Hydrated Silica” rather than “silica gel,” but it is the same silica-based chemistry under a different naming convention, not three separate additives.
Quick answer: Matte nail polish looks dull because silica particles roughen the surface and scatter light. You can buy a dedicated matte top coat or make one by stirring about 1/8 teaspoon of cornflour into 1 mL of clear top coat – the tested sweet spot before it overloads and cracks. Air-dry lacquers need no lamp; gel matte top coats cure under UV or LED. Expect matte to chip sooner than gloss, so plan to refresh it every 2 – 3 days and apply in thin coats.
Why a matte finish scatters light instead of reflecting it
Gloss works because a cured lacquer dries to a smooth, near-mirror surface: light hits it and reflects back along one angle, which your eye reads as shine. Matte breaks that mirror. Suspended silica particles sit at the surface and leave it microscopically uneven, so the same light bounces off at many angles at once. No single bright reflection reaches you, and the nail looks flat.
This is the detail that makes the rest of the subject make sense. A matte product does not change the color underneath it – a deep red stays a deep red – it only changes how the surface handles light. That is also why the fineness of the matting powder matters: coarse particles roughen too aggressively and leave a gritty, cloudy look, while fine silica scatters light evenly enough to stay clean.
The one ingredient doing the work: silica under three different label names
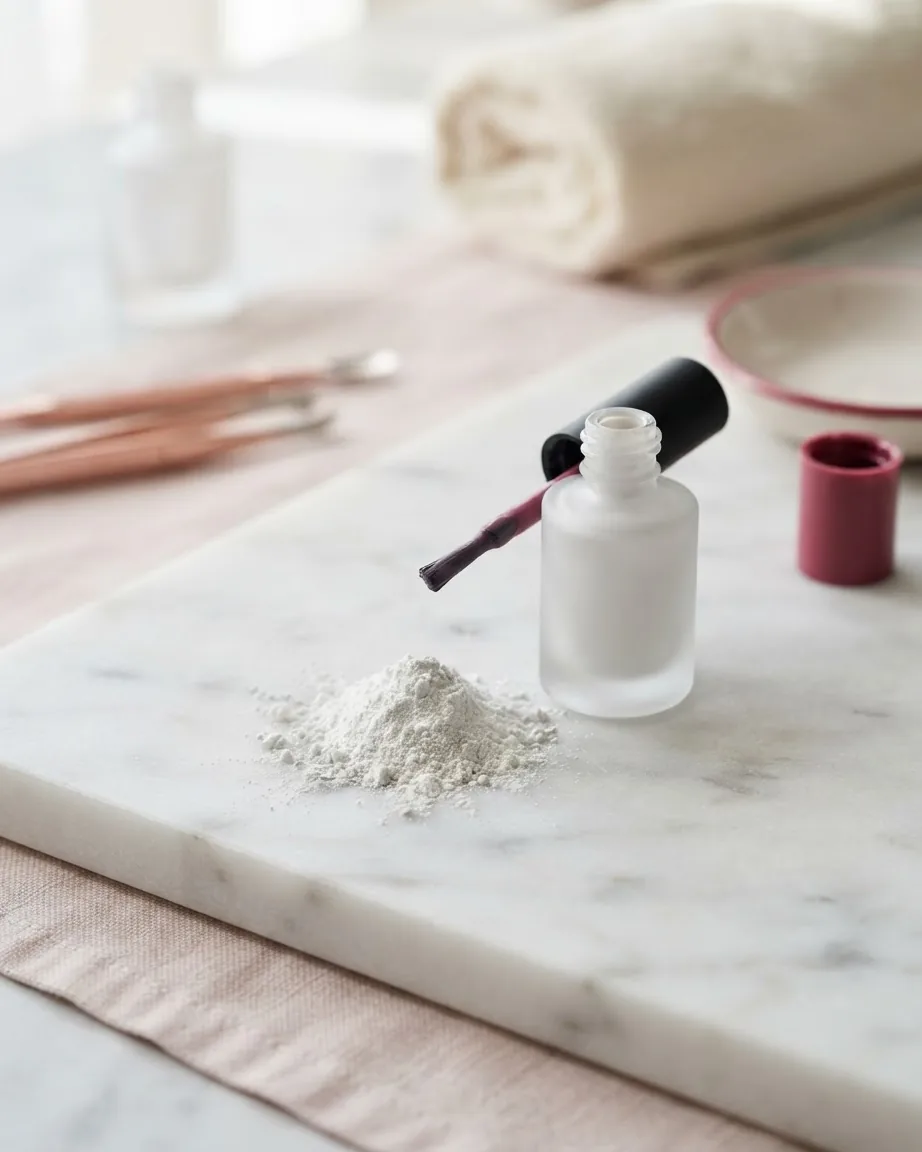
There is really only one matting agent to know. Lab Muffin names it “silica gel”; commercial labels call it “Silicon Dioxide” on a gel formula or “Silica / Hydrated Silica” on a naturally-derived one. Reading an ingredient list, you might think you are comparing different technologies. You are not. These are naming conventions for the same silica, whether the product is a soak-off gel or a plant-derived lacquer.
Why does this matter to a buyer? Because it tells you what you are actually paying for. A “matte” claim with no silica-family ingredient on the panel has nothing obvious doing the matting. When you scan a bottle, the presence of silicon dioxide or hydrated silica is the signal that the formula contains the component responsible for the flat look – and it is the same component you would add yourself if you went the DIY route below.
A tested DIY matte top coat: the 1/8 tsp ratio and the point it fails
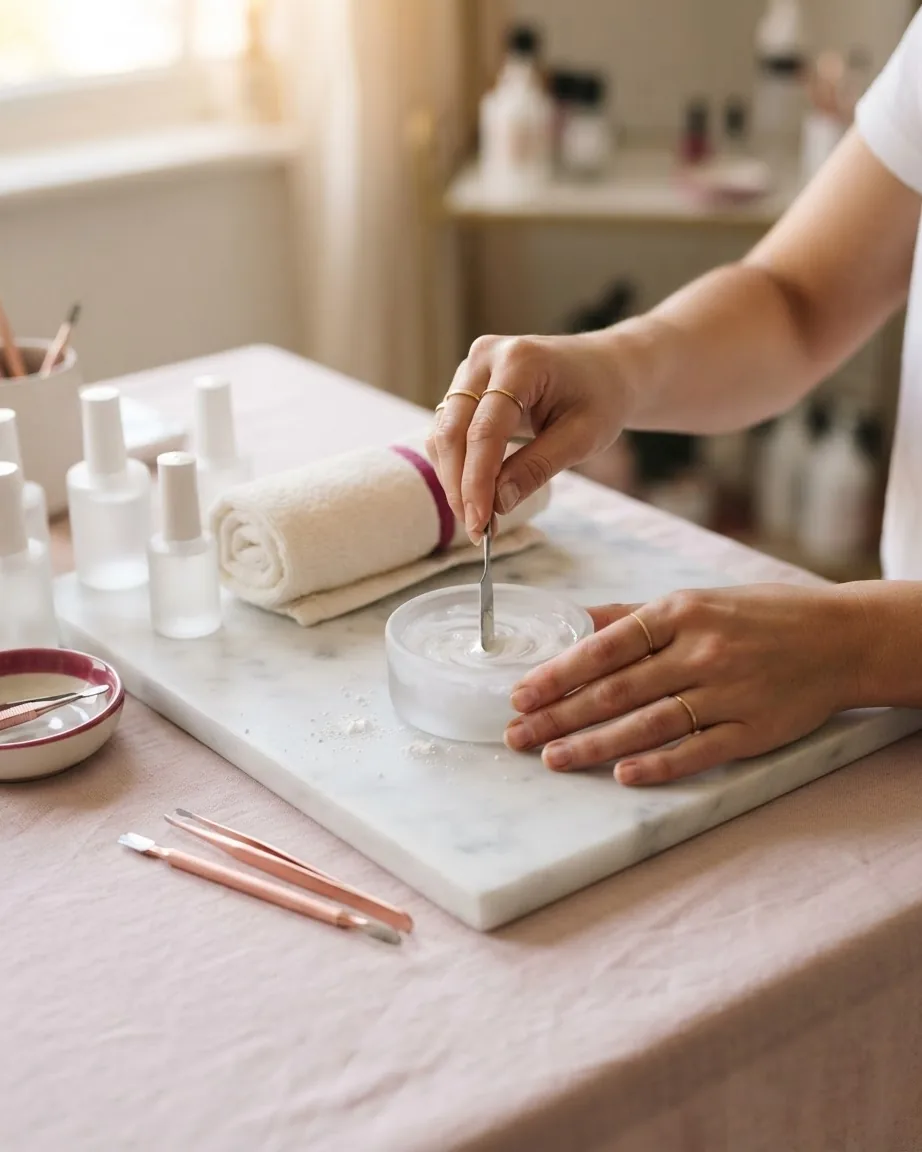
Most do-it-yourself advice tells you to “add some powder” with no quantity and no warning sign for when you have added too much. The Lab Muffin testing fills both gaps. Comparing homemade mixes against commercial matte coats, the winning ratio was 1/8 teaspoon of cornflour stirred into 1 mL of clear top coat. Wong describes that result as more satiny than the two commercial matte coats she tried, while still landing well away from glossy – a usable, controllable finish rather than a dead flat one.
The failure point is just as important. Push past roughly 1/8 teaspoon of cornflour per 1 mL of top coat and you overload the formula: it cracks, or it dries with visible white specks. The powder is no longer suspending evenly; it is sitting in the film and breaking it.
One caution on scaling: treat 1/8 teaspoon per 1 mL as a starting point for your specific top coat, not a fixed multiplier to multiply up into a big batch. Different clear coats carry the powder differently, so the sensible move is to mix a small amount, check the finish, and adjust rather than assume the ratio scales cleanly. The source frames it as brand-dependent, so a mechanical “multiply by ten” is not reliable.
Mixing the powder safely without lumps or a color shift
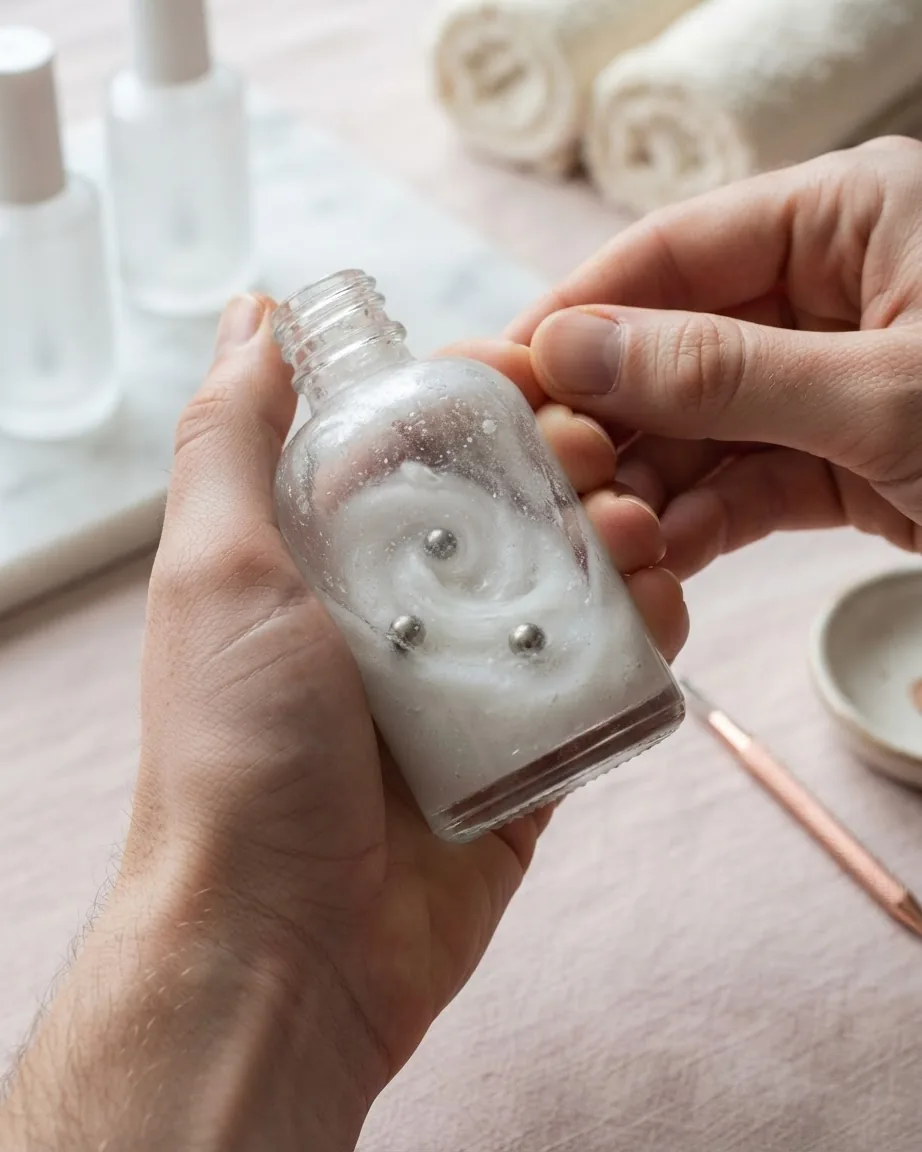
Cornflour does not disperse into lacquer on its own, and dumping it straight into the bottle tends to clump. The handling rule is to combine the powder in a separate small container first so it distributes before it ever meets the full bottle. In the Lab Muffin method, 1 mL of top coat was transferred to an empty bottle and two small bearing balls were added to agitate the mix – a stir-ball approach that keeps the powder suspended instead of settling into lumps.
Two things to watch. Poor mixing leaves lumpiness that shows up as texture in the dried film, and because you are adding a white powder, a heavy or uneven dose can shift a pale color cooler or cloudier than you intended. Mixing in a separate container and agitating thoroughly is what keeps both problems in check. For anyone who would rather skip mixing entirely, the no-lamp options in the next section avoid the powder altogether.
Three no-mix ways to matte a manicure (and one scald warning)

You do not have to formulate anything to get a flat finish. Byrdie, drawing on celebrity manicurists and nail techs, outlines several DIY matte routes that skip the powder:
- Buff a cured or gel manicure. Gently buffing the surface of a fully set mani knocks down the shine mechanically – you are roughening the surface by hand rather than with silica.
- Lay a matte top coat over a dry, shiny coat. Let your color cure fully, then seal it with a matte top coat. The flat finish sits on top; the color stays exactly as it was.
- The facial-steamer method. Holding freshly set nails in steam can dull the finish – but this one carries a real risk. Steam hot enough to matte polish is hot enough to scald skin, so this is the route to treat with the most caution.
Of the three, the matte-top-coat-over-color route is the most predictable, because it does not depend on how long you buff or how close your hand gets to a steamer. See also: our guide to metallic nail polish for a finish that behaves in the opposite direction.
Does matte top coat need a UV lamp? It depends on the formula
This is where two credible sources appear to disagree – and the resolution is that they are describing different products. Londontown, a nail brand, explains in its rundown of what a matte top coat does that matte top coats generally air-dry and change the finish rather than the color – no lamp required. Madam Glam, meanwhile, describes a gel velvet matte top coat, a no-wipe formula that sets under a lamp and that the brand backs with free returns and exchanges within 30 days of purchase.
Both are correct. The split is by formula type: an air-dry lacquer matte coat sets on its own, while a soak-off gel matte coat must be cured under light like any other gel. So the honest answer to “does it need UV?” is: check whether you bought a regular lacquer or a gel. If the bottle lists cure times at all, it is a gel and the lamp is mandatory. If it says nothing about curing, it is an air-dry formula. For the broader mechanics of light-cured systems, our explainer on gel nails sets out the category.
Why matte nail polish chips faster – and the checklist that slows it down
Matte also sits on a divisive side of nail fashion: Allure frames nail art as something that has divided us for 50 years. Matte formulas tend to be less long-wearing than glossy ones, and the flat surface shows wear and fingerprints more readily, so chips look obvious sooner. Beyond Polish, in its look at why polish chips quickly, ties premature chipping to controllable causes, and Allure’s guidance on keeping matte nails from chipping turns that into matte-specific habits:
- Apply thin coats. Thick layers set unevenly and lift at the edges; thin, even coats bond better and chip less.
- Keep oils off the nail. Oil interferes with adhesion, so a matte finish fights it harder than a forgiving glossy coat.
- Seal the free edge. Running color and top coat along the tip of the nail caps the most chip-prone spot.
- Glove up for water and chemicals. Dish soap, cleaners and prolonged water exposure accelerate wear – gloves keep them off the finish.
One important condition on base and top coats: the guidance differs by product. Allure advises against using both a base and a top coat with dedicated matte polishes, because a glossy top coat defeats the point of a matte lacquer. Beyond Polish’s chipping advice assumes a standard glossy-polish workflow where a top coat does help. These are not contradictory – they describe different product types – so match the advice to what is in your hand: a dedicated matte lacquer, or regular polish you are mattifying.
How often to refresh matte polish before it looks worn
Because matte wears and shows scuffs faster than gloss, maintenance is less about lasting longer and more about touching up on a schedule. Mineral Fusion gives a concrete cadence in the usage instructions for its matte top coat: to extend the manicure and keep polish from chipping, re-apply every 2 – 3 days. That is a realistic interval to plan around rather than a promise of two flawless weeks.
Pairing that cadence with the chip checklist above – thin coats, no oils, a sealed tip, gloves for wet or chemical work – is what keeps a matte finish looking intentional instead of tired between refreshes. If a chip, lift, or any reaction around the nail worries you, that is a question for a licensed professional, not a top-coat fix.
What matte nail polish is made of: gel vs. naturally-derived panels
Reading two matte top coat ingredient panels side by side shows how the same job is done with different chemistry. A gel velvet matte top coat is a soak-off, light-cured formula that lists its matting agent as silicon dioxide and sets only under a lamp. A naturally-derived air-dry matte top coat does the same matting with hydrated silica and sets on its own. The matting component belongs to the same silica family in both; what differs is the surrounding resin system and whether light is needed to harden it.
Practically, that decides your routine. A gel panel means you own a lamp and follow the cure times printed on the bottle. A naturally-derived, air-dry panel means no equipment but, as a rule, a shorter wear window and that 2 – 3 day refresh. Neither is better in the abstract – the right one depends on whether you want zero equipment or longer hold.
Can you make any color matte, or only certain shades?
Any shade can go matte, because the effect lives in the surface, not the pigment. Deep and saturated colors tend to show the flat look most clearly, while very pale shades can read cloudy if a white powder is over-added during a DIY mix. The color itself stays unchanged beneath the finish – you are altering reflection, not hue.
Why do my matte nails show fingerprints and scuffs so clearly?
The rough, light-scattering surface that makes polish matte also catches skin oils and micro-abrasions that a smooth glossy coat would hide under its reflection. A fingerprint deposits oil that briefly fills the texture and shows as a shiny smudge. Keeping oils off the nail and refreshing on a two-to-three-day rhythm limits how obvious this becomes.
Will a glossy top coat ruin a matte manicure?
Yes – a glossy top coat fills the microscopic roughness and restores the mirror surface, erasing the matte effect entirely. This is exactly why dedicated matte lacquers are often used without a separate top coat. If you want flat, seal with a matte top coat; if you change your mind, a clear glossy coat over matte is a deliberate way to convert it back to shine.
Is cornflour the only powder that works for DIY matte?
The tested quantity in the Lab Muffin comparison used cornflour at 1/8 teaspoon per 1 mL of top coat, and that is the figure with a documented result and failure point. Silica is the commercial matting agent, but the practical, measured home ratio on record uses cornflour. Overloading past that amount, whatever the powder, is what triggers cracking and white specks.
Gel ou air-dry : choisir sa formule, puis tenir le rythme de retouche
Deux formules, deux routines. Un top coat mat en vernis classique sèche à l’air libre, sans aucun matériel. Un top coat mat gel, lui, ne durcit que sous une lampe : si tu n’en possèdes pas, la question est tranchée avant même de comparer les finis. Côté entretien, le seul repère chiffré du marché vient de Mineral Fusion :
- Réappliquer tous les 2 à 3 jours pour prolonger la manucure et éviter les éclats.
- Pour fabriquer son top coat mat, le ratio testé est 1/8 de cuillère à café de fécule de maïs pour 1 mL de top coat transparent.
- Au-delà de cette dose, la formule est surchargée : elle craquelle ou laisse des points blancs.
Rien ne change côté air-dry : un top coat mat en vernis classique sèche seul, sans lampe. La contrainte de catalyse ne vaut que pour une formule gel, où la lampe est obligatoire.