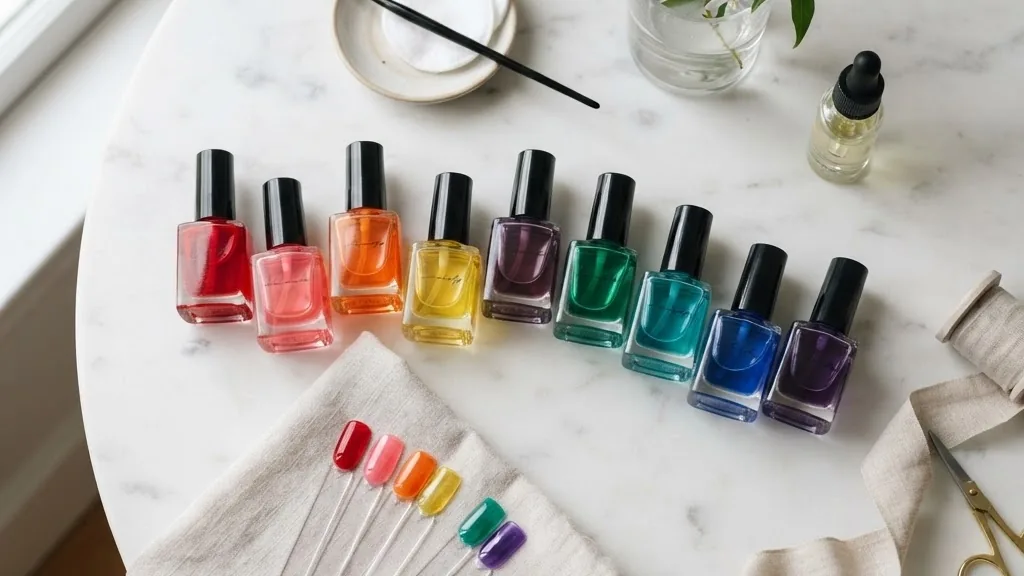
Jelly nail polish gets its stained-glass glow from one deliberate trick: the formula carries far less pigment than a regular color, so light passes through the coat instead of bouncing off it. The pigment load in a jelly gel is commonly cited under 15 percent, against the 30 to 45 percent packed into opaque gel polishes, and that single gap is the whole effect. You are not covering the nail. You are tinting the light that reaches it. That is why one coat reads barely-there and two or three coats read as saturated tinted glass, and why the natural nail line staying visible is the look, not a mistake.
Quick answer: Jelly nail polish is a low-pigment, high-clarity color that you build in thin coats so it deepens rather than turns opaque. You can execute it two ways: as a gel manicure cured under a UV or LED lamp, or as a no-lamp DIY using clear base coat mixed with drops of bright regular polish. Because the popular version is a gel, the honest answer to “is it safe” runs through UV lamp exposure. Use two to three thin coats, cure fully if you go gel, and protect your hands.
What separates jelly from sheer, opaque gel, and the jelly sandwich
Jelly nail polish is a translucent color built on low pigment and high clarity, so it behaves like tinted glass rather than paint. The distinction matters because shoppers confuse four things that look adjacent on a shelf. A jelly deepens with coats but never goes solid. A sheer is similar but usually leans milky or pale rather than vivid. An opaque gel is engineered to hide the nail entirely in one or two coats. A jelly sandwich is a technique, not a product: a layer of glitter or design trapped between two jelly coats so it floats under the color.
- Jelly: pigment commonly under 15 percent, light passes through, nail line shows on purpose.
- Opaque gel: pigment commonly 30 to 45 percent, full coverage, nail hidden.
- Sheer: low pigment but muted, often a soft or nude wash rather than a bright.
- Jelly sandwich: glitter or foil layered between two jelly coats for a suspended, floating look.
The mental model that helps most: you are building depth, not coverage. Techs who add jelly to a paid menu describe it exactly that way, and it explains why brights and neons read best. A vivid base color has enough saturation to survive being thinned out into a translucent film. A pale or dusty shade can vanish into nothing.
Jelly vs sheer vs opaque gel vs jelly sandwich, side by side
A quick reference table helps when you are standing in front of a display wall trying to guess which bottle does what, since labels are not consistent across brands. Pigment percentage, coat count, and expected finish are the three numbers that actually predict the outcome, more than the marketing name on the bottle.
| Type | Pigment level | Coats needed | Cure per coat (gel) | Best for |
|---|---|---|---|---|
| Jelly | Under 15 percent | 2 to 3 | Varies by lamp and gel brand | Tinted-glass color, visible nail line |
| Sheer | Low, muted | 2 to 4 | Varies by lamp and gel brand | Soft wash, minimalist looks |
| Opaque gel | 30 to 45 percent | 1 to 2 | Varies by lamp and gel brand | Full coverage, solid color |
| Jelly sandwich | Under 15 percent per layer | 2 jelly coats plus a glitter layer | Varies by lamp and gel brand | Floating glitter or foil design |
Cure times vary by brand and lamp wattage, so treat the numbers above as a starting point rather than a fixed rule. A weak or outdated lamp can turn a quick LED cure into an under-cured, cloudy coat even on a brand-new bottle of gel. When in doubt, add extra seconds rather than cut the time short, since under-curing is the single most common reason jelly looks wrong.
The gel route: prep, thin coats, and full cure per layer
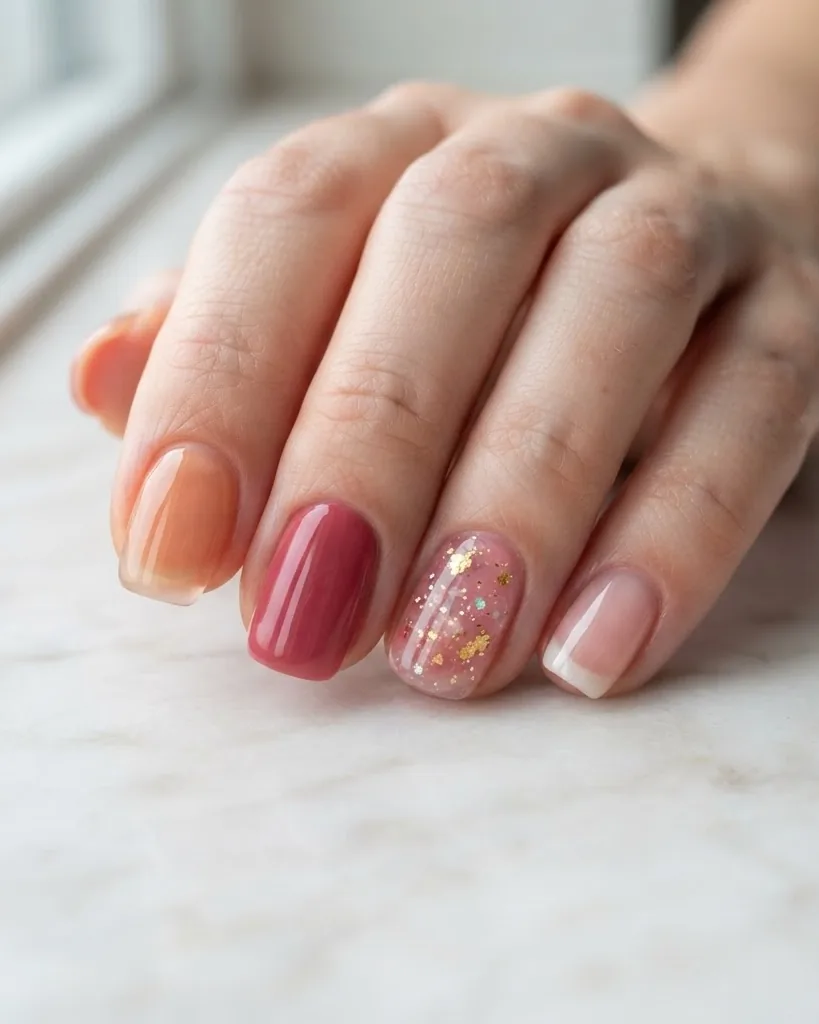
The gel route to jelly nail polish uses a jelly gel formula cured under a UV or LED lamp, and it is the version most people mean when they search the term. The sequence is unglamorous but non-negotiable. Prep first: push back cuticles, shape the free edge, lightly buff the surface so product grips, and remove dust. Apply a thin gel base coat and cure it. Then apply your jelly color in two to three thin coats, capping the free edge on every coat, and cure each layer fully before the next. Finish with a glossy gel top coat and a final cure.
Capping the free edge means dragging a hair of color along the tip of the nail. Skip it and the color peels back from the end within days. The buildable behavior is the payoff here: more coats deepen the color instead of adding opacity, so one coat looks faint and two to three coats look like real tinted glass, per the application guidance published by Gelous. Resist the urge to fix a too-sheer result by slathering on one thick coat. Thick coats are the single biggest reason jelly goes wrong, which the next section covers.
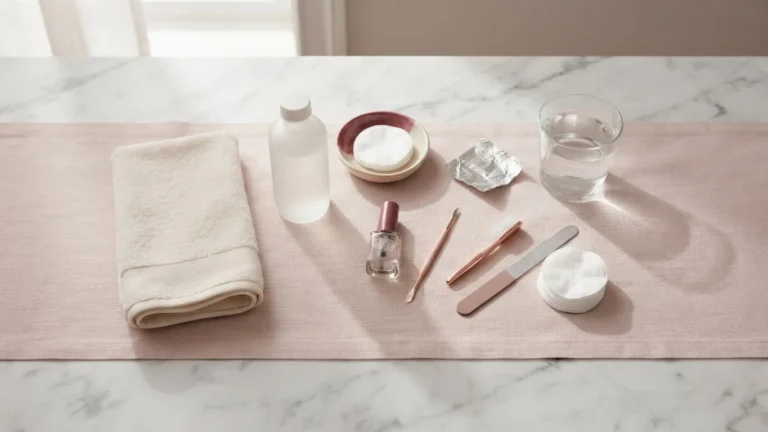
Tools worth having before you start: a fine-grit buffer block, lint-free wipes, isopropyl alcohol for dehydrating the nail plate before base coat, cuticle pusher, and a lamp that matches your gel brand’s stated wattage. LED lamps generally cure faster than older UV lamps. Mismatching lamp and gel, using a UV-formulated gel under an LED-only lamp, is a quiet cause of cloudy or tacky finishes that has nothing to do with your painting technique.
If you want to combine jelly with a solid base first, the layering mechanics are the same as putting regular lacquer over a gel manicure: thin, patient, and cured or dried between steps. Rushing the stack is what causes lifting.
The no-lamp DIY route: clear base plus drops of bright polish
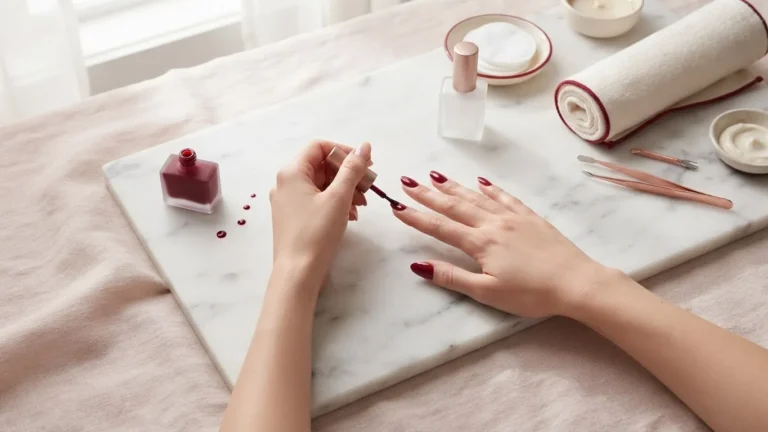
The no-lamp route lets you fake jelly nail polish with regular polish and zero equipment, which matters because most people searching this do not own a curing lamp. The method is a mixing trick popularized in budget beauty coverage: start with a clear base coat, then add one or two drops of a bright, saturated regular polish and stir until the color is diluted into a translucent tint. Neons and vivid brights work best because they keep their punch even when thinned. Paint two or three coats, letting each air-dry, and the color deepens exactly the way a gel jelly does.
A few DIY-specific cautions come from editorial testing of this method:
- Use an anti-yellowing clear base so the dilution does not turn dingy over a few days.
- If you use press-on jelly tips, glue them with a clear adhesive so the glue line does not kill the see-through effect.
- Mix on a palette, not inside the bottle, if you want to keep the base coat usable for other things.
This path trades durability for accessibility. It will not last like a cured gel, but it needs no lamp, costs pennies, and dodges the UV question entirely. That last point is worth more than it sounds, and it is the reason the safety section below is not optional reading for the gel crowd.
Air-dry timing matters more here than with gel, since there is no lamp to lock each layer in place. Give each coat a full five minutes before adding the next, and longer in humid weather, or the coats will drag into each other and streak. A quick-dry top coat at the end shortens the wait for the final finish but should still go on over fully dry color, not damp color, or it will cloud the tint.
Why your jelly turns cloudy, streaky, or stubbornly too sheer
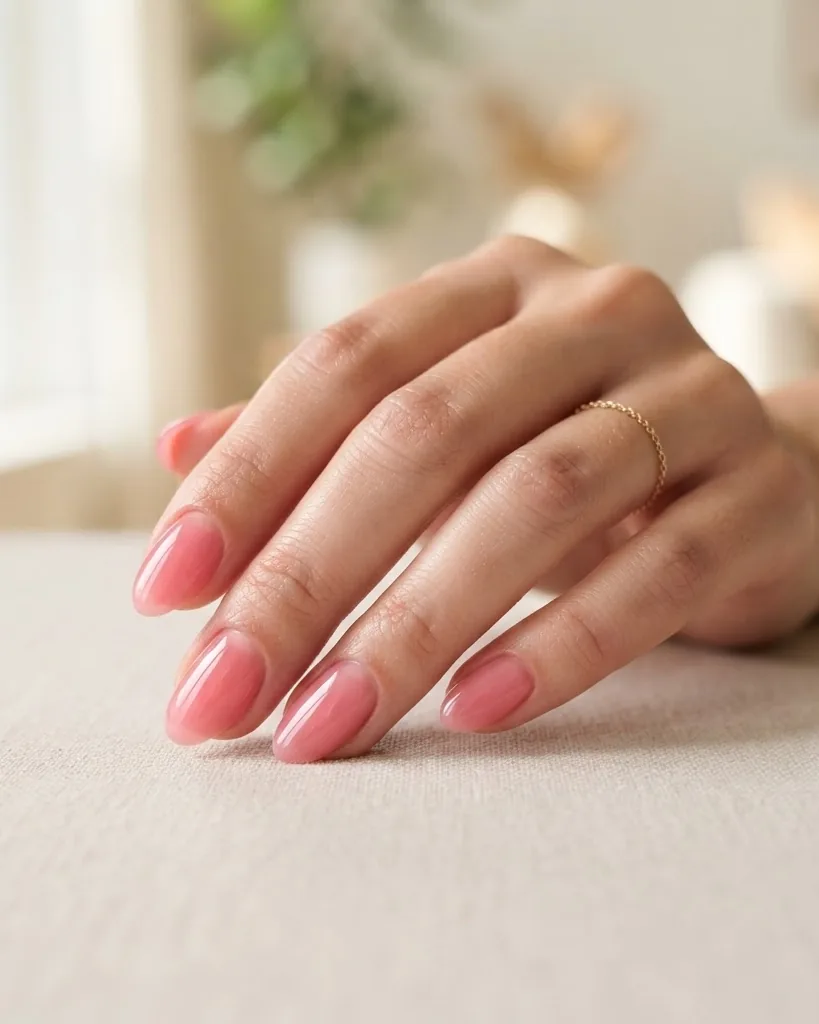
Jelly nail polish fails in three predictable ways, and each has a specific cause you can fix without buying anything new. Cloudy or hazy color almost always means under-curing, which is the number one failure mode techs report. If the lamp is weak, the bulbs are old, or you shortened the cure time, the resin never fully hardens and the finish stays milky instead of clear. Streaky color usually means coats were too thick or dragged, since jelly needs thin even films to lay flat. Stubbornly too-sheer color is not a defect at all; it means you stopped a coat short of the depth you wanted.
Diagnosis by symptom:
- Cloudy finish: under-cured. Cure longer, check lamp compatibility with the gel, replace aging bulbs.
- Streaky or patchy: coats too thick or worked too fast. Go thinner and let the film self-level.
- Too sheer: not enough coats. Add another thin layer; do not compensate with one thick one.
- Peeling at the tip: free edge not capped. Cap every coat, including the top.
- Tacky or sticky top coat: under-cured top layer, or a top coat mismatched to the gel base chemistry.
- Uneven color between fingers: different bottle shake or stir consistency between coats; stir, do not shake, gel polish before each session.
The wrong-product trap deserves its own flag. If you bought a color labeled sheer expecting a saturated jelly, no amount of coats gets you there, because the pigment simply is not present. Match the product to the outcome before you blame technique. When the issue is bonding or lifting rather than clarity, the fix often sits upstream in prep and adhesion, the same territory covered in the guide to the two glue products buyers confuse.
Permits, inspections, and product-safety compliance behind a jelly service
Jelly nail polish sits inside a layered oversight system that splits neatly between the product and the salon. The U.S. Food and Drug Administration regulates nail products, including jelly gels and their top and base coats, as cosmetics rather than drugs, which means there is no pre-market approval but the FDA can act against unsafe or misbranded products. Salon operation, sanitation inspections, and technician licensing are handled by state cosmetology boards and workplace-safety rules, not by the FDA. That division is why a legal product can still be applied in a shop that fails inspection, and why the two questions have to be answered separately.
On the equipment side, the FDA views nail curing lamps as low risk when used as directed, a stance laid out in its nail-care product guidance. That is a meaningful statement for anyone doing gel jelly, because the lamp is the only part of the process that emits radiation.
The photoinitiator question is where jurisdictions diverge sharply. The gel ingredient TPO, trimethylbenzoyl diphenylphosphine oxide, is the chemical that lets gel cure under light. The European Union banned TPO after animal studies flagged toxicity when it was ingested in large amounts, reclassifying it over reproductive-toxicity concerns. It remains permitted in the United States, and experts quoted in a PolitiFact review note that manicure exposure is minimal and that TPO is absent from the nail once fully cured. Two takeaways for an operator or a careful consumer:
- A product legal in the United States may be off the shelf in the EU, so imported and domestic formulas can differ.
- Full curing is not only a finish issue; it is the step that leaves no uncured photoinitiator behind.
The practical cost to the person doing this is mostly compliance friction rather than a single line-item fee: checking that a lamp matches the gel, buying products from suppliers who disclose ingredients, and, in a salon, meeting the state board’s sanitation and licensing terms that keep the doors open. For a home user, the closest thing to a compliance step is reading the ingredient list on the gel and lamp packaging before buying, since disclosure varies more between suppliers than most shoppers expect.
Is jelly (gel) safe? The UV lamp research, in plain numbers
Jelly nail polish done as a gel is safe for the nail itself, but the UV curing lamp is the part worth taking seriously, and the research is specific. In cell experiments run at the University of California San Diego, a single 20-minute exposure to a UV nail dryer killed 20 to 30 percent of the exposed cells. Three consecutive 20-minute exposures killed 65 to 70 percent of them, and the surviving cells showed DNA damage and cancer-associated mutations. Those are laboratory cell figures, not a direct human cancer rate, but they are why dermatologists stopped waving the lamp off as harmless.
The spectrum matters too. UV nail dryers generally emit UV in the roughly 340 to 395 nanometer range, according to the Nature Communications study behind the UC San Diego work. That band differs from the 280 to 400 nanometer output of tanning beds and had not been well studied before this research, which is exactly why the finding landed hard.
Protection is cheap and evidence-backed. The American Academy of Dermatology advises applying a broad-spectrum, water-resistant sunscreen of SPF 30 or higher to the hands before a gel manicure to reduce UV-related skin cancer and premature aging. UV-blocking gloves with the fingertips cut out are the other common step. For the deeper reporting on lamp exposure and the TPO status, PolitiFact’s review is a sourced, neutral starting point:
- Wear SPF 30 or higher broad-spectrum sunscreen on the hands and fingers before curing.
- Use fingerless UV gloves if you cure often.
- Read the AAD dermatologist tips for healthy nails during gel manicures and the Nature Communications UV nail-dryer DNA study for the primary evidence.
- See the PolitiFact fact-check on gel-polish safety and the EU TPO ban for the regulatory side.
The no-lamp DIY route sidesteps this entire question, which is one more reason it belongs in the same conversation as the gel method rather than as an afterthought. If you cure often, at a salon every two to three weeks for example, the sunscreen step is worth turning into a habit rather than an occasional precaution, since exposure is cumulative across visits, not reset each time.
What repeated gel wear does to the nail itself
Separate from the UV question, repeated gel wear has its own nail-health cost that has nothing to do with lamps. The buffing that preps the nail for gel adhesion thins the plate slightly each time, and repeated soak-off removal, especially when it is rushed or picked rather than fully soaked, strips more of the nail’s own surface layer. The cumulative effect dermatologists describe is brittleness, peeling, and a thinner plate that takes weeks without polish to fully recover.
None of this means gel jelly is off-limits. It means treating the nail like a surface that needs recovery time, the same way skin needs rest between treatments. Spacing gel manicures out, giving the nail plate a bare stretch between applications, and using cuticle oil daily are the three habits that most consistently show up in dermatology guidance for people who wear gel regularly.
Shade choice and design: brights, jelly sandwiches, and floating glitter
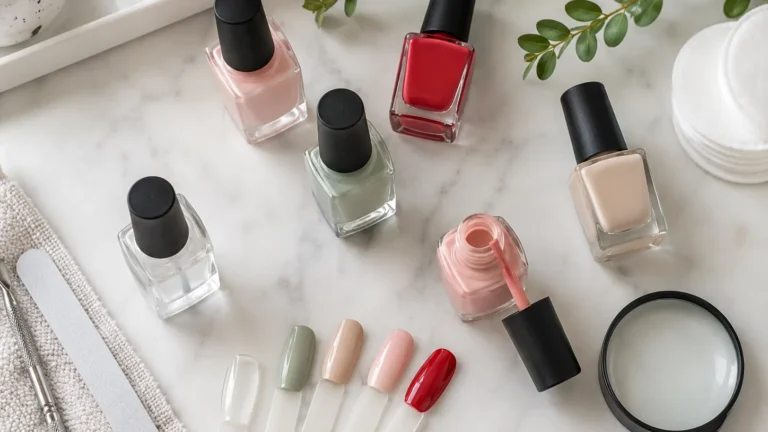
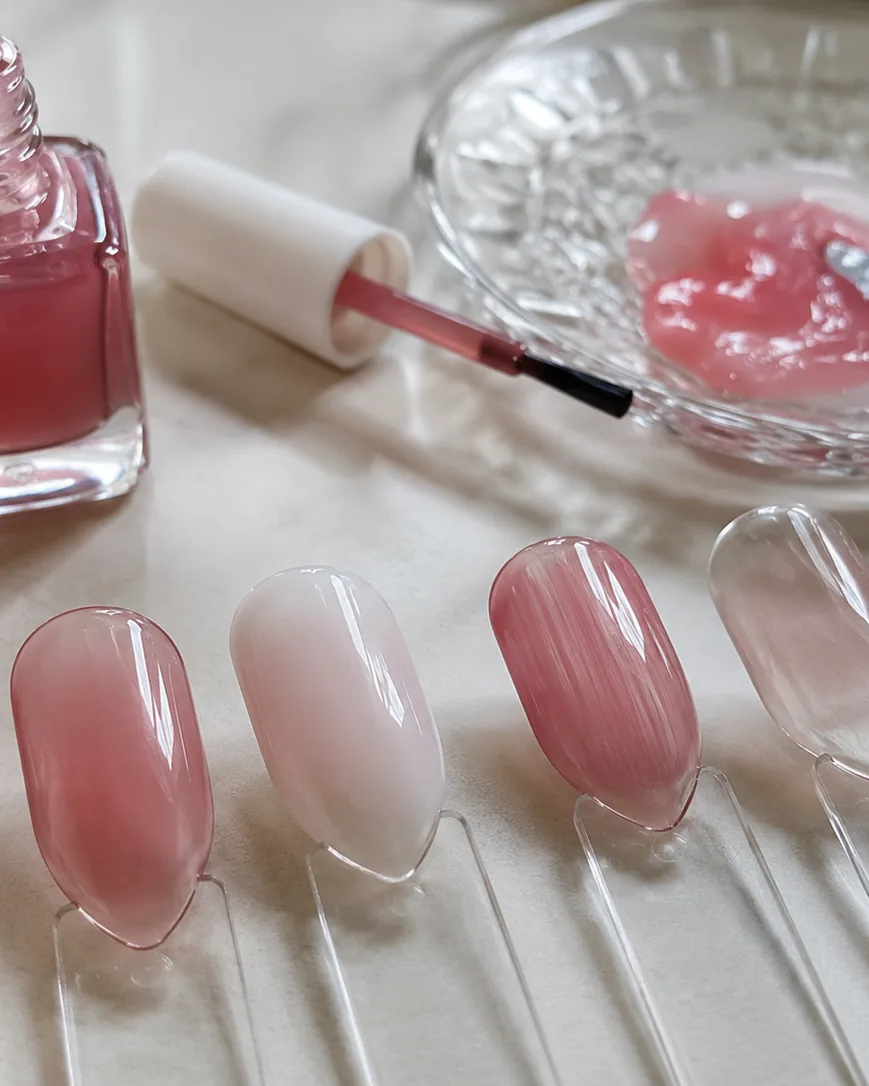
Jelly nail polish rewards bold color and punishes timid color, because a translucent film needs saturation to survive being thinned out. Vivid brights and neons read best; a red becomes a candy-apple glass, a blue turns to sea-glass. Muted and dusty tones tend to wash out into nothing once the light passes through. The design rule that ties every version together is that the natural nail line must show. If you cannot see where the nail meets the tip, you have drifted into opaque territory and lost the effect.
Design directions that build on the base look:
- Jelly sandwich: lay glitter or foil between two jelly coats so it floats under the color rather than sitting on top.
- Blooming or watercolor: use blooming gel so a dropped color spreads into soft, translucent shapes.
- Glitter-under-jelly: a single glitter layer diffused and softened by the jelly over it.
- Ombre: two jelly shades blended, which stays believable because both are already translucent.
- Press-on jelly tips: clear-glued so the adhesive line does not break the see-through look.
Length changes the read. On short nails a bright jelly looks clean and glassy; on long nails the same color gets more room to gradient and show depth. Almond and coffin shapes tend to show off an ombre jelly gradient better than a short squoval, simply because there is more surface for the color to travel across. If shape is part of your decision, the trade-offs between squoval, almond, and coffin are laid out in the guide to choosing and filing the right nail shape for your hands. Magnetic and shifting finishes are a separate family; if that pull interests you, the complete guide to the magnetic shimmer effect covers how those pigments behave differently from a flat jelly.
Removal and aftercare without wrecking the nail plate
Gel jelly comes off by soaking, never by prying, and that single rule prevents most of the damage people blame on gel itself. Peeling or picking a cured gel takes layers of the nail plate with it, leaving the surface thin and rough. The correct method is to lightly buff the shiny top, wrap each nail in acetone-soaked cotton, wait for the gel to soften, and gently push it off. If it resists, it needs more soak time, not more force. Between manicures, cuticle oil and moderation do the real recovery work, since repeated gel wear is associated with brittleness and peeling.
Aftercare basics that hold up across sources:
- Massage cuticle oil in daily to counter the drying effect of acetone and curing.
- Space out gel manicures so the nail plate has recovery time.
- Do not cut or aggressively remove cuticles, which the AAD and Mayo Clinic both caution against.
Know when a nail problem is past DIY territory. The AAD keeps a plain-language reference in its healthy nail tips for everyday nail care, and the FDA’s nail-care products safety guidance covers product-side concerns. A new dark streak down the nail, persistent lifting, pain, or a nail bed that will not settle down are all reasons to see a dermatologist rather than reapply and hope. Those are not styling problems.
Frequently asked questions
Is jelly nail polish safe to wear?
The polish itself is safe; the concern with gel jelly is the UV curing lamp. UC San Diego cell studies found a single 20-minute exposure killed 20 to 30 percent of exposed cells. The FDA still views curing lamps as low risk when used as directed. Wear SPF 30 sunscreen or UV gloves, or use the no-lamp DIY route to avoid curing entirely.
Why did my jelly nails turn out cloudy?
Cloudy jelly almost always means under-curing, the most common failure mode. If your lamp is weak, the bulbs are old, or the cure time was cut short, the resin never fully hardens and the finish stays milky. Cure each coat longer, confirm your lamp matches the gel, and replace aging bulbs. Coats that were too thick can also haze.
Can I do jelly nails without a UV lamp?
Yes. Mix a clear base coat with one or two drops of a bright, saturated regular polish until the color turns translucent, then paint two or three thin coats and let each air-dry. Neons work best because they keep their punch when thinned. Use an anti-yellowing base coat so the finish does not turn dingy over a few days.
How many coats does jelly nail polish need?
Two to three thin coats. Jelly is buildable, so more coats deepen the color rather than adding opacity: one coat reads barely-there and two to three read as saturated tinted glass, per Gelous application guidance. Never fix a too-sheer result with one thick coat, since thick layers cause streaking and haze. Add another thin layer instead.
Is the TPO ingredient in gel polish banned?
The photoinitiator TPO was banned in the European Union after animal studies flagged toxicity when ingested in large amounts, reclassified over reproductive-toxicity concerns. It remains permitted in the United States, where experts note manicure exposure is minimal and TPO is absent from the nail once fully cured. That is why full curing matters beyond just the finish, as PolitiFact reported.
What is the difference between jelly and sheer nail polish?
Both are low-pigment formulas, but sheer usually leans pale or muted while jelly is built to hold a vivid, saturated color once you stack coats. A sheer often stays soft no matter how many coats you add, while a jelly deepens into a true tinted-glass look. If a bottle labeled sheer will not deepen the way you expect, the pigment level is simply lower than a true jelly formula.
How long does a gel jelly manicure last?
A properly cured gel jelly typically holds up two to three weeks before noticeable lifting or growth-out becomes an issue, similar to a standard gel manicure. Under-cured jelly fails sooner, sometimes within days, since the resin never fully hardened in the first place. The no-lamp DIY version lasts closer to a few days to a week, in line with regular polish rather than gel.