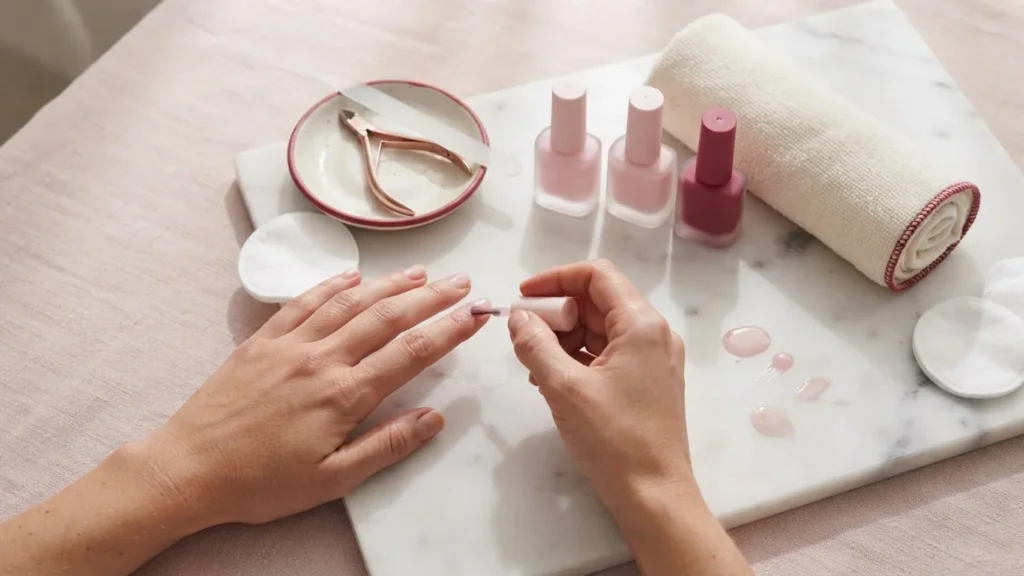
If a sheer pink nail polish dries streaky, adding more coats rarely fixes it – and by the fourth coat, the formula itself is the problem, not the hand holding the brush. GlazeMe’s application guide sets a hard upper bound: if a polish needs four or more coats to reach the coverage you want, it is too sheer for the job and should be swapped, not layered. That single rule reframes almost every streak complaint. Below, the full brush method, the coat count tied to what you actually want, and what to do when the bottle has already gone thick.
The term “sheer” is the first thing to pin down, because it decides everything that follows.
Quick answer: Sheer pink nail polish is a translucent lacquer that tints and brightens the nail plate rather than covering it. For maximum sheerness, wear one coat; for built, even color, apply two or three thin coats, never two thick ones. Streaks come from ridges, uneven pigment, or a starved brush – not from too few coats. Roll the bottle instead of shaking, warm it in your hand, load the brush heavily, use no more than three strokes per nail, and float the final coat without reworking it. If a shade demands four or more coats, the formula is wrong for you.
What “Sheer” Means on the Nail – and Why Pink Shows It Most
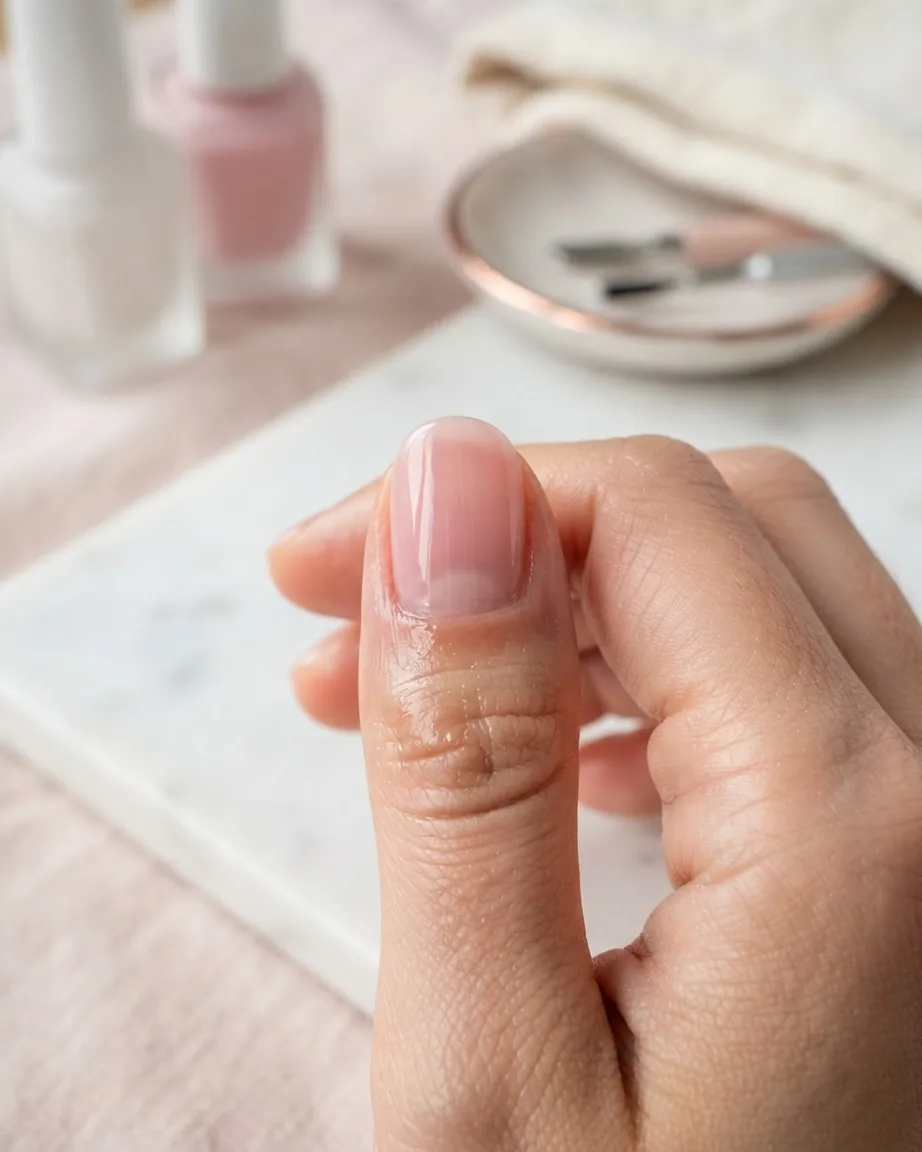
Londontown’s editorial draws the line cleanly. Sheer nail polishes are translucent lacquers that enhance your natural nails while adding a subtle shine; opaque polishes give full, solid coverage that hides the natural color underneath. Pink sits awkwardly between the two because the pigment load is deliberately low, so every ridge and every thin patch reads through.
That low pigment is also why the same bottle can look different on two people. One swatcher on Liv With Biv noted flatly that a shade sold as sheer pink was “definitely white on me”. The label describes the pigment in the bottle, not the result on your plate. On deeper skin a soft pink can lean peachy or milky; on very pale hands it can nearly vanish. Expect the shade name to be a starting point, not a promise.
The payoff of accepting that: a well-chosen sheer pink evens out small imperfections and brightens the plate. The cost: it hides nothing you’d want hidden either, so prep matters more than it does with an opaque.
Why Sheer Pink Nail Polish Streaks (It Is Not Too Few Coats)
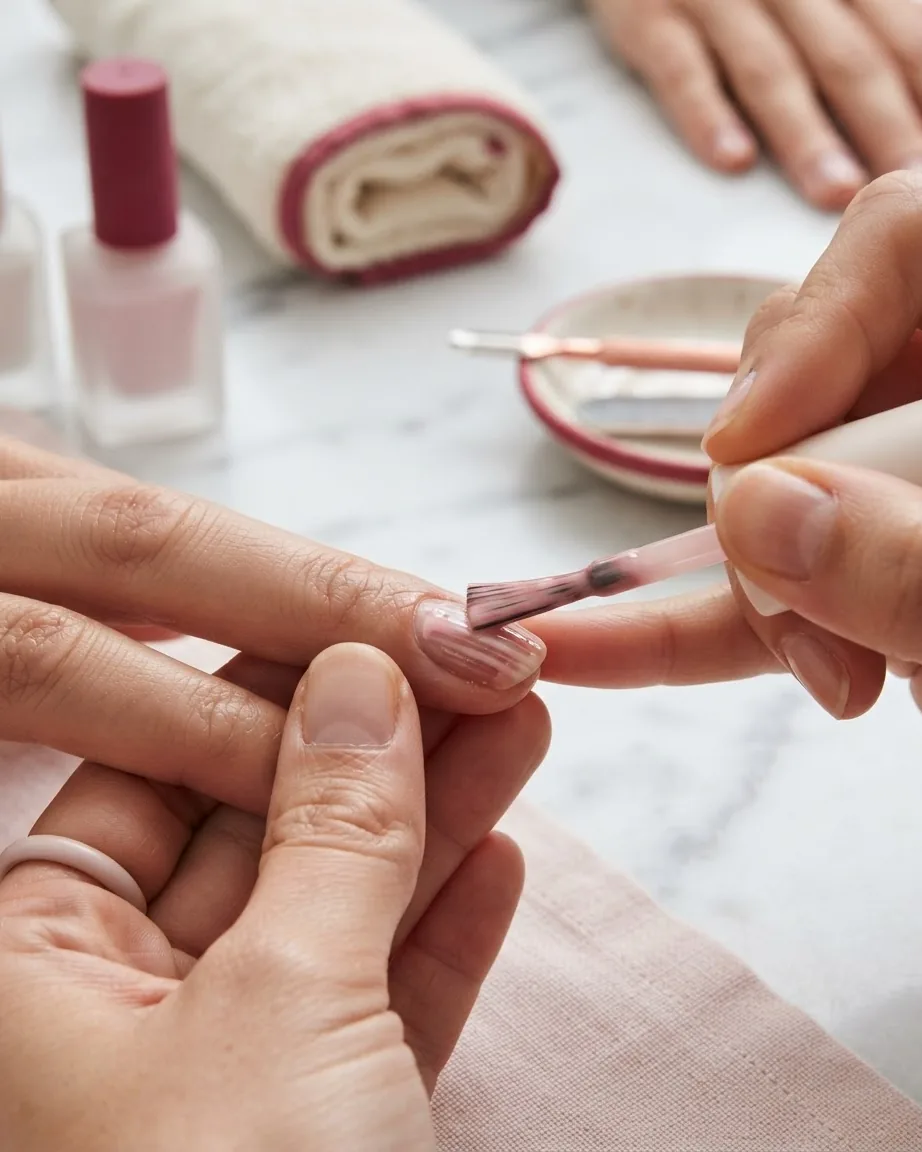
Lots of Lacquer traces streaking to three causes: ridges in the nail, uneven distribution of pigment during application, or not enough polish on the brush. Notice what is missing from that list – “not enough coats.” Piling on coats to chase an even finish works against you, because you end up overworking polish that has already started to set.
Streaking is not a niche worry, either. A Sydney nail technician writing for GlazeMe, drawing on 12 years behind the desk, calls streaking the second most common client complaint after chipping. For translucent formulas it moves to the top, because there is no pigment wall to hide the brush marks.
Two underlying mechanics are worth naming. Ridges in the plate throw shadows that read as lines. And a brush that is only lightly wetted drags pigment unevenly, leaving thick and thin bands in the same stroke. Both are fixable before the color ever goes on.
The Streak-Free Brush Method, Start to Finish
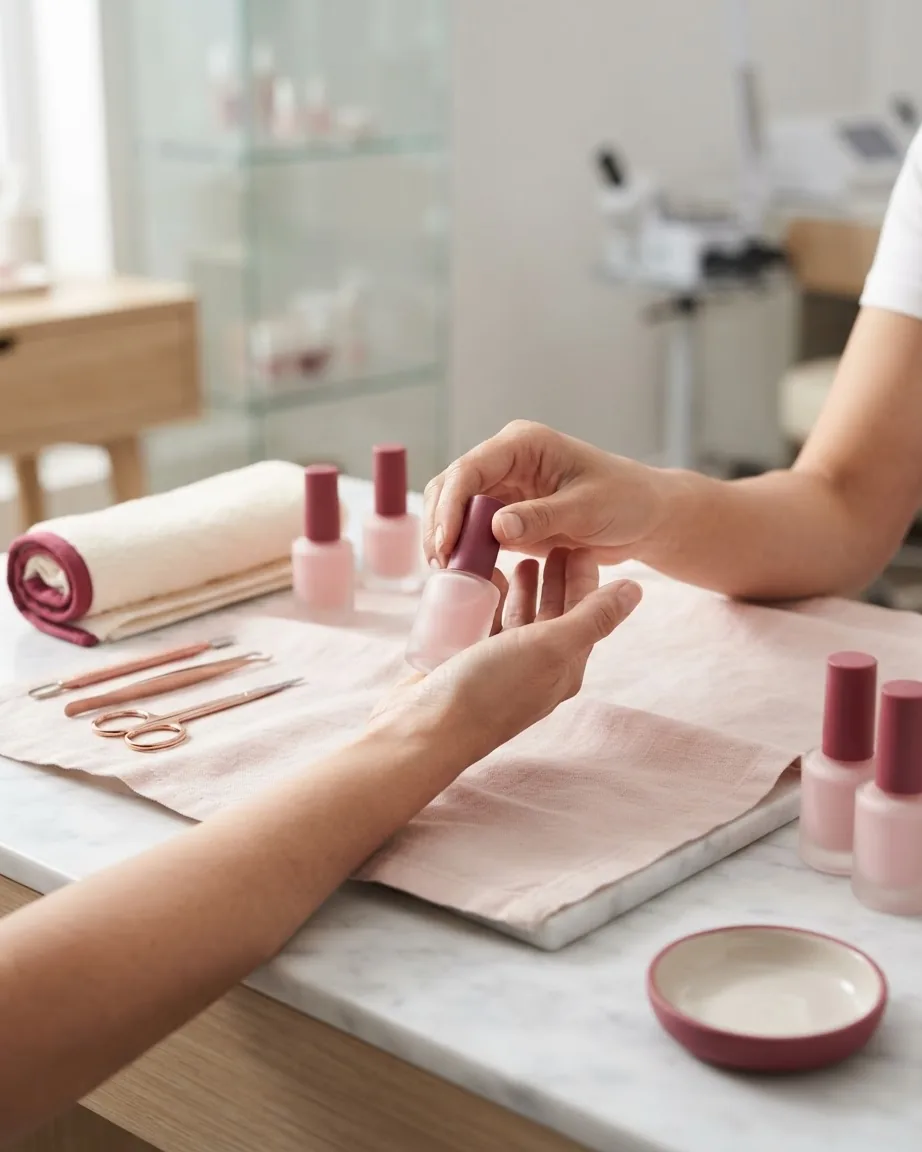
No single brand page lists the whole sequence, so here it is in order, each step tied to the source that establishes it.
- Roll, don’t shake. Rolling the bottle between your palms mixes the pigment without whipping in air. Shaking creates bubbles, and bubbles create a streaky finish.
- Warm the bottle in your hand. Lots of Lacquer notes this distributes pigment evenly and leaves the polish more fluid and less viscous when it is time to apply.
- Lay a ridge-filling base coat. Even without visible ridges, a ridge-filling base helps create a smooth surface for a sheer to sit on.
- Load the brush heavily. The side of the brush should look nearly opaque, fully covered in polish. A starved brush is the direct cause of a streaked band.
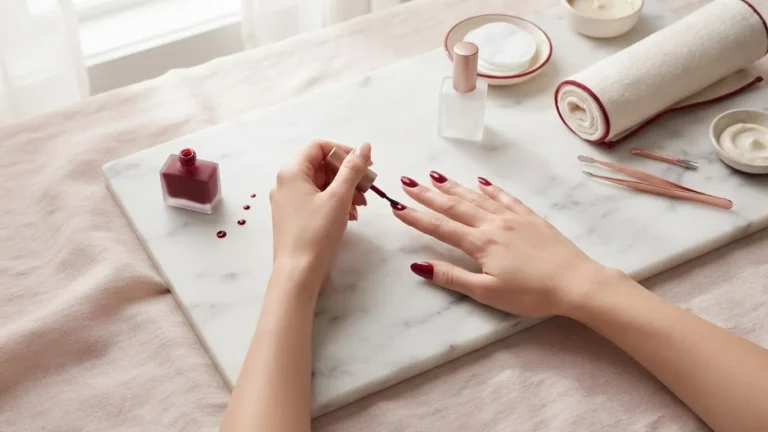
- Three strokes per nail. Center first, then left, then right – no more. GlazeMe’s method is center, side, side, and done.
- Float the last coat. On the final pass, let the brush glide so it levels the surface. Liv With Biv’s swatcher is blunt: you have to float the brush on that last coat to eliminate streaks.
- Don’t overwork drying polish. Going back into a coat that has begun to set creates chunky marks. Lay it and leave it.
Between coats, wait. GlazeMe specifies a full 2 minutes minimum before the next layer so each coat dries properly rather than smearing into the one below. A wide, flat, flexible brush helps too; one Liv With Biv note credits a wide brush with making application ten times easier, mostly because it lays more polish per stroke and needs fewer passes.
How Many Coats of Sheer Pink – By Goal, Not By Rule
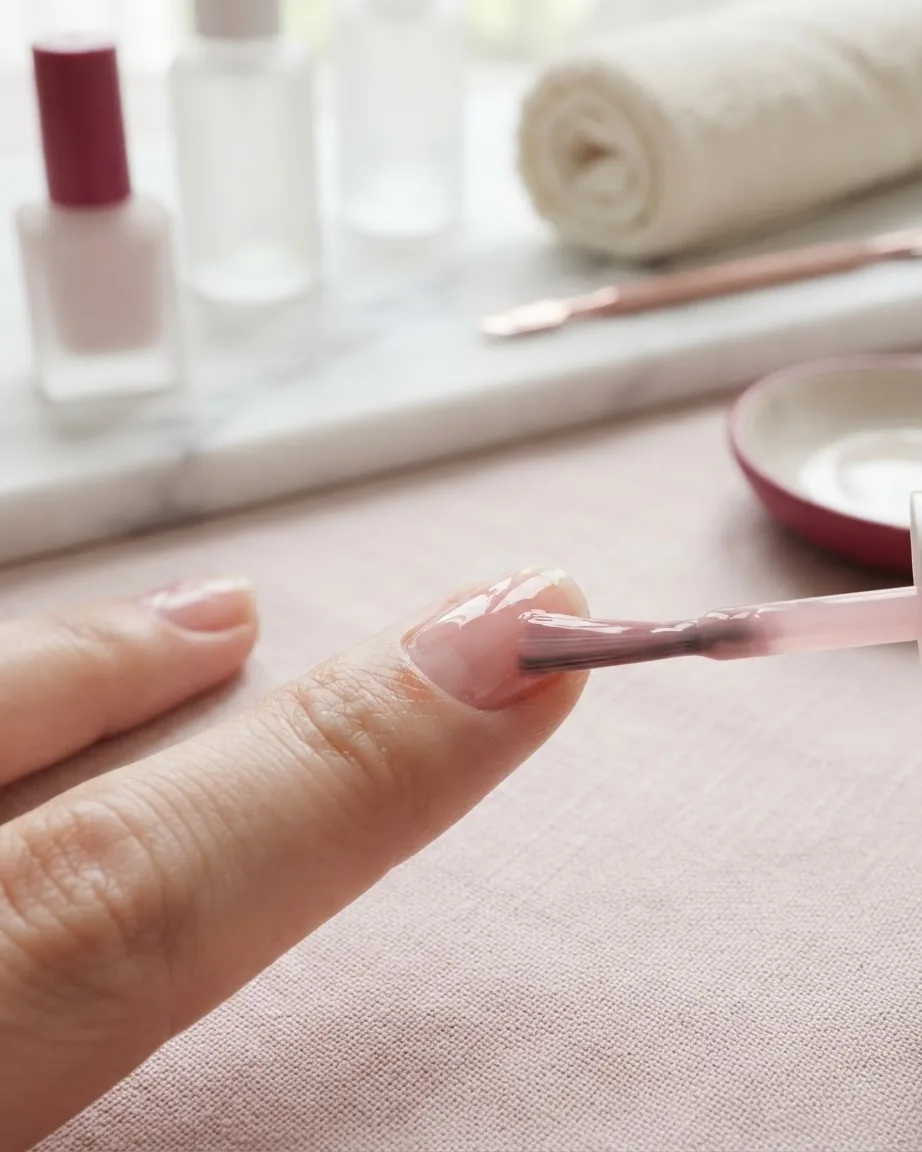
There is no universal coat count, and the sources that look like they disagree are actually answering different questions. The number depends on the formula in front of you and the finish you are after.
- One coat for the most translucent, barely-there wash. Byrdie’s guidance for maximum sheerness is to try just one coat.
- Two coats for built, even color on many enamels. Essie directs two coats for optimal opacity on its milky pink.
- Two to three thin coats on other formulas – ella+mila calls for applying two to three thin coats, letting each dry first.
- Up to three coats when you are filling in unevenness as you go. Lots of Lacquer applies up to three, correcting color gaps on each round.
GlazeMe reconciles the spread with one principle and one ceiling: apply three thin coats rather than two thick ones, and if a polish still needs four or more coats to look right, the formula is too sheer – pick a different one. So the honest answer to “how many coats” is: as many thin ones as your chosen finish needs, up to three, and if three isn’t enough, the problem is the bottle, not your count.
Rescuing Polish That Has Gone Thick, Gloopy, or Dried Streaky
Two different failures, two different fixes, and confusing them wrecks the manicure.
If the polish in the bottle has thickened, thin it – don’t reach for remover. GlazeMe is explicit that remover breaks down the formula; the correct tool is a dedicated polish thinner at two to three drops, capped off, and rolled to blend. Overshooting the dose or using the wrong solvent does more damage than a thick bottle. For the dosing side of this, see our nail polish thinner guide.
If the color has already dried streaky on the nail, there is no patching it – you can’t float a coat that is set. The fix is to remove the affected nails completely with acetone and reapply correctly from the base coat up. Trying to lay a fresh coat over dried streaks only traps them under gloss.
Choosing Between Sheer, Semi-Sheer, and a Tinted Gel Base
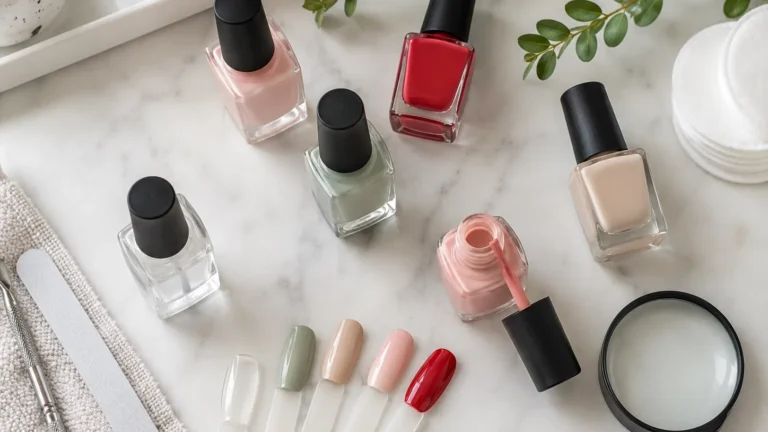
“Sheer” is a spectrum, and buying the wrong point on it is where most disappointment starts. A true sheer tints and shines while letting the natural nail read through. A semi-sheer carries more pigment and layers up – ORLY’s description of its light pink is “semi-sheer, soft, timeless”, which means it will build toward coverage faster than a true sheer.
At the pigment-heavier end sit tinted jelly and builder-gel bases, which Kara Nailed It flags as the route when you want sheer translucency with more durability. Kara Nailed It also praises one shade as really pigmented while still looking sheer – proof the categories blur, and a reminder to read the swatch, not the word on the cap. The decision rule stays simple: if you want the nail to show through, buy true sheer; if you want even color in two coats, buy semi-sheer; and apply the four-coat ceiling to whatever you choose. For the related milky look that behaves much the same way, our milky white nail polish guide covers the no-streak side.
Short Nails, Beginners, and the “My Nails but Better” Case
Sheer pink is the forgiving end of the polish world, which is why it shows up on so many first-timers and short-nail wearers. Londontown notes sheer polishes are incredibly forgiving for anyone new to DIY manicures – a slightly uneven edge or a brush mark that would scream on a red barely registers under a translucent wash.
A Who What Wear editor with 10 years of industry experience, trained at the London College of Fashion, describes wearing sheer pink almost 365 days of the year, framing it as the shade that evens out imperfections and brightens the plate while reading as “suits all hands, nail lengths and skin tones.” That is a category-level editorial view, and it is worth hedging against a single-SKU reality: one ORLY buyer found that specific semi-sheer too opaque, “best on very light or very dark skin”. The takeaway is not that one is wrong – it is that a category claim and a single bottle’s opacity are different things, so judge the SKU, not the style.
For short nails specifically, the forgiving finish and the low commitment make it an easy everyday choice. Kara Nailed It’s own note – chopping the nails short and painting them sheer pink – captures the use case without ceremony.
What Sheer Pink Says vs. an Opaque Shade
The finish itself carries a look, before any shade name enters the conversation. Sally Hansen’s framing is useful here: a sheer nail color reads feminine and classic, while an opaque shade is more graphic and playful. Neither is better; they do different jobs. A sheer pink recedes and blends, which is exactly why it works for offices, weddings, and anyone who wants color without a statement.
There is also a quiet trick the Who What Wear desk uses: layering a mix of sheer pinks to build a bespoke shade. Because each layer is translucent, two different pinks blend on the nail instead of one burying the other – a flexibility opaque polish doesn’t offer. If you want color that reads louder and holds an edge longer, our red nail polish guide sits at the opposite end of this same spectrum.
Wear Time, Top Coat, and What Actually Makes It Last
The longevity of a sheer pink depends far more on the top coat than the color. Essie pairs its milky pink with a top coat for up to 7 days of chip-resistant wear, built as one base coat plus two color coats plus one top coat – the 7-day figure is a top-coated system, not the bare color on its own.
Skip the top coat and a translucent formula shows wear faster, because there is less pigment to mask the tip wear as it starts. The practical sequence that supports that 7-day window: ridge-filling base, two thin color coats with a full 2 minutes between them, and a chip-resistant top coat to seal. If chipping rather than streaking is your recurring problem, the top coat is the lever to pull, not the color count.
One thing that does not extend wear: thicker coats. A Liv With Biv note warns that heavier coats make the polish look way too thick and the application messy – and a thick coat cures unevenly underneath, which shortens wear rather than adding to it. Thin and sealed beats thick and bare every time.
Does a sheer pink need a base coat if my nails look fine?
Yes. A ridge-filling base smooths the surface so light reflects evenly, which matters more for translucent color than for opaque. It also blocks staining on the bare plate. Skipping it is the quiet reason an otherwise careful application still shows faint lines along the natural nail’s own texture.
Can I layer two different sheer pinks to get a custom color?
You can. Because each coat is translucent, a second pink blends optically with the first rather than hiding it, letting you dial warmth or depth. Keep the total within the three-coat ceiling, and use thin passes. If the stack starts needing a fourth coat to look even, both formulas are too sheer for that goal.
My “sheer pink” looks white or peachy – did I buy the wrong shade?
Probably not. The same low-pigment formula reads differently across skin tones; one wearer’s pink is another’s near-white. The cap name describes the bottle, not your plate. Check real swatches on a hand close to yours before buying, and treat a semi-sheer as the safer pick if you want the pink to actually register.
Is sheer pink harder than opaque for a complete beginner?
It is the opposite. Translucent color hides small application errors that an opaque shade would expose – an uneven free edge, a thin spot near the cuticle. The main beginner trap is overloading coats to force color, which thickens the finish. Stay with thin passes and a floated final coat, and most first attempts come out clean.
The Real Clock on Three Thin Coats
GlazeMe gives two numbers that most readers treat separately: apply three thin coats, and wait a full two minutes minimum before each next coat. Put them together and you get the figure nobody states outright. Three coats means two gaps between them, and at two minutes each that is four minutes of mandatory standstill – and that is only the waiting between color coats, before you count the time spent brushing each coat on or any base and top coat.
- 3 thin coats leave 2 gaps that have to be waited out (you don’t wait after the final coat before the top coat is a separate step).
- 2 minutes x 2 gaps = 4 minutes of enforced waiting, baked into the method itself.
- This is why chasing an even finish by piling on a fourth coat costs you more than pigment: each extra coat adds another two-minute wait, and by the fourth coat GlazeMe’s own rule says the formula, not your patience, is the problem.