Milky white nail polish sits in a strange middle zone that trips up almost everyone who tries it: it is not a clear coat, and it is not the flat chalk white you would use for a graphic tip. It is semi-opaque, translucent, a soft veil that lets a little of your natural nail read through. That definition matters, because the number one complaint about this finish is streaking, and streaks come almost entirely from treating a sheer formula like an opaque one. Get the layering logic right and the same bottle that looked patchy on Monday looks like glass on Friday.
The look has real momentum heading into 2026. Pantone Color Institute named PANTONE 11-4201 Cloud Dancer, an off-white, as its Color of the Year for 2026, which puts a soft near-white squarely in the seasonal conversation. That trend tailwind is why every beauty desk is running roundups right now. What almost none of them do is answer the practical questions a careful person actually asks: how many coats, which undertone for my skin, gel or lacquer, and is any of this bad for me.
Quick answer: Milky white nail polish is a sheer, semi-opaque off-white that reveals part of the natural nail. Most formulas need two to three thin coats for even opacity, applied over a smoothing base coat and sealed with a top coat. Choose your undertone by skin tone: pink or true white for cool tones, peach or ivory for warm. Regular lacquer needs no lamp; gel versions cure under UVA light at 340 to 395 nm, which carries safety trade-offs worth understanding before you commit.
What separates milky white from clear coat, chalk white, and sheer pink
Milky white lives on a narrow spectrum between a clear reinforcing coat and a fully opaque white. A clear coat adds shine and nothing else. A chalk white blocks the nail completely and reads graphic, almost clinical. Milky white is the deliberate in-between: enough pigment to soften and unify the nail plate, not so much that the free edge and lunula disappear. When people say a manicure looks expensive or clean, they are usually responding to this translucency, the way light passes through the layer instead of bouncing off a solid wall of color.
The confusion in the category is real. Retailers file milky whites next to sheer pinks, jelly nudes, and full opaque whites, and the swatch photo rarely tells you where a given bottle falls.
Three quick tells sort them apart:
- Coverage over the free edge: a milky white slightly veils the white tip; a chalk white paints over it entirely.
- Build behavior: a true milky formula shifts from sheer at one coat to near-opaque at three, giving you control. A jelly stays translucent no matter how many coats you add.
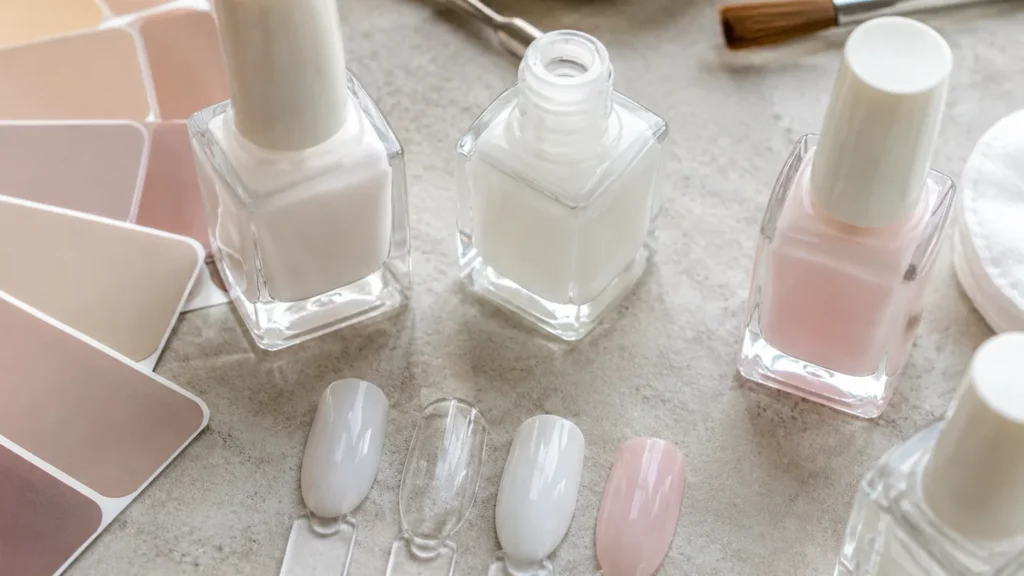
- Undertone in the bottle: milky whites carry a pink, peach, or ivory cast; a stark bluish white with no warmth is usually an opaque white pretending.
Marie Claire’s 2026 roundup pointed to shades like Zoya Lucy, Mineral Fusion Ice Breaker, and Apres Sweet Cream as reference points for the finish, and each reads slightly differently on the nail. That variation is not a flaw. It is the whole point of a category built on subtlety, and it is why picking by undertone beats picking by name.
Matching the undertone to your skin so the white does not look grey
The fastest way to make milky white nail polish look cheap is to ignore undertone. A true, cool white on a warm-toned hand can go slightly grey or ashy; a peach-leaning cream on a very cool hand can look yellowed. The finish is sheer enough that your skin shows through and interacts with the pigment, so the bottle you love on someone else may fight your hand. Undertone matching is the single highest-leverage decision in this entire look, more important than brand, price, or gel-versus-lacquer.
Work from your skin’s undertone rather than its depth. A quick decision grid:
- Cool undertone (pink, red, or bluish veins): reach for true white or a pink-tinted milky white. The cool base keeps the finish crisp instead of muddy.
- Warm undertone (golden or olive cast, greenish veins): peach or ivory milky whites flatter without emphasizing yellow.
- Neutral undertone: almost any milky white works, so choose by mood; a soft shimmer version adds dimension on medium-to-deep skin.
- Deeper skin tones: a milky white with a faint pink or shimmer read gives contrast and glow, while a stark true white can look stark; test on one nail first.
Test in daylight, not store lighting, and always on your own nail rather than a paper card. If you are still deciding on nail length and edge before you swatch color, the finish reads differently on different shapes, so it helps to settle that first. Our guide to choosing and filing the right nail shape for your hands walks through how squoval, almond, and round edges change how a sheer white sits at the tip.
The layering method that kills streaks on milky white
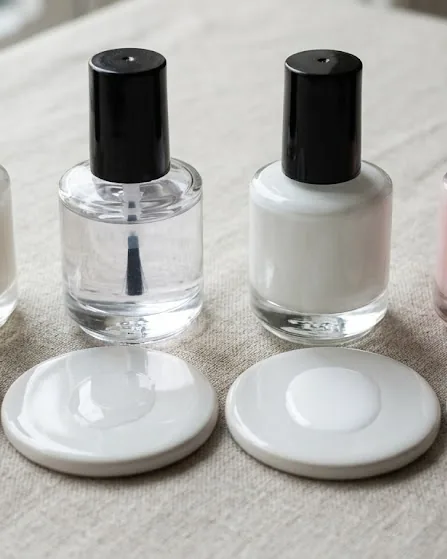
Streaking is a technique problem, not a product defect. Milky white nail polish is engineered to be sheer at one coat, which means a single thick pass drags pigment unevenly and dries with visible brush lines. The fix is counterintuitive: use less polish per coat and more coats. Thin layers self-level and each one deposits a fraction of the pigment, so opacity builds smoothly instead of pooling. Most formulas reach even, no-streak coverage at two to three thin coats over a smoothing base, with full drying time between each pass.
Here is the sequence that reliably works:
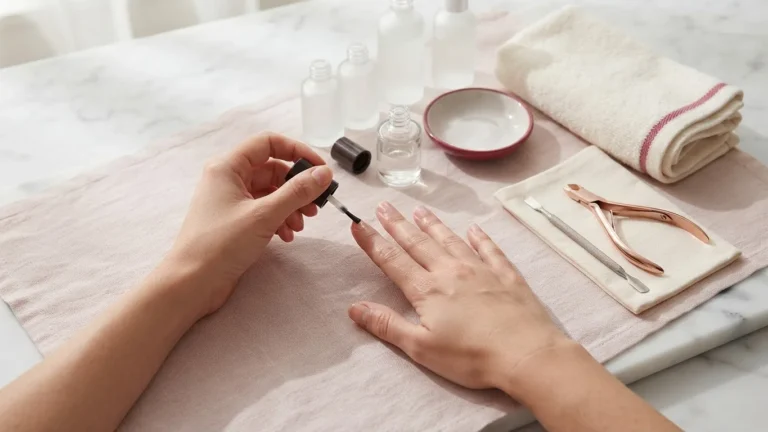
- Prep: push back cuticles, lightly buff shine off the nail plate, and wipe with a lint-free pad so nothing lifts under the polish.
- Base coat: a smoothing or ridge-filling base gives the sheer color a uniform canvas; dedicated soft-focus bases exist specifically to even out milky finishes.
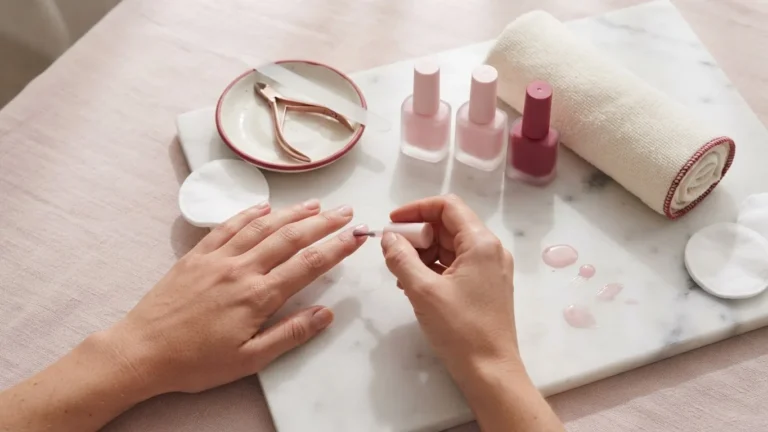
- Coat one: deliberately sheer. It will look patchy and that is correct. Do not fix it.
- Coat two: thin again, and most of the streaks vanish here.
- Coat three (if needed): only where you still see unevenness.
- Top coat and oil: seal for shine, then cuticle oil once fully dry.
Two habits separate a clean result from a frustrating one. First, wipe the brush on the bottle neck so you are working with a controlled bead of product, not a flooded brush. Second, resist the urge to keep brushing coat one; overworking a sheer layer as it starts to set is exactly what creates the dragged lines you are trying to avoid. If your first coat looks blotchy, that is the formula behaving normally, and coat two is where the magic happens.
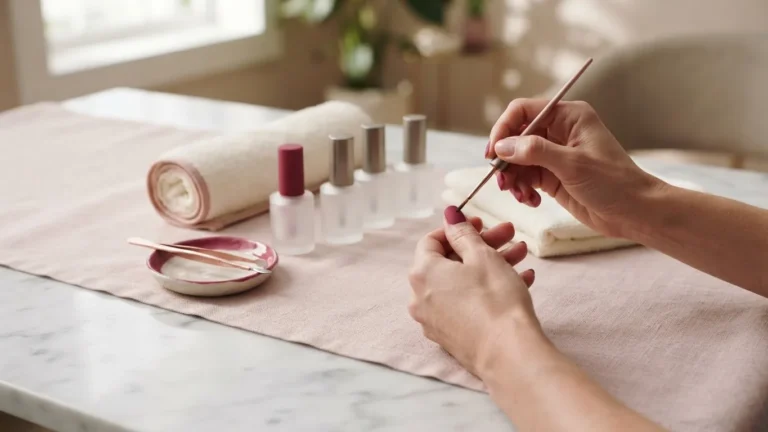
If you want to build detail on top, a subtle French tip or fine line reads beautifully against the soft base. A precision nail art brush for clean French tips makes that far easier than trying to freehand with a standard polish brush, and it keeps the delicate look from turning heavy.
Gel versus regular lacquer for the milky finish
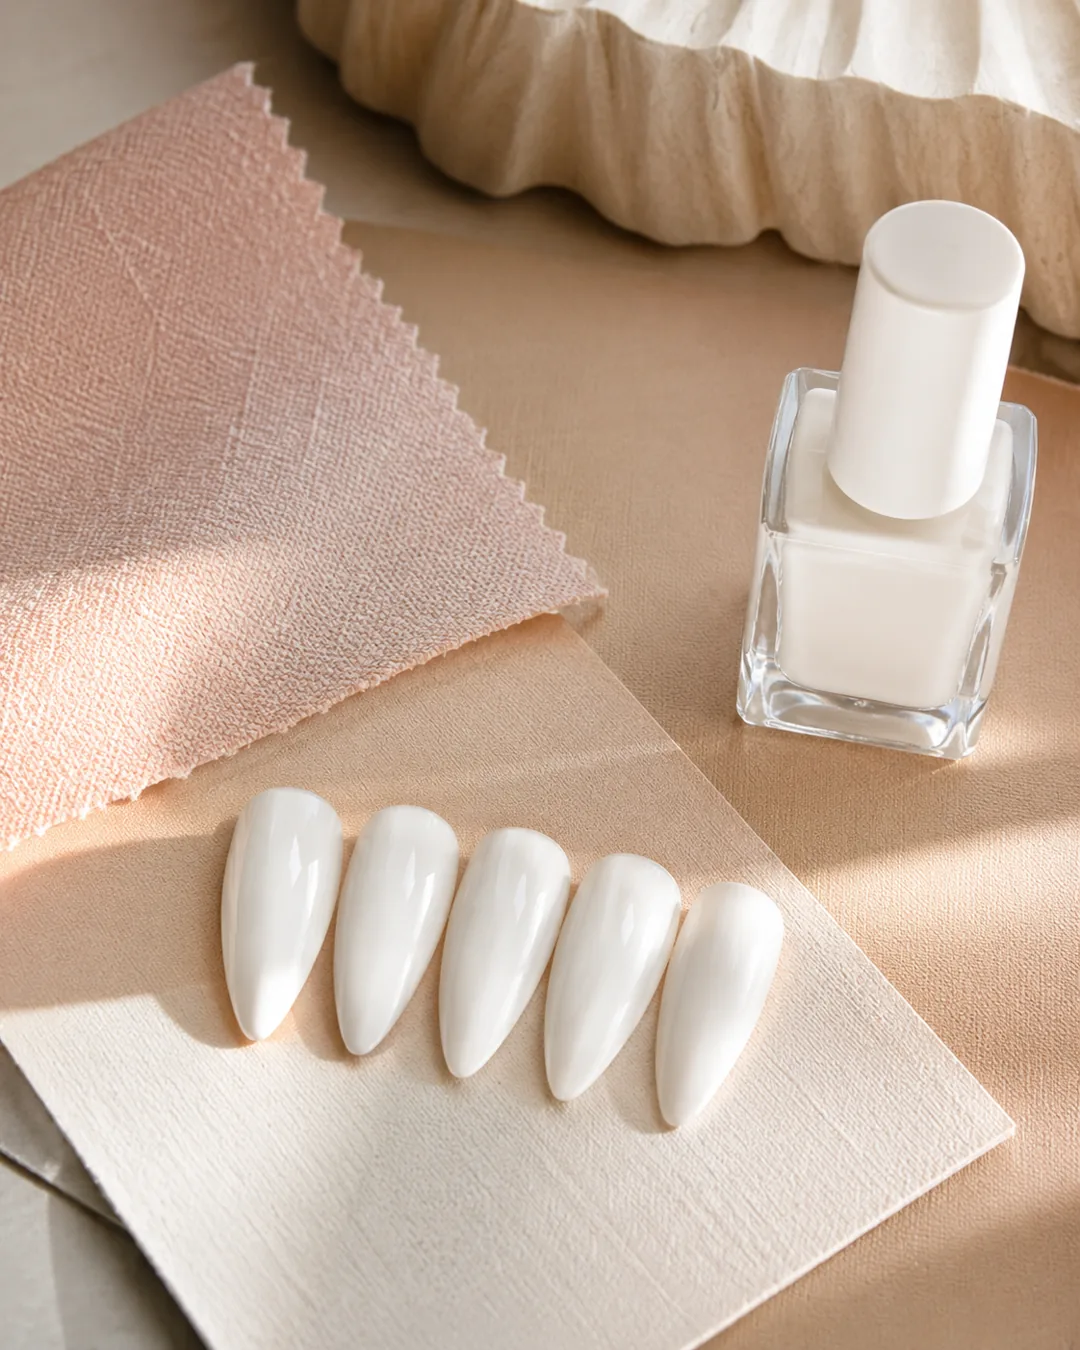
The gel-versus-lacquer choice changes opacity, wear, removal, and whether a lamp enters the picture at all. Regular lacquer air-dries and needs no equipment; it is cheaper, removable with acetone at home, and gentler to walk back if you dislike the result. Gel cures under a UVA lamp, resists chips far longer, and gives a thicker, glassier build that can reach opacity in fewer coats. The trade-off is commitment: gel requires a lamp, a soak-off removal process, and awareness of the UV exposure that curing involves.
A side-by-side comparison for the milky white finish specifically:
| Factor | Regular lacquer | Gel |
|---|---|---|
| Equipment | None; air dries | UVA lamp, 340 to 395 nm |
| Coats to opacity | Two to three thin | Often two, thicker build |
| Wear | Days, chips sooner | Weeks, chip-resistant |
| Removal | Acetone wipe | Soak-off, more involved |
OPI’s own milky white how-to leans on the layering logic that one coat reads sheer and additional coats build toward opaque, which holds true in both formats. Gel simply front-loads the opacity because the material is thicker.
There is a hybrid many people miss: regular milky lacquer layered over an existing gel manicure to change the color without a full redo. It works, but only if you understand adhesion and removal, because stripping lacquer off gel can go wrong fast. Our walkthrough on layering regular lacquer over a gel manicure covers exactly how to do it without lifting the gel underneath.
UV lamp safety and what the research actually shows
If you choose gel, the lamp is the part worth taking seriously, because the evidence is genuinely mixed and the stakes are your skin. UV nail lamps emit in the UVA band, roughly 340 to 395 nanometers, to polymerize gel. A 2023 study from the Alexandrov Lab at UC San Diego, published in Nature Communications, found that a single 20-minute session under a UV nail dryer killed 20 to 30 percent of exposed cells, and three or more consecutive sessions killed 65 to 70 percent, with evidence of DNA damage and mutation in the surviving cells. That is a real finding, and it is why dermatologists now give specific pre-manicure advice.
Put plainly in the units that matter: a single 20 min session under the lamp killed up to 30 % of exposed cells, and repeated sessions pushed that figure to roughly 70 %.
The picture is not one-sided, though, and honesty about the nuance matters more than a scary headline.
- The counterpoint: an earlier 2014 study in JAMA Dermatology concluded that the UVA exposure from a gel manicure every two weeks is likely not high enough to meaningfully raise skin cancer risk, as summarized by Harvard Health Publishing.
- The lab caveat: the UC San Diego work was done on cells in culture, not on human hands over years, so it establishes a mechanism rather than a real-world dose-response.
- The practical read: occasional gel manicures with sun protection are lower risk than frequent, back-to-back sessions with bare hands.
The American Academy of Dermatology recommends applying a broad-spectrum, water-resistant sunscreen of SPF 30 or higher to your hands before a gel manicure, or wearing opaque, fingerless gloves designed for the purpose. That single step directly addresses the exposure the UC San Diego study measured. You can read the AAD’s full guidance in its release on keeping nails healthy during gel manicures, and the primary study is public in Nature Communications if you want the methodology yourself.
None of this means gel is off-limits. It means the lamp is a variable you should manage rather than ignore, and the fingertip cost of an SPF 30-plus sunscreen is trivial next to the benefit.
Ingredient rules, TPO, and what regulators do and do not check
The regulatory layer is where the trend coverage goes quiet, and it is exactly what a careful buyer wants to know. In the United States, nail products are regulated as cosmetics, and the U.S. Food and Drug Administration does not require pre-market approval for them, with the notable exception of most color additives. In plain terms, a milky white lacquer can reach the shelf without the FDA signing off on the finished formula. That is not a scandal; it is how U.S. cosmetics law works. But it does put more responsibility on you to read labels, and you can confirm the framework directly on the FDA’s nail care products page.
Europe took a stricter turn recently. Since 1 September 2025, the European Union has banned TPO, a photoinitiator used in some gels and classified as a CMR 1B substance, from cosmetics. TPO remains permitted in the United States and the United Kingdom, so an identical-looking gel can be legal in one market and banned in another.
What this means for label reading:
- “X-free” claims (for example free of formaldehyde or toluene) are marketing language, not a regulated standard, so treat them as a starting point rather than a guarantee.
- TPO-free is now a meaningful search term for gel buyers, especially anyone importing or traveling between the EU and elsewhere.
- Vegan and clean labels describe the ingredient philosophy but do not, on their own, tell you about UV exposure or wear.
Chemistry World, published by the Royal Society of Chemistry, has a clear explainer on why the EU moved on TPO and what CMR 1B classification signifies. It is worth reading if you use gel and want to understand the reasoning behind the ban rather than just the headline. Because milky white gels sit right in the middle of this shift, the ingredient question is not academic for this shade in particular.
A tested-style product grid: coats, undertone, wear, and price
The gap in most milky white roundups is that they list shades without telling you how they behave. What buyers actually need is a decision matrix that maps a product to coats-to-opacity, undertone, format, and wear, so you can match a bottle to your hand and budget instead of guessing. Because independent reviewers like Paige DiTullio already objectify streakiness and coat count for non-gel milky whites, the useful move is to organize that kind of information by segment rather than by a single editor’s favorite.
Use this framework to place any bottle you are considering:
| Segment | What to expect | Best for |
|---|---|---|
| Drugstore lacquer | Two to three thin coats, dedicated base helps | Trying the look cheaply |
| Mid-range indie | Curated undertones, vegan or clean options | Undertone precision |
| Salon gel | Opacity in fewer coats, weeks of wear | Longevity, event nails |
| TPO-free gel | Same finish, EU-compliant formula | Ingredient-conscious buyers |
How to read your own bottle against this grid:
- Coats-to-opacity: if it looks even at two thin coats, it is well-pigmented; if it needs four, the formula is very sheer and better as a jelly effect.
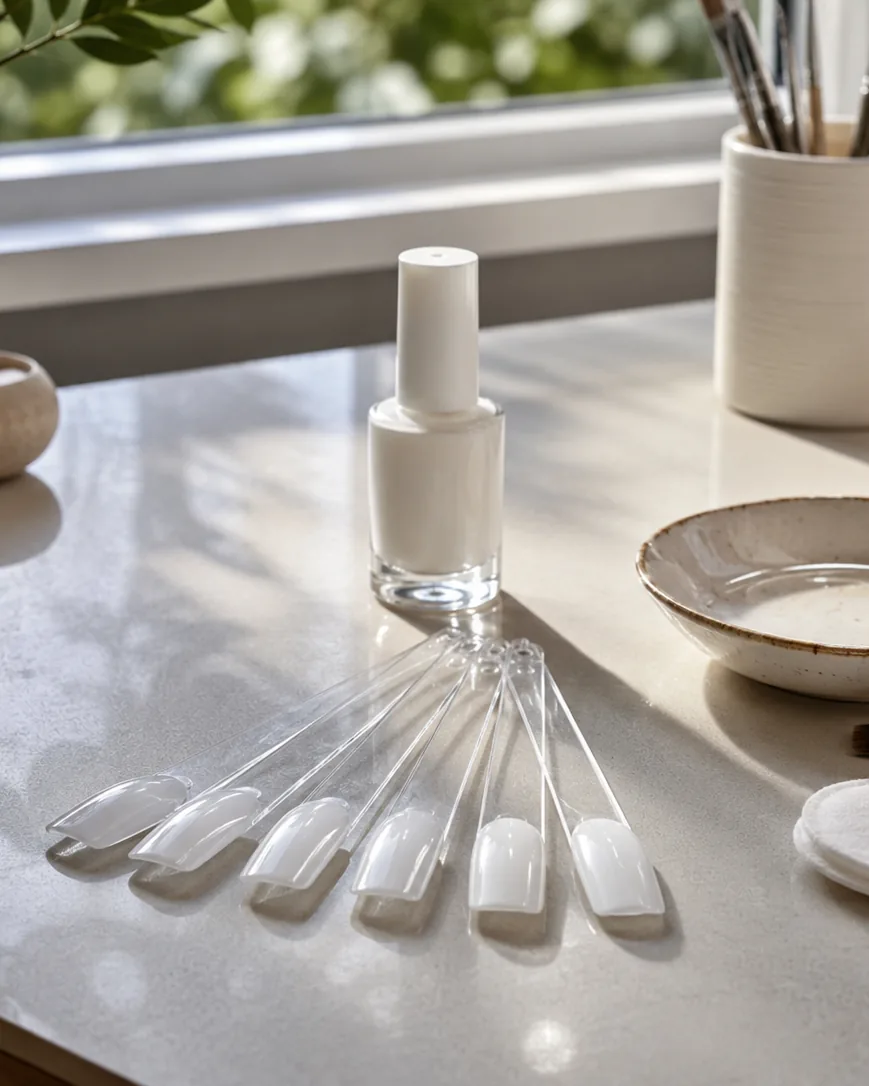
- Undertone: swatch on your nail bed, not paper, so your skin reads through.
- Format: compare volume in the same unit before comparing price, since bottle sizes vary widely.
- Wear: lacquer chips sooner than gel by design, so match the format to your week.
The milky finish also plays well as a base for more dramatic effects once you have the foundation clean. A soft off-white makes an ideal canvas for reflective and dimensional finishes; if you want to go further, our guides to getting the chrome mirror finish safely and the magnetic cat eye shimmer effect both build cleanly over a milky base without muddying it. Keep the milky layer thin if you plan to top it, so the effect on top stays crisp.
Wear time, chipping, and clean removal
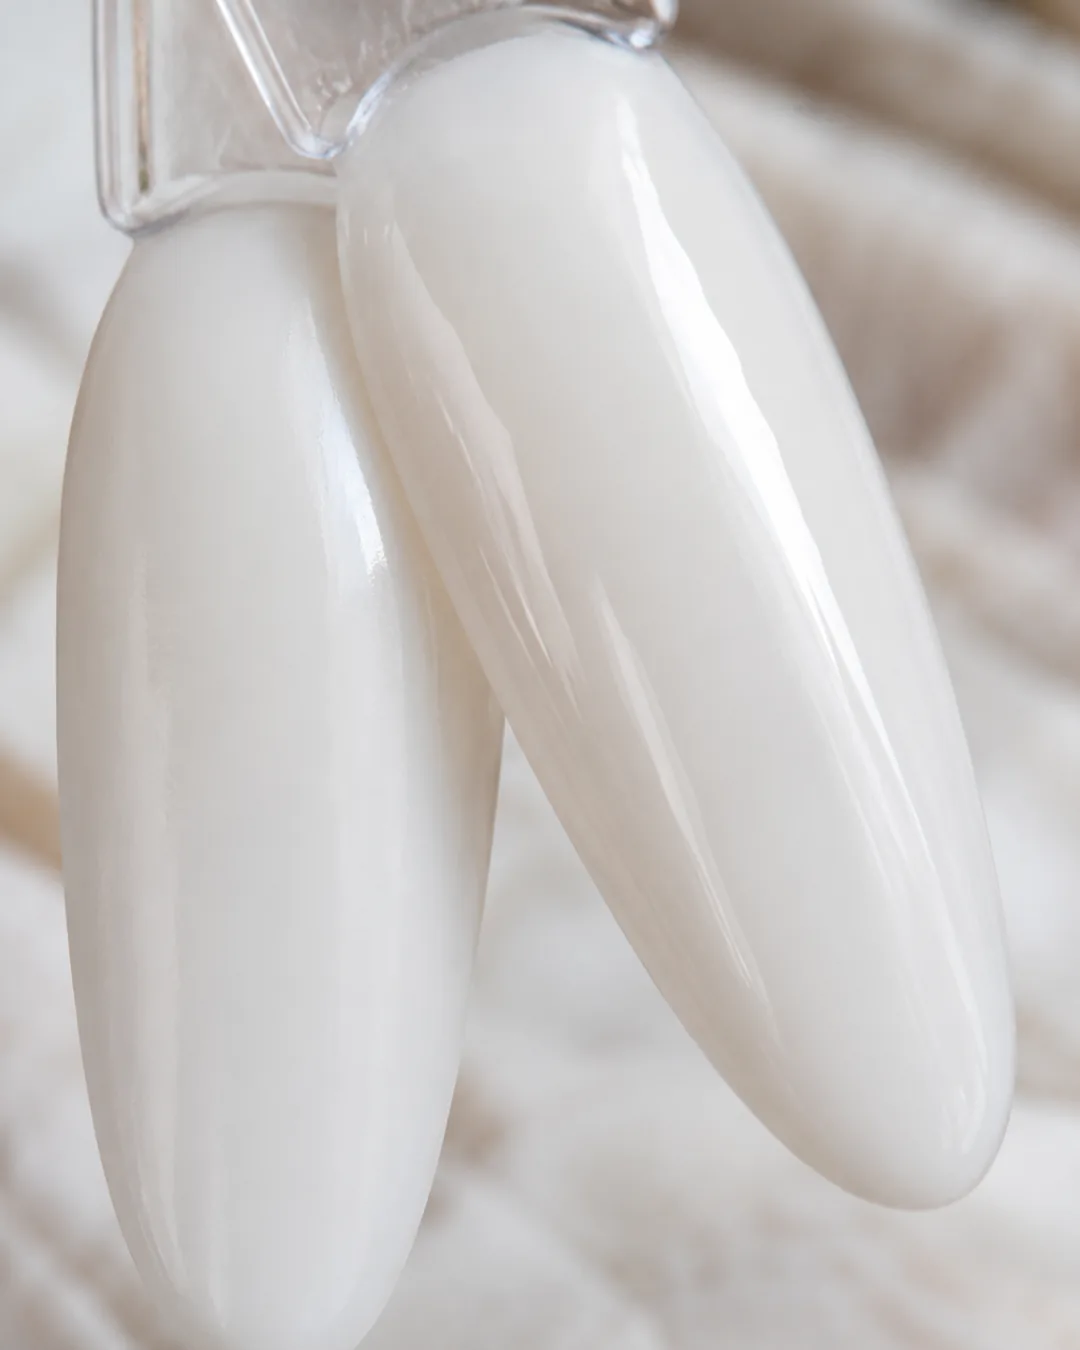
Longevity and removal are where milky white surprises people, because the sheer finish shows tip wear differently than a bold color. As lacquer wears, the free edge thins first, and on a milky white that reads as a faint shadow rather than an obvious gap, which buys you a day or two of grace before it looks worn. Gel resists chipping for weeks by design, while lacquer measures its wear in days. The removal method follows directly from the format you chose, and mixing them up is where nails get damaged.
Keep removal boring and your nails stay healthy:
- Lacquer: saturate a pad with acetone, hold it flat on the nail briefly, then wipe toward the tip; repeat rather than scrubbing.
- Gel: soak-off requires buffing the shine, wrapping with acetone, and gently pushing the softened gel, never prying or peeling.
- Never peel gel: peeling takes layers of the nail plate with it and is the fastest route to thin, weak nails.
Finish every removal with cuticle oil and a hand cream. The acetone step is drying regardless of format, and rehydrating afterward is what keeps the surrounding skin from flaking. If you notice a bottle getting thick and streaky over months, that is solvent evaporation, not a defect, and a few drops of a compatible thinner restores it; do not add remover, which changes the chemistry.
Frequently asked questions about milky white nail polish
Why is my milky white nail polish streaky?
Streaks come from applying a sheer formula too thickly in too few coats. Milky white is designed to build gradually, so a single heavy pass drags pigment unevenly. Use thinner coats, let each dry fully, and add a second or third pass. A smoothing base coat and not overworking the first layer as it sets are the two biggest fixes.
Should I get milky white in gel or regular polish?
Choose gel for weeks of chip-resistant wear if you accept UVA lamp exposure and soak-off removal. Choose regular lacquer for no equipment, cheaper cost, and easy acetone removal. Gel reaches opacity in fewer, thicker coats; lacquer needs two to three thin ones. Your commitment level and whether you want a lamp involved should decide it.
Does milky white nail polish damage your nails?
The polish itself does not damage nails; problems come from process. Peeling gel strips nail layers, and UV curing carries exposure the American Academy of Dermatology addresses by recommending SPF 30-plus sunscreen or fingerless gloves on the hands. Regular lacquer removed gently with acetone and followed by cuticle oil is very low risk for most people.
What undertone of milky white suits my skin?
Match undertone to your skin’s cast. Cool undertones with pink or bluish veins suit true white or pink-tinted milky shades. Warm, golden, or olive undertones flatter peach and ivory versions. Neutral skin works with most. On deeper skin, a faint pink or subtle shimmer read gives more contrast and glow than a stark cool white does.
Is milky white still on trend for 2026?
Yes. Pantone Color Institute named Cloud Dancer, an off-white coded PANTONE 11-4201, its Color of the Year for 2026, putting soft near-whites at the center of the season. The finish aligns with the quiet, understated aesthetic driving recent beauty cycles, so a well-applied milky white reads current rather than dated well into the year.
Is TPO in my gel a problem?
TPO is a photoinitiator the European Union banned from cosmetics as of 1 September 2025 due to its CMR 1B classification, though it remains legal in the United States and United Kingdom. If you want an EU-compliant formula or prefer to avoid it, look for TPO-free gels. For lacquer users the question does not apply, since air-dry polish uses no photoinitiator.
The takeaway before you buy a bottle
Milky white rewards patience over product hunting. The finish that looks effortless on someone else is almost always thin coats, a matched undertone, and a base coat doing quiet work underneath. Decide gel or lacquer by how much wear and equipment you want, protect your hands if a lamp is involved, and read labels for TPO and color additives rather than trusting an “X-free” sticker. Do that, and the softest, most expensive-looking manicure of 2026 costs you a base coat and a little restraint on coat one.
Note on the safety research: the UV lamp studies discussed here are an area of active debate, and the findings apply to gel curing specifically, not to air-dry lacquer. If skin cancer risk is a personal concern for you, the sourced material above and a conversation with a dermatologist will serve you better than any single manicure guide.