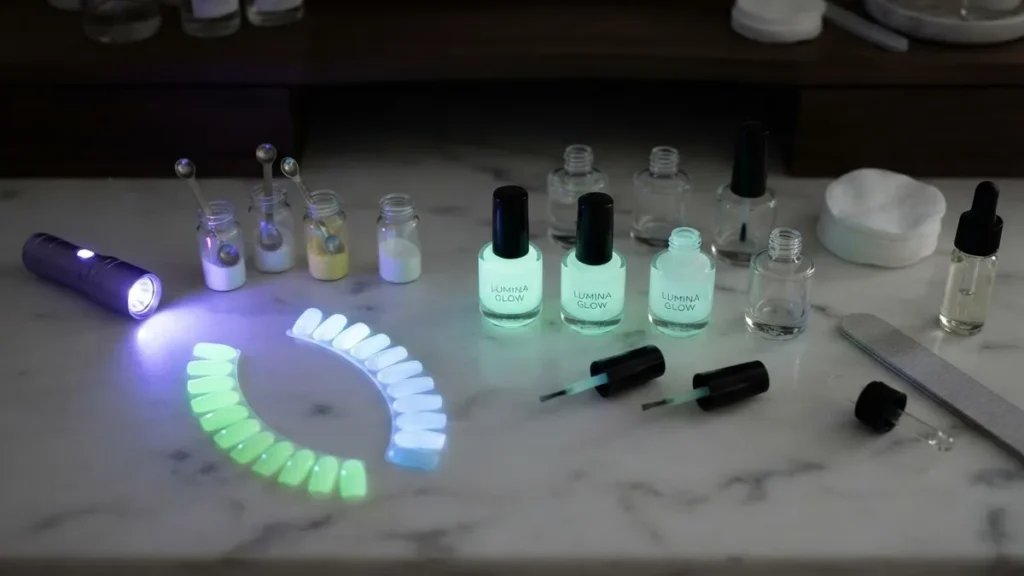
Glow in the dark nail polish only glows because a phosphorescent pigment absorbs light energy and re-releases it slowly in the dark, which is a completely different mechanism from the blacklight-only “glow” that so many buyers accidentally purchase instead. That single confusion drives most of the disappointed reviews you see online, where someone paints their nails, switches off the lamp, and gets nothing. The polish was not broken. It was fluorescent, not phosphorescent, and those two words describe two products that behave nothing alike once the room goes dark.
This guide separates the two for good, then walks through pigment chemistry, the white-base-coat trick that actually decides how bright your manicure looks, charging sources, gel-lamp interactions, and the safety questions that matter when a pigment sits against your skin. The regulatory grounding comes from real bodies: the U.S. Food and Drug Administration, the Cosmetic Ingredient Review panel, and the European Union’s cosmetics law.
Quick answer: Glow in the dark nail polish contains phosphorescent pigment (often a strontium aluminate-type or older zinc sulfide compound) that stores light and re-emits it for a while after the source is gone. To make it visibly glow, paint it over a white or light base coat, then “charge” it under bright light such as sun, an LED lamp, or a UV blacklight. If it only shines under a blacklight and dies the instant that light goes off, you bought UV-reactive fluorescent polish, not true glow polish. Both are sold under similar marketing, so read the wording carefully.
Phosphorescent Glow vs UV-Reactive Fluorescence: The Split Nobody Explains
The difference between glow-in-the-dark and blacklight polish is the single most useful thing to understand before you spend a cent. A true glow-in-the-dark polish is phosphorescent: its pigment soaks up light, holds that energy, and slowly leaks it back out as visible light after the room goes dark. A UV-reactive polish is fluorescent: it lights up brilliantly while a blacklight is pointed at it, then stops the moment that light switches off. Retailers list both under “glow” search terms, which is exactly why so many people conclude their new bottle is defective when it simply belongs to the other category.
Here is the fast field test. Charge your painted nails under strong light, walk into a dark closet, and wait.
- Still glowing with no lamp on you? Phosphorescent. That is real glow in the dark.
- Only glows while a purple/UV light hits it? Fluorescent. Fun, but it never glows on its own.
- Faint, short glow that fades in seconds? Usually weak or old phosphorescent pigment, or too little charge.
Neither type is “better.” Blacklight-reactive shades pop at parties with UV fixtures. Phosphorescent shades work in an ordinary dark bedroom. Knowing which one you want, before checkout, prevents almost every glow complaint in the category.
Strontium Aluminate vs Zinc Sulfide: Why Most Glow Is Green
The pigment inside the bottle decides how bright and how long your nails glow, and there are essentially two families in circulation. Older glow products lean on zinc sulfide, which produces a modest, short-lived afterglow that fades fairly quickly once you leave the light. Modern, better-performing polishes use strontium aluminate-type pigments, which absorb more energy, glow brighter, and hold their afterglow far longer than the zinc sulfide generation. When a listing brags about “long-lasting glow,” it is usually hinting at this newer pigment class, even if it never names the chemistry outright.
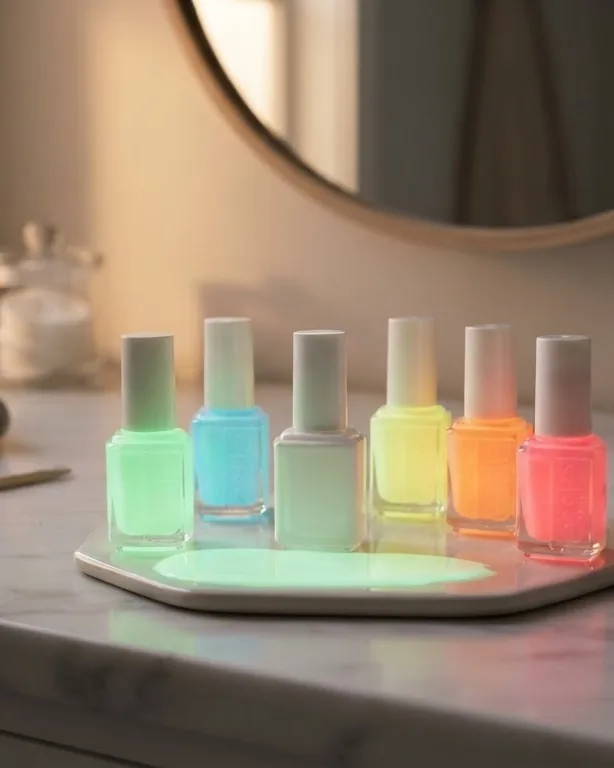
Color is the giveaway most shoppers miss. The overwhelming majority of glow effects land somewhere in the green to blue-green range, because those wavelengths are where the common, efficient phosphors emit most strongly and where the human eye is most sensitive in low light. That is why the classic “glow green” exists everywhere and why pink, purple, or red glow shades tend to look dimmer and die faster. Those colors are harder to produce with efficient long-afterglow pigment, so a hot-pink glow bottle often disappoints next to a plain green one.
Practical takeaway: if raw brightness and duration matter more to you than the exact hue, a green or aqua strontium aluminate-type formula will nearly always outperform a novelty color. Save the unusual shades for looks where a short, subtle glow is enough.
The White Base Coat Physics That Decides Your Brightness
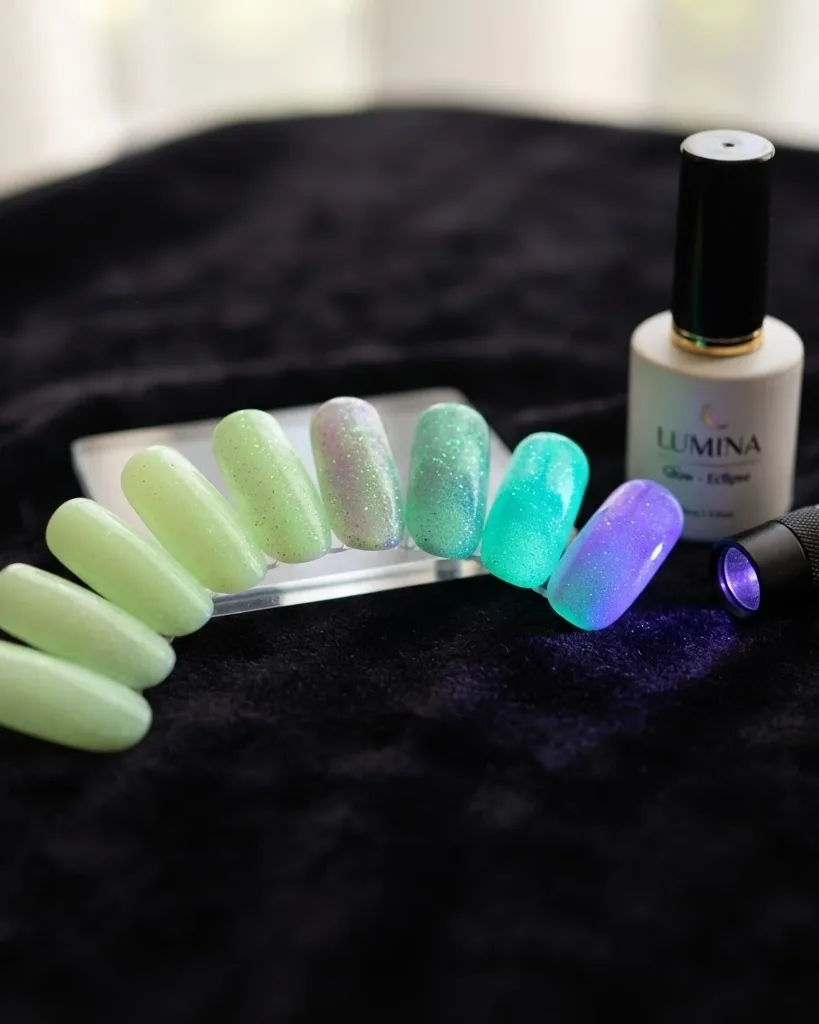
A white or light base coat is not decoration under glow polish; it is the difference between a manicure that reads as luminous and one that barely registers. Your natural nail bed and any dark shade underneath absorb light rather than bounce it back, so the faint glow emitted by the pigment gets swallowed before your eye ever sees it. A white layer acts like a mirror behind the pigment, reflecting the emitted light forward and outward instead of letting the nail eat it. Same polish, same charge, dramatically different result, purely because of what sits beneath the glow layer.
Build it in this order for the strongest effect:
- Apply a bonding base coat to protect the natural nail.
- Add one or two coats of opaque white and let each dry fully.
- Layer two to three thin coats of the glow polish, drying between each.
- Seal with a clear topcoat.
Thin coats matter more than thick ones. Phosphorescent pigment is suspended in the polish, and stacking several thin, fully dried layers packs in more active pigment than one gloopy coat that traps solvent and dries unevenly. If you want a soft, diffused base under a glow topcoat instead of a stark white, the technique in our guide to getting a sheer milky white finish without streaks gives you a reflective yet gentle backdrop. For a translucent, candy-like alternative that still reflects some light, the approach in our breakdown of the tinted-glass jelly look pairs surprisingly well with a green glow topcoat.
Sun vs LED vs UV Blacklight: Charging Your Glow the Right Way
Charging is just feeding the pigment enough light energy to release later, and not all light sources are equal at the job. The brighter and more blue-to-ultraviolet the source, the faster and fuller the charge, which is why glow performance swings so much depending on how you power it up. A quick wave under a dim room lamp gives you a weak, brief glow; a proper charge under strong light gives you a bright afterglow that lasts far longer in the dark. Buyers who complain that their polish “barely glows” have often simply undercharged it.
Ranked roughly by how effectively each charges phosphorescent pigment:
- UV blacklight: the most efficient charge; near-ultraviolet output loads the pigment fast and hard.
- Direct sunlight: excellent and free, thanks to its broad, intense spectrum.
- LED lamp or flashlight: works well when bright and held close for longer.
- Phone flashlight: usable in a pinch, but weak; expect a short, dim glow.
Two rules cover most situations. First, hold the source close and charge for a solid stretch rather than a quick flash. Second, intensity beats duration to a point, so a strong light for a shorter time often outperforms a feeble one held forever. If you already own a UV/LED gel lamp, you have a convenient, powerful charger sitting on your desk.
Gel Glow Polish and the UV/LED Lamp Interaction
Gel glow polish adds a wrinkle no listicle bothers to explain: the same UV/LED lamp that cures the gel also charges the phosphorescent pigment, and the gel topcoat you seal it with can change how the glow reads. Curing lamps output light in exactly the range that loads glow pigment, so a freshly cured gel glow manicure often walks out of the lamp already glowing. That is a genuine advantage of gel for this effect. The catch is the finishing layer: a thick, heavily pigmented, or tinted gel topcoat can sit like a filter over the glow layer and dull the light escaping from beneath it.
To keep a gel glow bright, use a clear, thin topcoat rather than a tinted or high-build one, and keep the glow layer itself close to the surface instead of burying it under multiple coats. Lamp safety deserves a mention too, because repeated UV/LED exposure is exposure to your skin. Sensible habits include applying sunscreen or fingerless UV gloves to the hands and working in a ventilated space to limit fume buildup. If you are new to at-home gel and want the fundamentals on curing and wear before adding glow into the mix, start with our guide to curing, safety, and longevity for gel nail strips, then apply the same lamp discipline to liquid gel glow.
Cosmetic-Grade vs Craft-Grade Pigment: The Safety Line That Matters
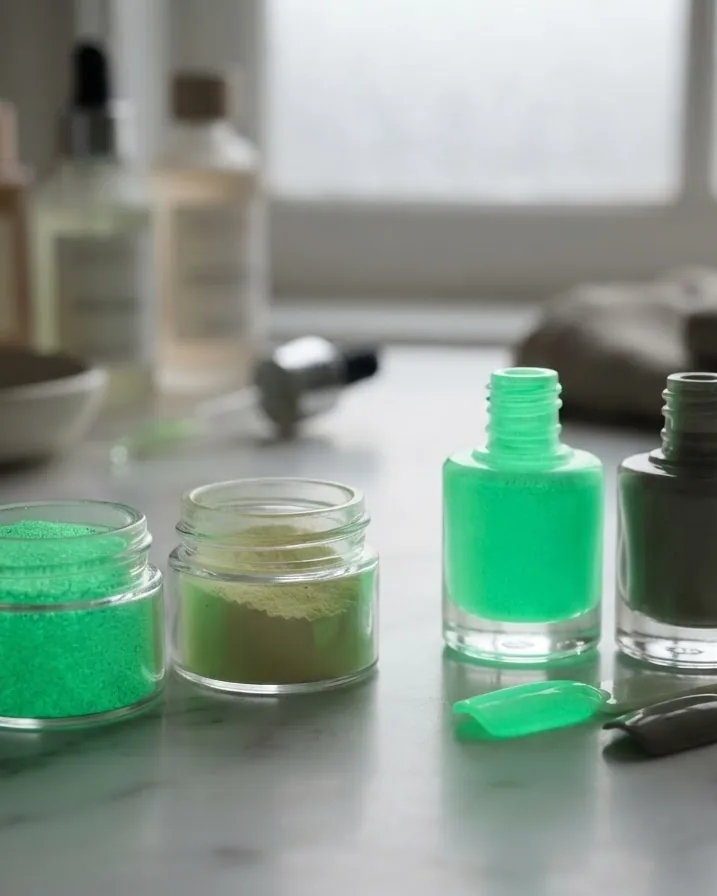
The most important safety distinction in glow products is grade, because a phosphorescent pigment engineered for plastics, resin, or toys is not the same material as one tested and labeled for skin contact. Cosmetic-grade pigments are formulated and sold for use on the body; craft or industrial glow powders are made to be sealed inside objects, never worn against skin or inhaled. When people buy loose “glow powder” online to mix into clear polish themselves, they frequently grab the industrial kind by accident. Only a pigment explicitly labeled for cosmetic use belongs anywhere near your nails or cuticles.
Regulation frames why this matters. In the United States, the Food and Drug Administration regulates nail polish as a cosmetic under the Federal Food, Drug, and Cosmetic Act, not as a drug, unless the product makes a disease-treatment claim. Under that same framework, manufacturers and marketers, not the FDA, are legally responsible for substantiating a cosmetic’s safety before it is sold, which is exactly why label wording and brand accountability carry so much weight here.
General nail-cosmetic risks apply to glow polish like any other: skin irritation, allergic reaction, and fume exposure during application and drying. The FDA’s own consumer guidance on nail care products is worth reading directly; you can review it on the FDA nail care products fact sheet. Extra caution is warranted for children, pregnant or breastfeeding users, and anyone with dermatitis, eczema, asthma, or chemical sensitivity. If a product causes redness, itching, swelling, or breathing discomfort, stop use and seek medical advice rather than pushing through it.
Reading the Label: Toxic Trio, 3-Free Claims, and What They Miss
Formulation labels tell you more about a glow polish than any glow claim on the front of the bottle. Many conventional nail polishes historically contained a “toxic trio” of toluene, formaldehyde, and dibutyl phthalate (DBP), and public concern about those ingredients is what pushed the industry toward the “3-Free,” “5-Free,” and “10-Free” labels you now see everywhere. A “3-Free” polish has dropped that original trio; higher numbers claim to exclude further ingredients. These are useful signals, but they are marketing shorthand, not certified standards, and there is no single legal definition policing exactly what each number removes.
Treat the number as a starting point and read the actual ingredient list underneath it. Independent ingredient safety work backs this up: the Cosmetic Ingredient Review is the U.S. expert panel that reviews and publishes formal safety assessments of individual cosmetic ingredients, including colorants and pigments used in nail products. That kind of ingredient-by-ingredient scrutiny is what a “free-from” badge gestures at without guaranteeing.
A few red flags worth walking away from:
- Loose “glow powder” with no cosmetic-use labeling at all.
- Extravagant glow-duration promises with no pigment information.
- No ingredient list on the listing or packaging.
If ethics factor into your buying too, our guide on how to read a vegan label and trust the logo shows how to separate a meaningful certification from a decorative one, and the same skepticism serves you well with glow claims.
Global Rules: EU Cosmetics Law, REACH, and Where Pigments Get Checked
Where a glow polish is made and sold changes how rigorously its ingredients were vetted, and the European framework is stricter on paper than the U.S. one. In the European Union, every cosmetic product placed on the market, nail polish included, must have a completed Cosmetic Product Safety Report prepared in advance, as required by Regulation (EC) No 1223/2009. That is a pre-market safety dossier obligation, a genuine hurdle a product must clear before it can legally reach EU shelves, which contrasts with the U.S. model where safety substantiation rests on the manufacturer without a mandated pre-market report.
The pigments themselves get a second layer of scrutiny in Europe. Chemical substances used in cosmetic colorants sold within the EU, including nail-polish pigments, fall under the registration and safety-evaluation requirements of the European Chemicals Agency’s REACH regulation. You can read the binding cosmetics law itself via the EUR-Lex text of Regulation (EC) No 1223/2009. In the U.S., the FDA’s general cosmetics program, described on the FDA cosmetics program page, sets the baseline, while the Professional Beauty Association publishes industry guidance on safe formulation and professional application. None of this guarantees a specific bottle is flawless, but a product built to meet EU or FDA expectations is a safer bet than an anonymous craft powder with no regulatory home at all.
Removal and Nail Health After a Glow Manicure
Taking glow polish off deserves the same care you give any pigmented lacquer, and the remover you reach for matters. Acetone strips polish fast and handles stubborn glow layers efficiently, but it is drying and rough on the nail plate and surrounding skin with repeated use. Non-acetone removers are gentler but slower and can struggle with thick, multi-coat glow builds. For an occasional glow manicure, either works; for frequent wear, alternating or leaning on gentler removal spares your nails.
Whatever you use, avoid scraping or peeling glow layers off, which tears away the top of the nail plate along with the color. Repeated aggressive removal thins and weakens nails over time. After removal, rehydrate with cuticle oil and a hand cream, and give bare nails an occasional break from polish. If your glow layers routinely go on too thick and turn removal into a battle, our explainer on how to dose nail polish thinner correctly helps you keep coats thin and even, which makes both application and removal far easier.
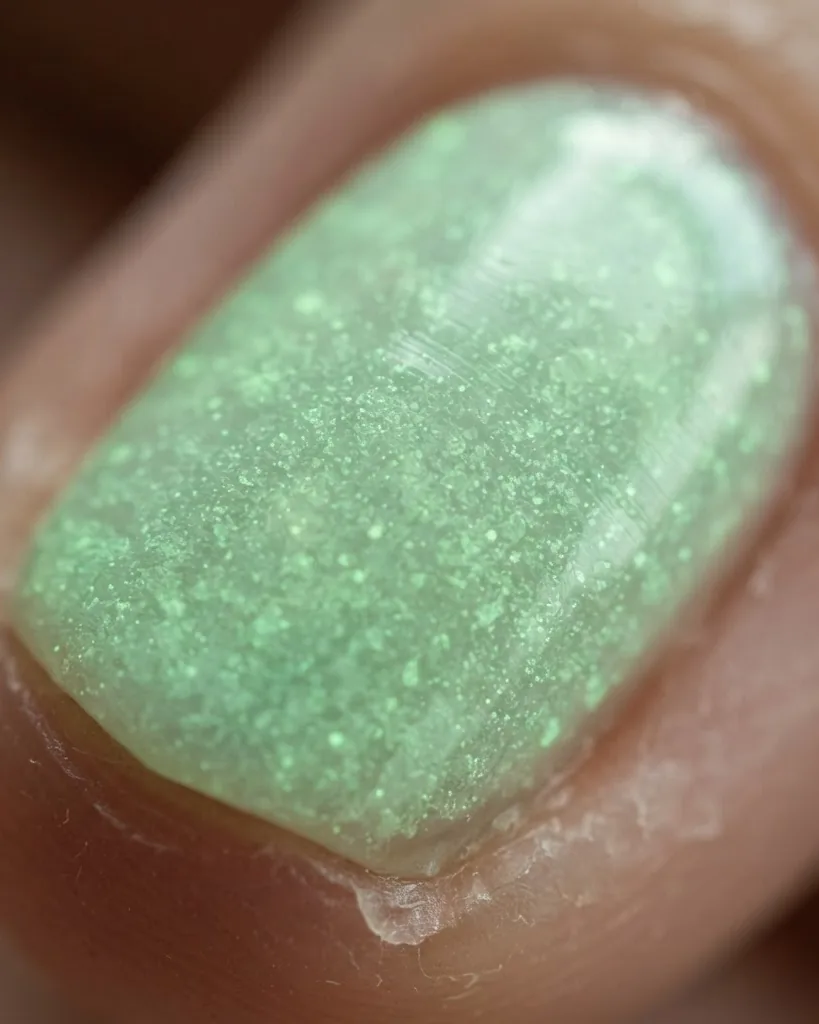
Why Your Glow in the Dark Nail Polish Is Not Glowing: A Fix List
A weak glow almost always traces back to one of a handful of fixable causes, not a faulty bottle. Work through them in order and you will rescue most disappointing results. The most common culprit is the wrong product type entirely, followed by no white base, followed by undercharging.
- Nothing glows in the dark at all: likely UV-reactive fluorescent polish, not phosphorescent. Check the label; it only glows under a blacklight.
- Very dim glow: no white base coat under it. Repaint over opaque white.
- Glow fades in seconds: undercharged. Charge longer and closer under sun, LED, or UV light.
- Glow was never bright: weak or old pigment, or an unusual color like pink or red that inherently glows dimmer than green.
- Gel glow looks flat: tinted or thick topcoat filtering the light. Switch to a thin clear seal.
If you have ruled out all of the above and still get nothing after a strong charge over white, the pigment quality is genuinely poor and no technique will save it.
Glow Press-Ons, Decals, and Powders vs True Glow Polish
Glow polish is not the only route to luminous nails, and the alternatives suit different priorities. Press-on nails and wraps with glow built in give you a quick, commitment-free look and skip the charging-technique learning curve, though the glow is only as good as the manufacturer’s pigment and you cannot adjust it. Glow decals and stickers add localized glowing accents, like stars or dots, over any regular manicure, which is ideal when you want a hint of glow rather than fully luminous nails.
Loose phosphorescent powder for DIY mixing offers the most control and the brightest potential results, since you can pack a clear polish with pigment, but it carries the sharpest safety caveat: only cosmetic-labeled powder belongs on nails, and non-cosmetic craft powder brings inhalation and hygiene risks during mixing. For most people, a ready-made phosphorescent polish over a white base hits the best balance of brightness, safety, and effort. The shape you file your nails into changes how the glow reads too; a look at our guide to choosing and filing the right nail shape helps you pick a canvas that shows the effect off.
Frequently Asked Questions
Why doesn’t my glow in the dark nail polish glow?
The usual cause is that you bought UV-reactive fluorescent polish, which only shines under a blacklight and dies instantly when that light is off. True phosphorescent polish glows on its own after charging. Other causes are skipping a white base coat, which lets the nail absorb the glow, and undercharging. Repaint over opaque white and charge longer under strong light.
Is glow in the dark nail polish safe for kids?
Only a product clearly labeled as cosmetic-grade and intended for skin contact should ever go on a child, and even then extra caution applies. Never use loose craft or industrial glow powder, which is made for plastics and toys, not skin. Watch for irritation or allergic reaction, ensure good ventilation during drying, and stop use and seek medical advice if any redness or itching appears.
Can I use glow polish on acrylics or press-ons?
Yes. Glow polish layers over acrylics and press-ons the same way it does over natural nails, and a white or light base underneath still boosts brightness the most. On press-ons you can even paint the tips before applying them. The glow effect depends on the pigment and your charging, not the surface beneath, so technique carries over unchanged.
Will glow in the dark nail polish stain my nails?
Heavily pigmented and darker shades can leave a faint tint on the natural nail, like many strong polishes. A protective base coat between your nail and the color prevents most staining. If a slight tint remains after removal, a buffing block and cuticle oil usually clear it within a few days, and giving bare nails a short break helps them recover.
Does a UV or LED gel lamp charge glow polish?
Yes, and effectively. UV and LED curing lamps output light in exactly the range that loads phosphorescent pigment, so a gel glow manicure often glows right out of the lamp. If you own a gel lamp for curing, it doubles as one of the strongest charging tools you can use, easily outperforming a phone flashlight and rivalling direct sunlight for speed.
Can I make my own glow polish by mixing powder into clear polish?
You can, but only with phosphorescent powder explicitly labeled for cosmetic use. Non-cosmetic craft or industrial powder is formulated to be sealed inside plastics or resin, not worn on skin, and mixing it loose creates inhalation and hygiene risks. Stir cosmetic-grade powder into a clear base, keep coats thin, and seal with topcoat for a customizable, brighter-than-average glow.
Nail products carry general risks such as irritation, allergic reaction, and fume exposure. The guidance above is informational, not medical advice. If you experience a reaction, stop use and consult a healthcare professional.